


I really appreciate the emails I get from you. Take for example the recent email from Robert Atkinson, expanding upon using the Hagerman FryBaby2 compact burn-in generator for interconnects, speaker cables, capacitors, and resistors.
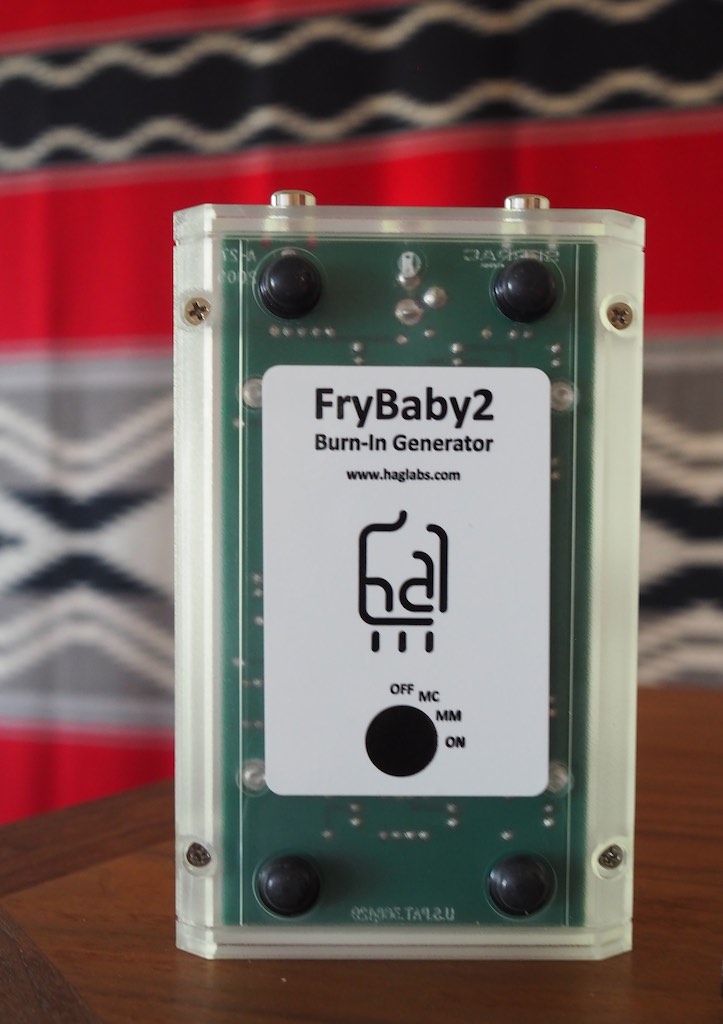
FryBaby2 compact burn-in generator.
Jim's manual for the FryBaby2 is very brief and doesn't really give the reader a comprehensive overview of the specifics of the variety of ways that the FryBaby2 can be used to condition preamplifiers, amplifiers, wire, capacitors, inductors, resistors, etc., so much of the knowledge about its use for such things is shared via users of the device, like Robert.
Here's Robert's comment on the FryBaby2 in case you missed it in the comment section:
"Hello Jeff–
I came across this recent discussion on use of the Frybaby2 and I thought I might add some information I received from Jim Hagerman. I found the instructions that come with the Frybaby a little on the sparse side so emailed Jim with a few questions. I’ll try to summarize his replies.
How to do parallel burn in of speaker cable. Jim said you cannot do it, for instance, on a spool of bulk wire. Parallel burn in will not happen without a signal/return pair of wires running together. Also, parallel burn in is impacting the dialectric and not the wire. It is best to have the speaker cables made up first, with signal and return legs tightly coupled, as in a twisted pair and any other cable sleeving in place. Connect one wire in the cable to the red side of the binding post adaptor and the other wire in the cable to the black side of the binding post adaptor.
Parallel burn in of XLR cables. Jim said it must be done in two steps, first step, you burn in the pair of signal wires and second step, you burn in the shield/return. To complete first step, connect pin 2 to (the center pin) on one of the Frybaby outputs and connect pin 3 to the (center pin) on the other output. After it has cooked the desired length of time, connect pins 2 and 3 together into one output and pin 1 into the other output to complete the burn in.
Burn in of capacitors. He stated you simply hook up a single capacitor or several capacitors in series from the black side to the red side of the binding post adaptor.
Burn in of resistors. He was not sure it would have much affect, but resistors could be connected in the same way as capacitors.
Hope this may help others that may be needing a bit more information, as I was."
I thought I'd also share my communications with Jim Hagerman on using the FryBaby2 for capacitors that you might find useful:
- Jim on conditioning capacitors: "Mount the cap between RED and BLK binding posts. There is no voltage mode for caps. BLK post to BLK post has no signal. RED to RED is ok. RED to BLK is ok. Voltage mode works the dielectric in cables via electric fields. Current mode is for magnetic fields on conductors. When doing capacitors, you wire it up similar to current mode but it's actually doing a voltage mode burn - working the dielectric. Think of a cable as a very long capacitor..."
One of the beauties of the FryBaby2 is that it has the ability to separate the conditioning of the conductors (current mode) from the conditioning of the dielectric (voltage mode).
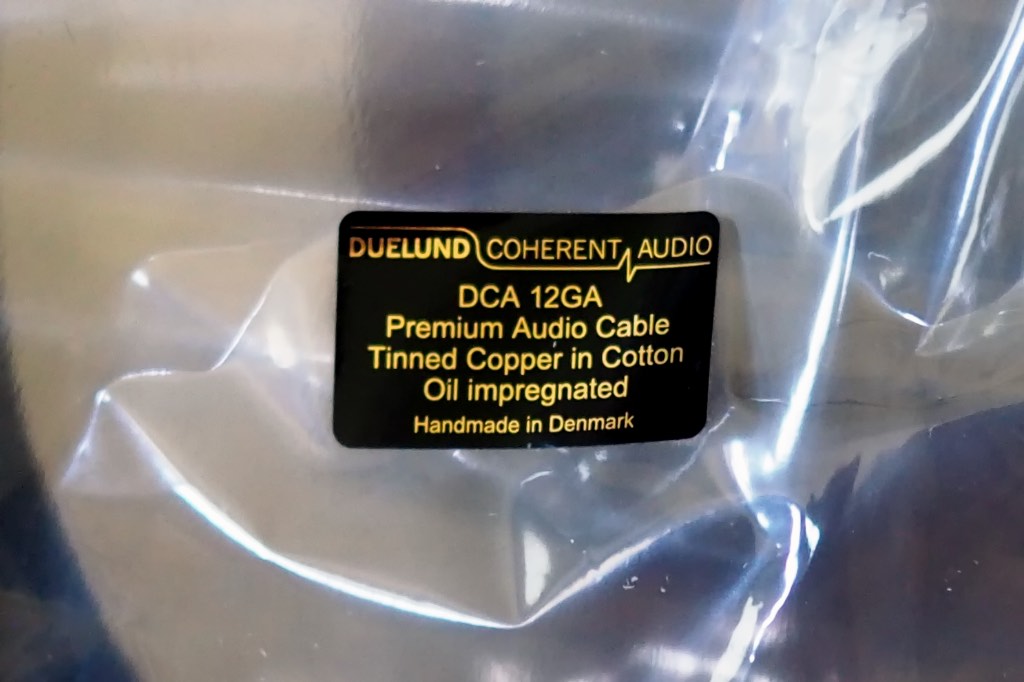
This is particularly beneficial for the Duelund DCA (or other) tinned-copper wires & cables, because they benefit from conditioning the dielectric, but I have come to the conclusion that conditioning the tinned-copper conductors aggressively with a burn-in generator can actually degrade their performance.
In explaining the screenshot from Jim's FB2 manual below, Jim says, "The FryBaby2 can burn in a stereo pair of interconnects by using the female-to-female adapter at the far end. First, do a voltage burn by connecting the interconnect pair directly to the FryBaby2 outputs. Set to ON. After the voltage burn, do a current burn by inserting the adapter to close the loop."
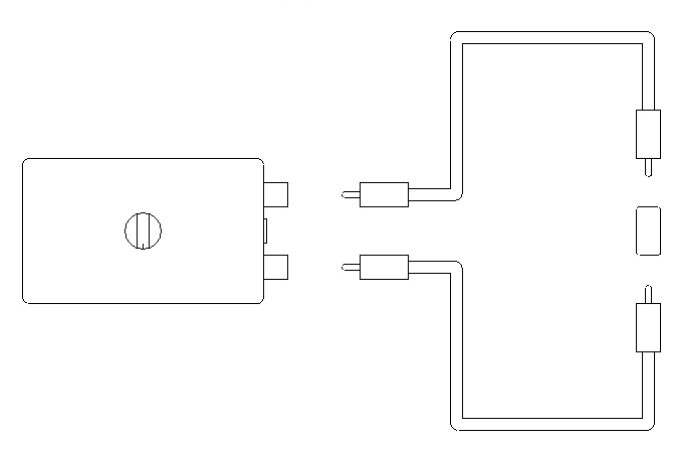
Screenshot from Jim's FB2 manual for voltage vs. current conditioning.
Voltage conditioning of the dielectric of speaker cables can be done in similar fashion, by directly connecting the bare wire or spades/bananas to the binding post adapters, leaving the cables open ended, and switching the FryBaby2 to ON.
You can't condition a single run of wire (on a spool for example) like this, because "voltage mode is essentially creating an electric field between two pairs of conductors (such as an interconnect or speaker cable), and if the conductors are too far apart then the amplitude of the electric field tends towards zero (Jim Hagerman)".
With thicker unterminated wire like the Duelund DCA12GA it's difficult to get it to stay put on the binding post adapters during conditioning, but there's an easy work around that will accomodate larger gauge wires easily, and that is by building a set of RCA adapters with alligator leads, which can clamp down even on sizable cables.
That way you can easily do voltage conditioning of even a sizable wire's dielectric by temporarily turning them into interconnects.
Here's how to do it:
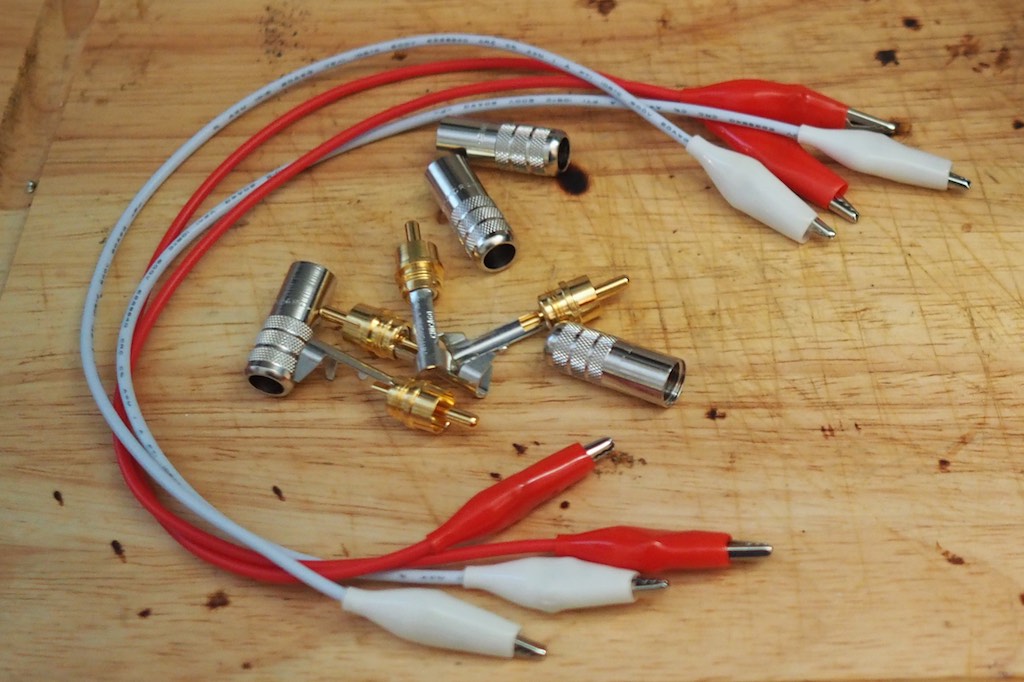
To get started, pick a set of four RCA's like you would for building interconnects, as well as two sets of alligator leads.
I used four Switchcraft 3502AAU RCA's I had handy, but you could use any RCA's you have handy.
I used two white (return) and two red (hot) alligator leads to build my adapters.
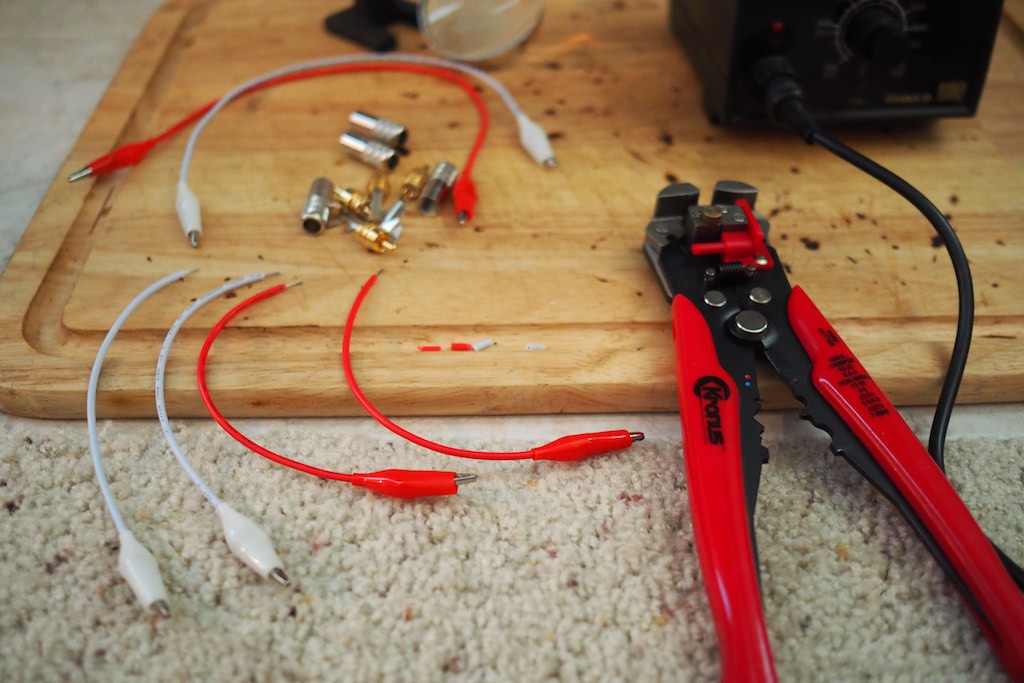
First, cut the alligator leads in half and strip off a bit of insulation off each end (above).
Then take one red & white lead and slip the Switchcraft handle over them in preparation for soldering (below).
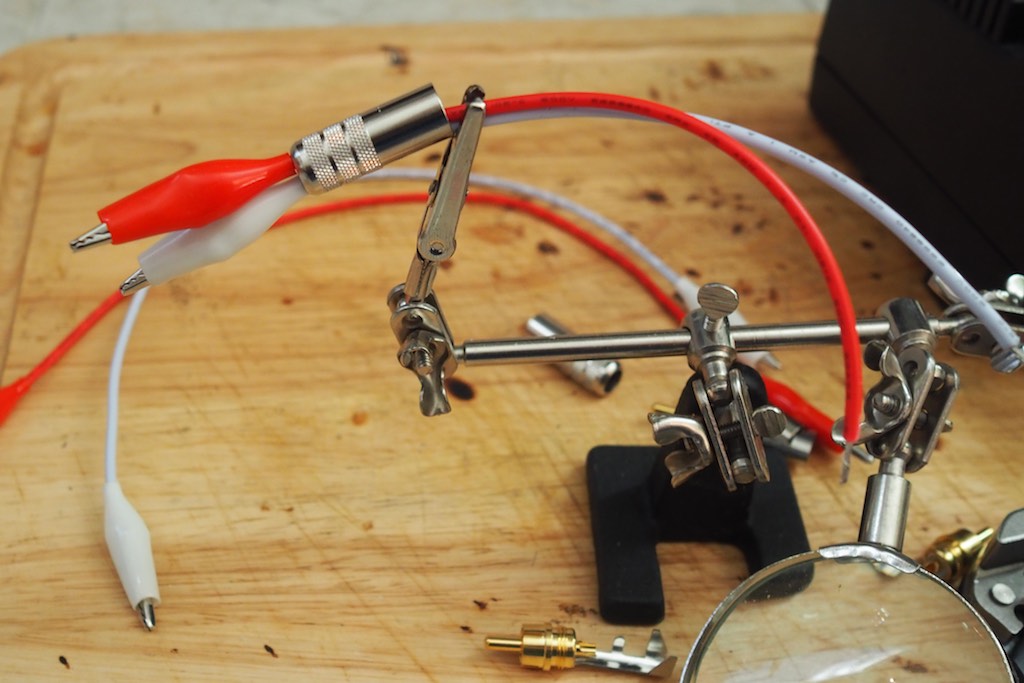
Then insert the stripped wire from the white alligator lead into the return for the clamp terminal and clamp down the tab so that it holds it in place, and then solder it in place to secure it (below).
Then insert the stripped end of the red alligator lead into the pin (hot) and solder it in place (below).
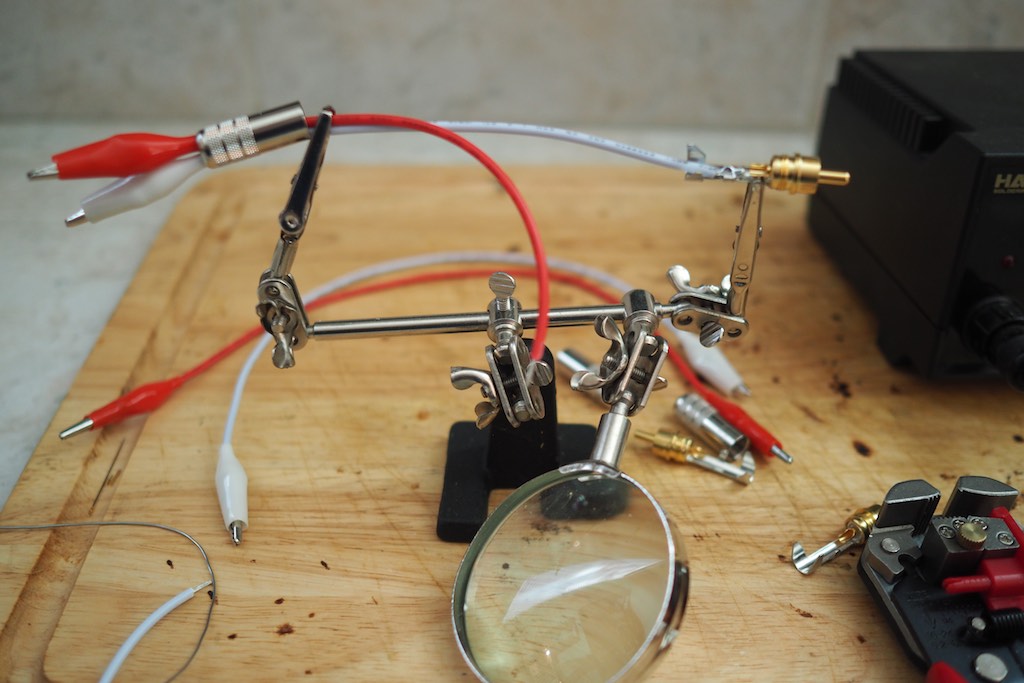
Screw the handle onto the plug housing and you now have one adapter completed (below)!
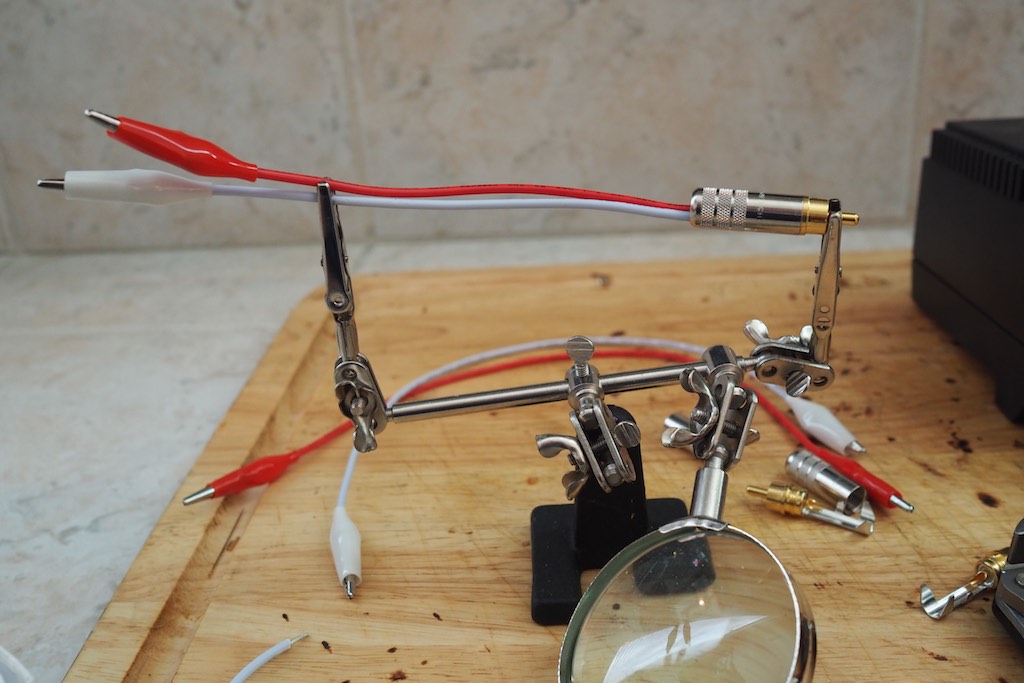
Repeat the process to complete your set of four RCA adapters for wire burn-in (below).
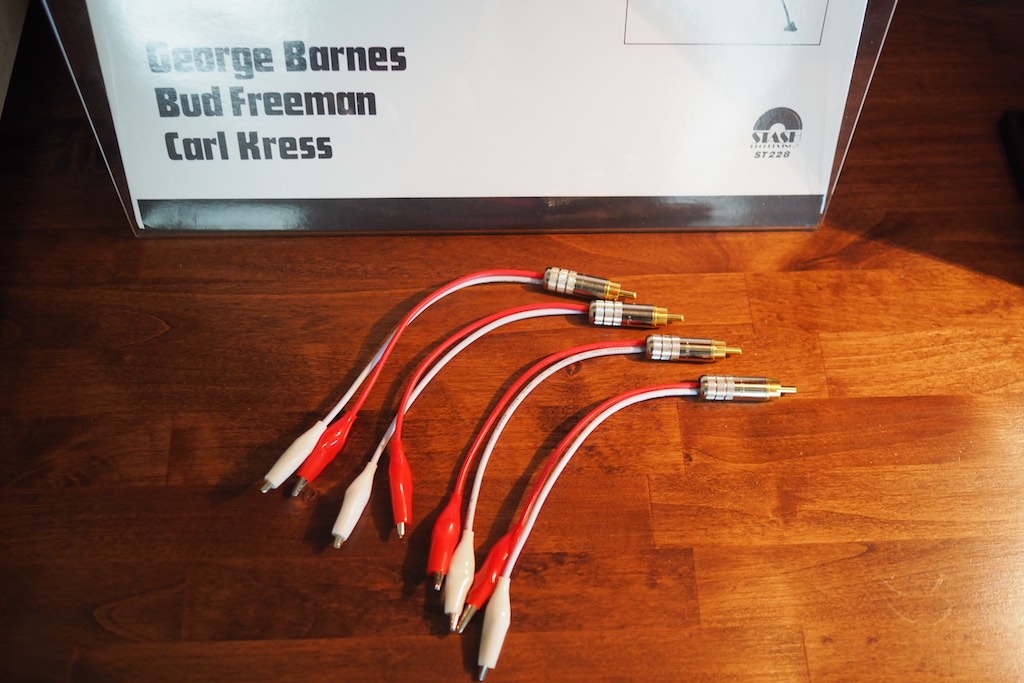
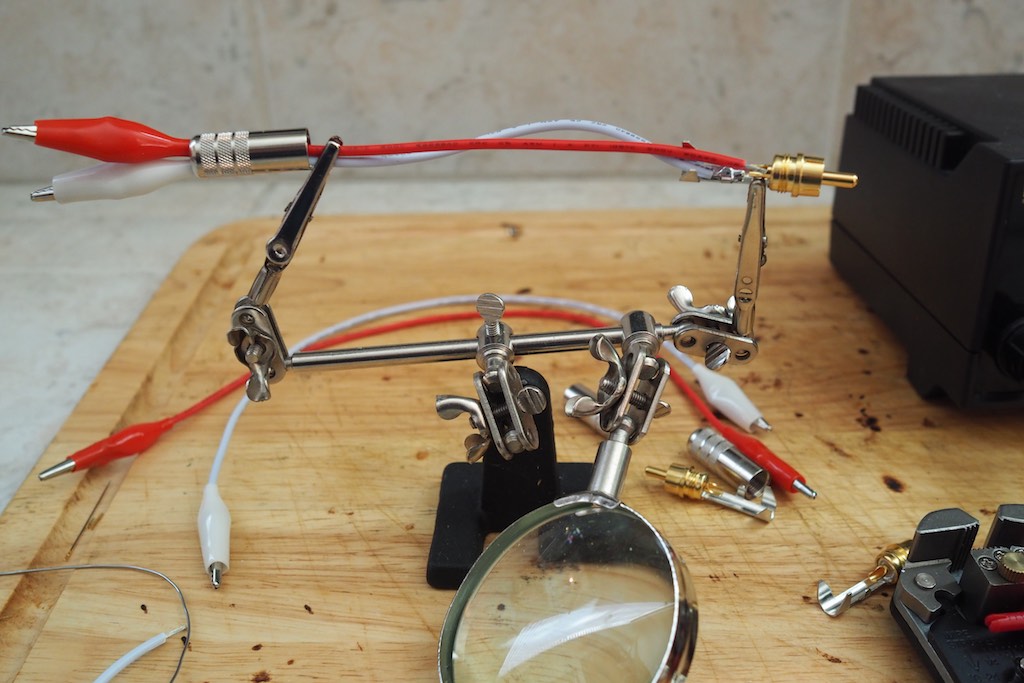
Now all you do is take a pair of adapters and connect a length of wire between the two red (hot) alligator leads, and another length of wire between the two white alligator leads (return) as if it were an interconnect.
Then take the other pair of adapters and wire them up the same way.
You now have a set of "interconnects" so you can condition the wire in the same way you do for regular interconnects.

Screenshot from Jim's FB2 manual for voltage vs. current conditioning.
As per Jim's manual, insert the wired-up RCA adapters into the FryBaby2's female RCA outputs.
To do voltage conditioning of the dielectric via electric fields, leave the RCA's open circuited as in the diagram above, and then turn on the FryBaby2 and let it work its magic on the dielectric.
To do current conditioning of the conductors via magnetic fields insert the female-to-female adapter between the two interconnects to close the loop, then turn on the FryBaby2.
When you're all done with the conditioning, remove the wires from the alligator clips and use them in your intended application.
The nice thing about being able to condition the wire's dielectric & conductors separately is that there is an optimum amount of conditioning time for the dielectric and for the conductors, and they're likely different from each other.
The most extreme example of this I'm aware of is with the Duelund DCA tinned-copper wire, which loves to have its dielectric voltage-conditioned for a nice increase in tonality, but really doesn't benefit from from current-conditioning of the conductors, which can add a bit of glare and roughness to the high-frequencies.
Wires made of pure copper or pure silver or combinations thereof will respond differently, so a little trial & error will be involved in finding out what the best combination of conditioning is for their respective dielectrics and conductors.
These RCA adapters make it easy to condition wire with the FryBaby2, whether it's for wire to be used in headshell leads, crossovers, speaker cables, or something else.
Anyways, I hope expanding on the use of the FryBaby2 for conditioning cable dielectric & conductors provides some utility for you.
Thanks again to Robert for his informative comment that spurred this post!
Happy experimenting!
As always, thanks for stopping by, and may the tone be with you!


