


Jim Smith just checked in and told me he's now finished with building and installing the Duelund external crossovers for his Tannoy Canterbury loudspeakers.
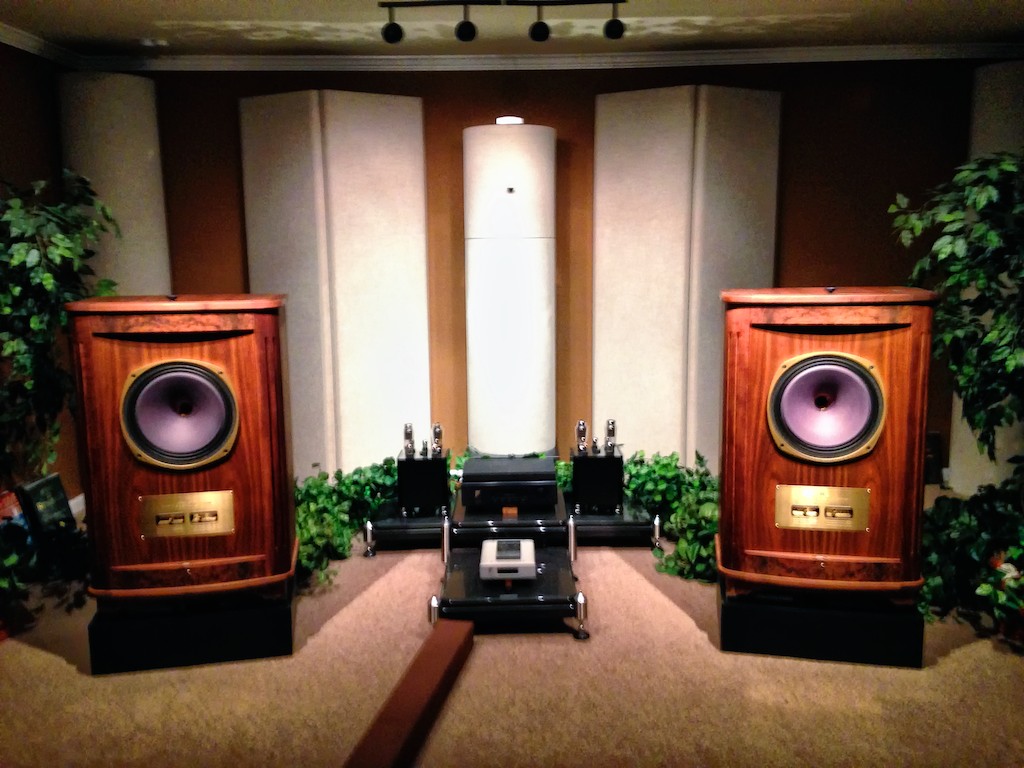
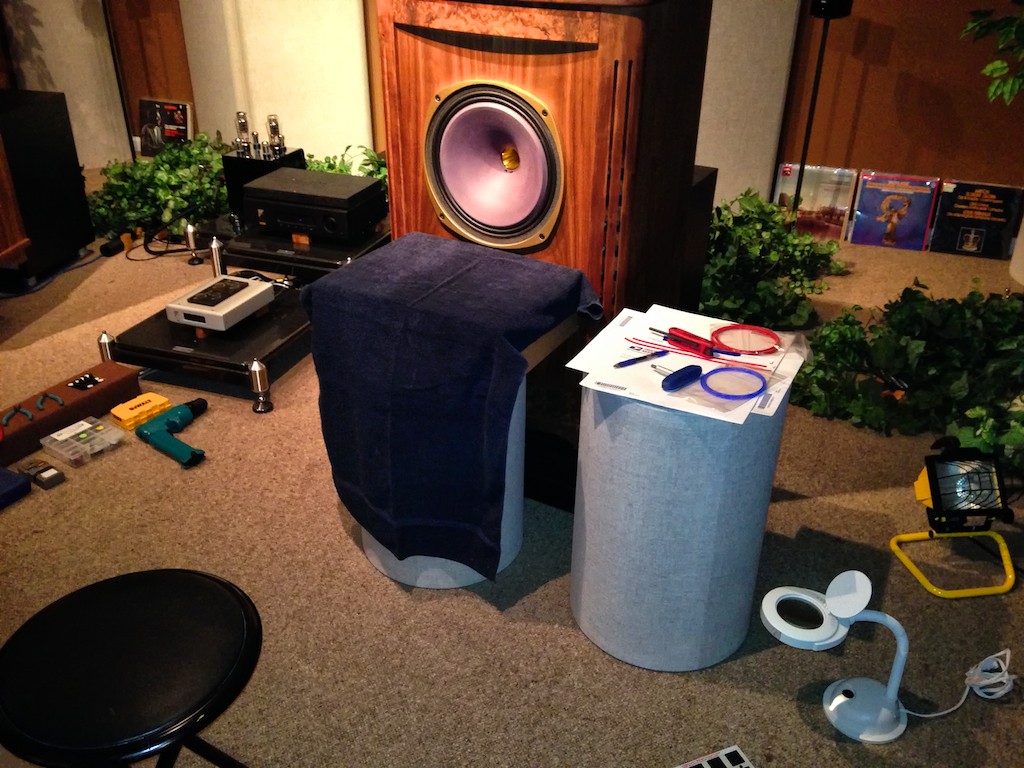
Jim told me his "Canterburys are singing like never before." Below is a photo of Jim's audio system just before installing the Duelund external crossovers.
Man, this is so awesome, Jim!
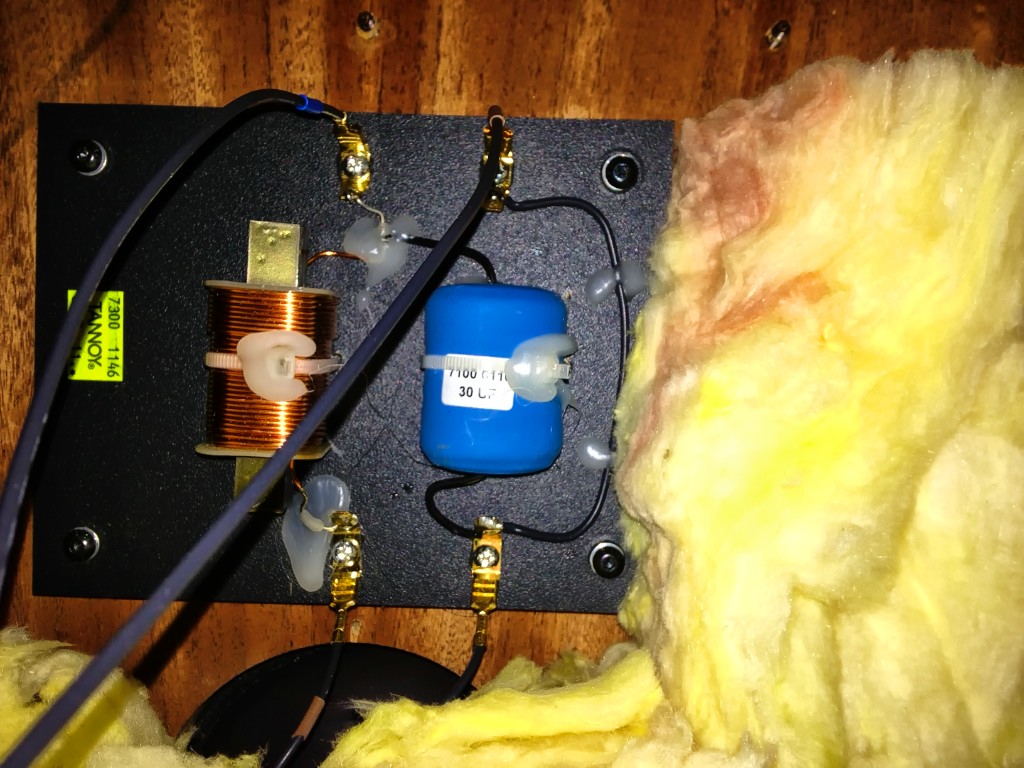
Here's what the stock low-frequency crossover board in the Tannoy Canterbury looks like:
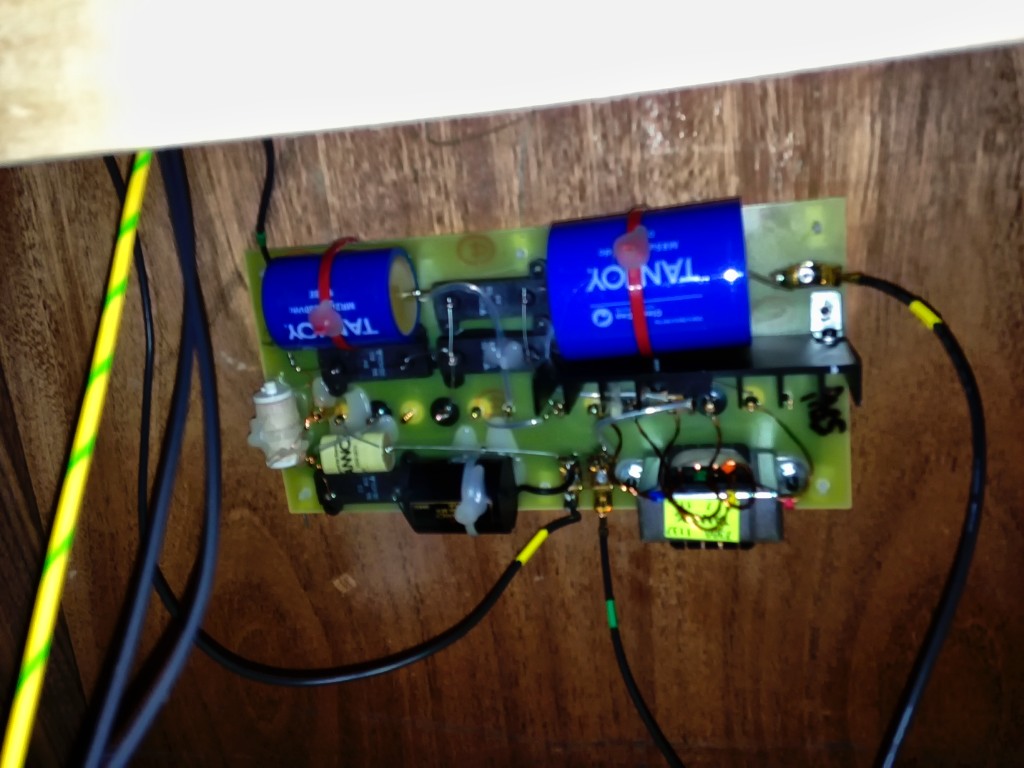
Here's what the stock Tannoy Canterbury high-frequency board looks like:
Jim bypassed the high-frequency controls on the front panel of his Canterburys.

Jim left the stock wires hooked up at rear of the binding post connectors on the binding post plate, but disconnected them at the drivers (Jim did leave ground wire in place), thereby bypassing all existing connections. This will allow Jim to quickly put his Canterburys back into the stock configuration should he wish to.

With his new internal wiring Jim went straight to drivers and bypassed the white connecting block, while keeping the ground wire (yellow green) that is important to Tannoy performance. Jim left the connecting block in place, secured and taped down the now unused wires. Jim says that using this approach he can quickly and easily return to the stock configuration in about ten minutes for each speaker.
Jim said, "I decided to drill two very small holes in the back of the Canterbury that would let me use about 2' of Neotech hook-up wire from my new external Duelund crossover directly to the drivers (actually, a shorter run than the internal hook-up wires). They were to go between the two dots (lower one is near internal cross brace and upper is at back of drivers). Two holes because LF pair went in one tiny hole and HF pair in the other adjacent hole. I ended up plugging them with Black Tak. I used the same wire as Jeff, Neotech 14 gauge copper (LF), and 20 gauge silver (HF), both from Parts Connection. Crossover was to go onto black surface (top of REL B-1 subwoofer) as seen behind speaker. Board is isolated from subwoofer which is relatively inert anyway."
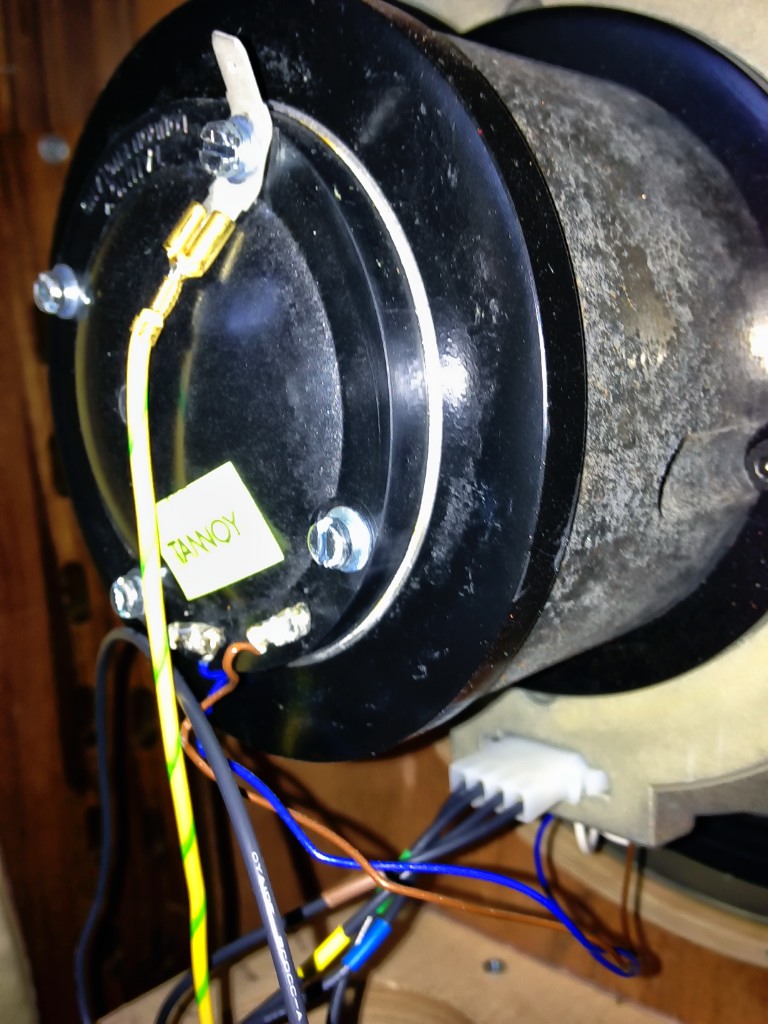
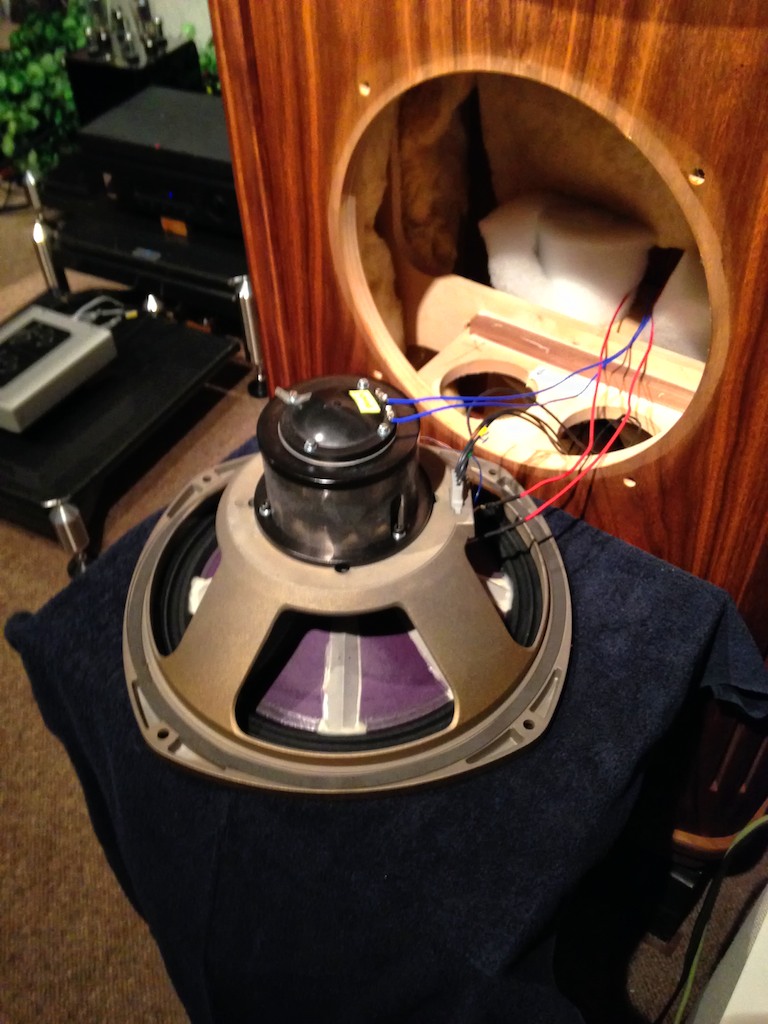
Here's a lonely Canterbury waiting for its Duelund transplant.

Waiting sucks! 😉
The Canterbury drivers are hooked up in a direct connection to the Duelund external crossover behind the Canterbury. the red wires are bass, the blue are treble.
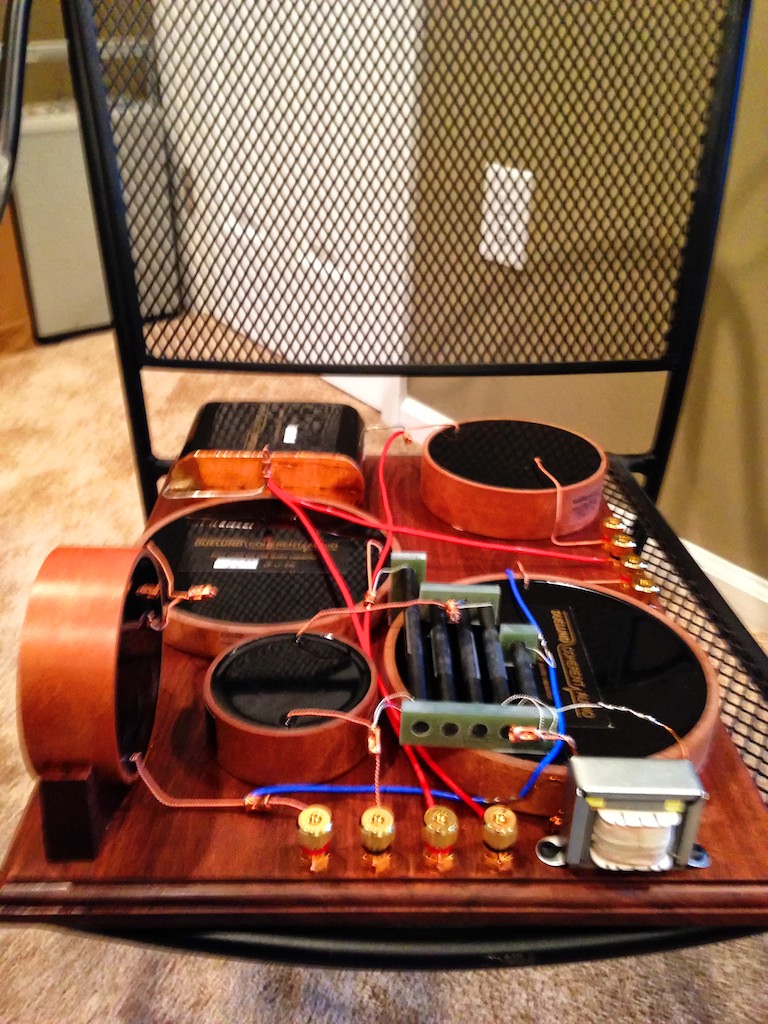
Here's a photo of the completed Duelund external crossover (below). Jim told me, "After I wasted a lot of time looking for a local helper, my friend Ron Williams told me about James Carroll of Dana Audio. I've known Ron for a long time. Not only can he hear, he loves music and he has his own speaker design that looks VERY promising. James is helping him with the project. Both Ron and James live in eastern Tennessee, not exactly next door. I sent James my parts and he designed and built the Duelund external crossover boards."
"A few words on his qualifications: Both active and passive crossover design is a specialty of James'. If you remember John Fuselier's speaker projects back in the 80's that got very favorable reviews in several major audio magazine, James did the crossover design work and supplied the woofers. He has done consulting design work for Kipsch Professional and JBL. He received a 5 page rave review in (the sadly now defunct) Audio Magazine by Don Keele and he was featured on the front cover. Unfortunately that coincided with the start up of his OEM work for Bazooka and he never had time to complete the home audio products."
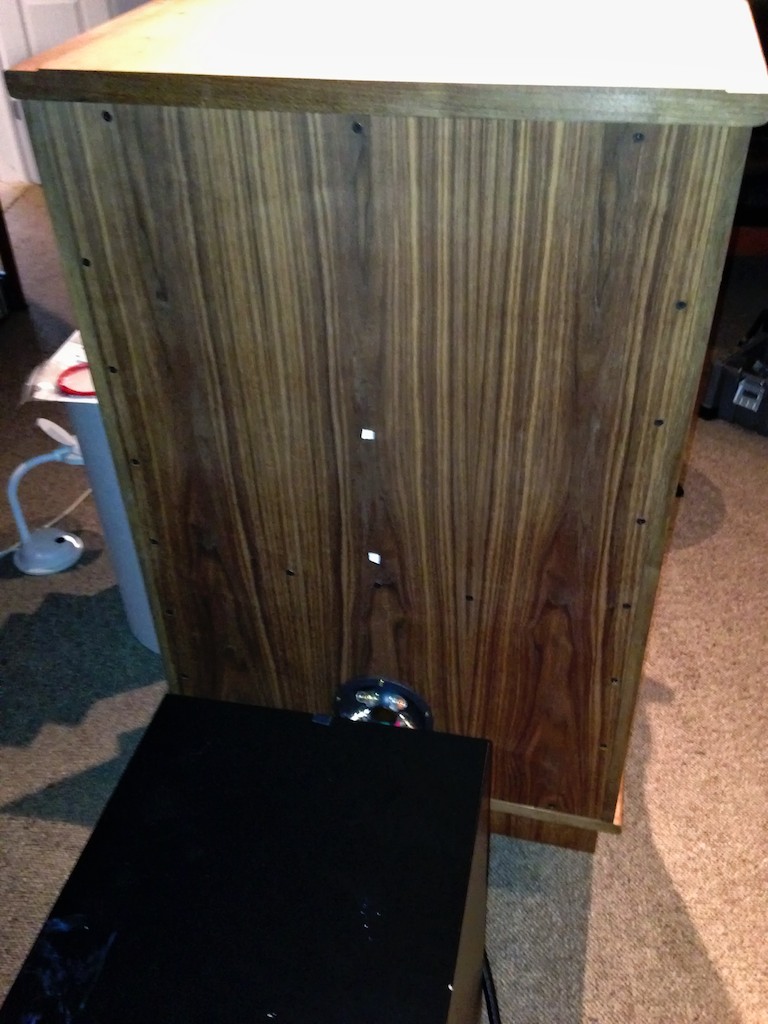
The photo below shows the wires from the Duelund crossover through the routing holes in the cabinets' backs.
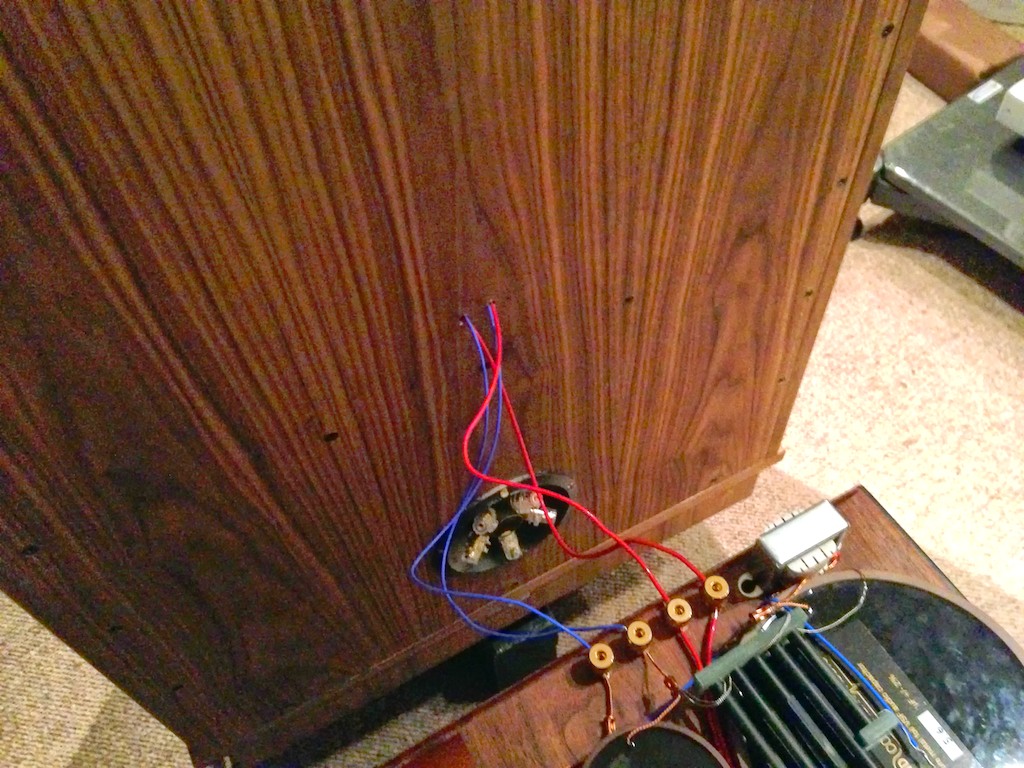
Jim said, "In this image the holes have yet to be plugged. After a few start-up issues, all has been addressed and the sound is now ... well ... it is sublime! 🙂

All I can say is "Wow!". Jim, you really did a nice job on this project - happy listening my friend, and keep me posted on developments!
Postscript: I have had a number of people of late contact me about doing Duelund-Canterbury external crossover projects who are in need of a Canterbury crossover schematic, but it turns out that Tannoy will no longer supply schematics to Canterbury owners who wish to upgrade with Duelund components due to concerns related to intellectual property rights. I sort of understand Tannoy's position generally, but we're not talking about the intellectual property rights for the cure for cancer, we're talking a crossover schematic for a small group of enthusiasts who love their Canterburys. I don't know, maybe it is a secret conspiracy on Tannoy's part to get Canterbury owners to buy Westminsters instead of upgrading with Duelund components (alert: attempt at humor). It was hinted to me that there was nothing stopping a Canterbury owner from sketching out the crossover circuit ... so if you happen to know someone that has done that, or where a Canterbury crossover circuit might be found, there's some folks with Canterburys who would be appreciative of know about that.


