


As I mentioned in my last progress report about the Duelund - Westminster Royal SE Project, my buddy Dave and I made some real progress putting the isolation bases together that the Duelund crossovers are mounted on. Dave brought in the finished frames to the office yesterday, I gave their newly lacquered finish time to harden for a day, and tonight I added the quartz fill and placed the walnut top plates with the Duelund components mounted on them into the frames, and voilà - a pair of Duelund outboard crossovers for the Westminster Royal Special Edition are born!
In case you're just tuning in, the chassis design for the crossovers was inspired by the designs of Mr. Ken Ishiguro of Acoustic Revive fame, and I chose to base the chassis design for the Duelund crossovers on the Acoustic Revive RST-38 Quartz Under-Boards, which I reviewed in Chapter 7 of The Acoustic Revive Chronicles, and just really like a lot.

The main difference between the Duelund chassis Dave & I built and the RST-38 is the size – the Duelund chassis needed to be larger to fit the huge Duelund components on – and the top plate is solid walnut instead of a laminate, and the frame is maple. Below is a couple of photos of one of Dave's maple frames in unstained form next to an ink stained frame.
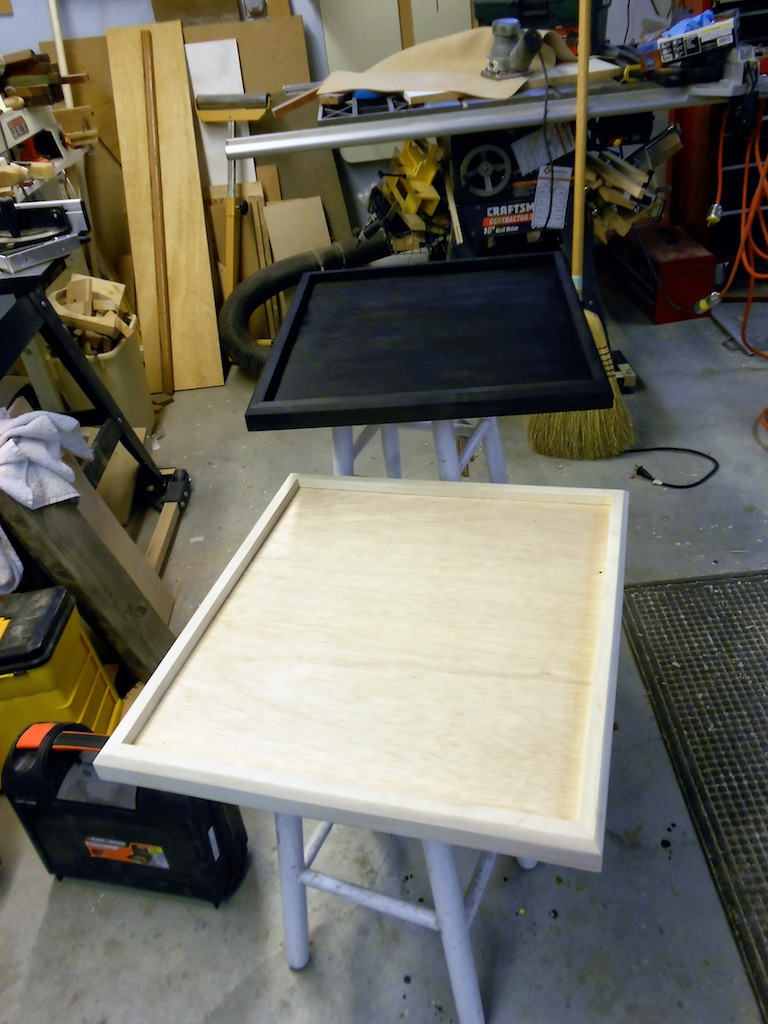
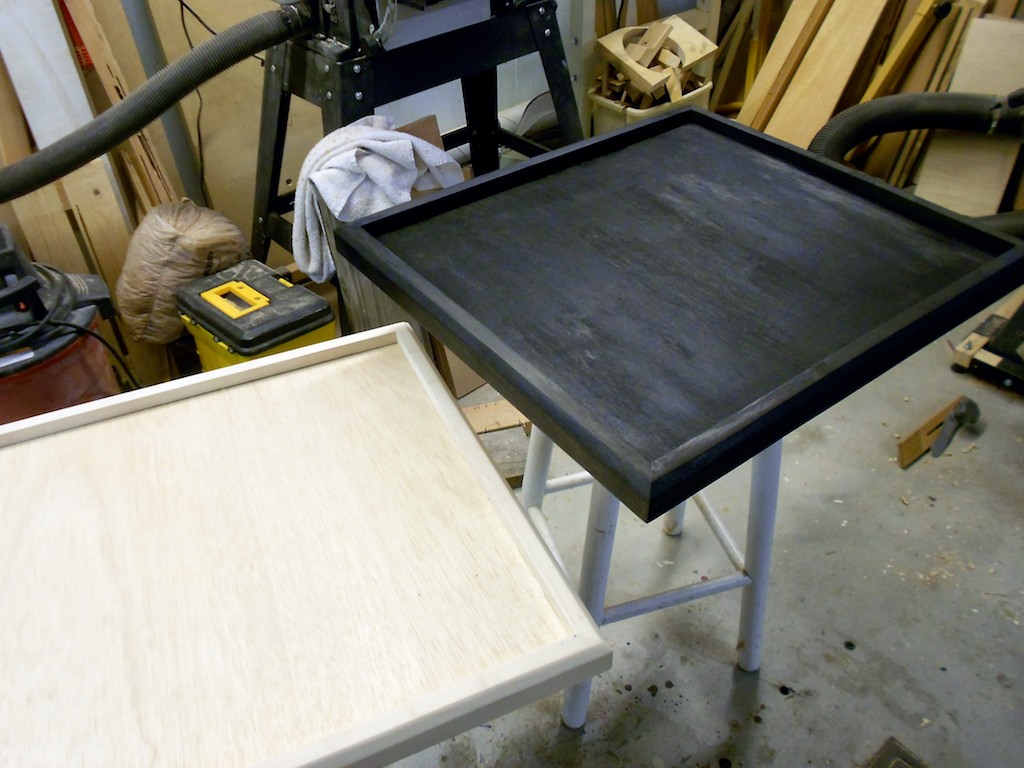
Another view.
After Dave did the glue up and sanding of the frames, he used an India ink to dye it. Dave said, "Although any stain or dye would work, but to get a jet black finish, India ink or a black acrylic would be needed. The acrylic would not show the grain as well, however."
After Dave did the dyeing with the India ink, he did a light sanding because the ink is water based and will raise the grain a bit. Dave chose a clear gloss wipe-on polyurethane finish and put 6 coats on the frame. Dave lightly sanded between each coat with progressively finer paper each time.
Dave told me, "Although the bottom will not be seen, it's important to at least put a coat or two of finish on it as well to eliminate the possibility of warping. You want moisture content of the wood to be the same throughout the wood."
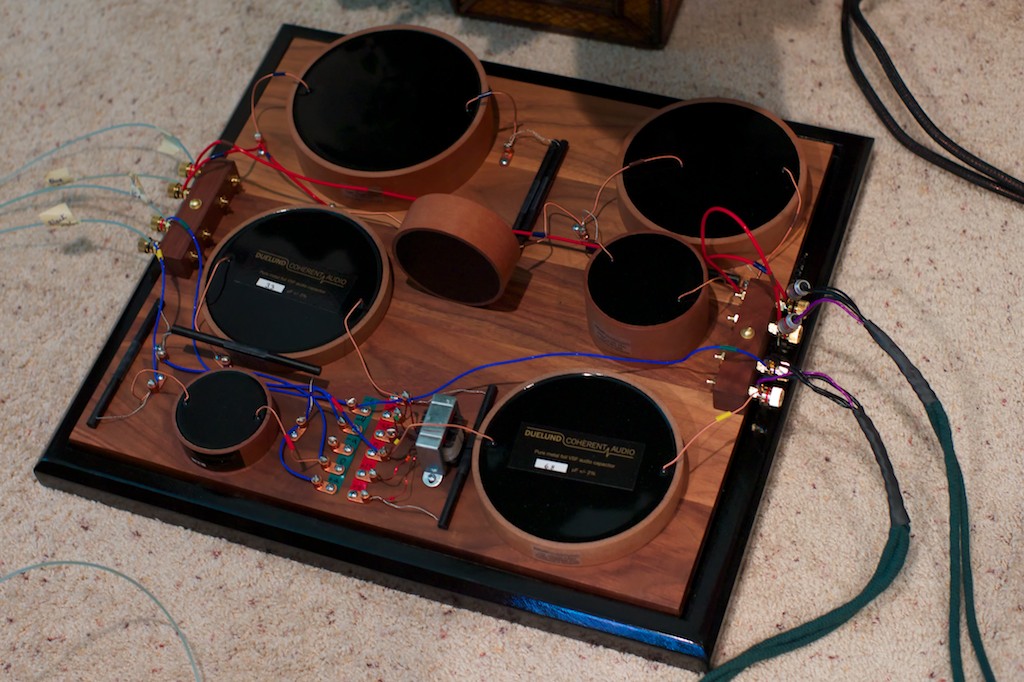
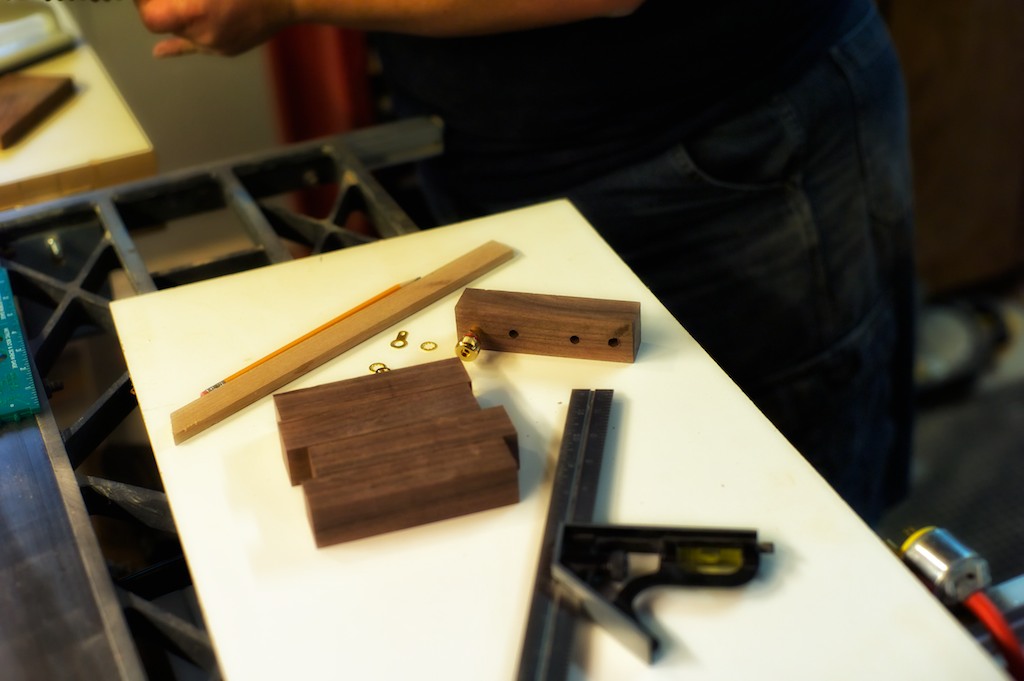
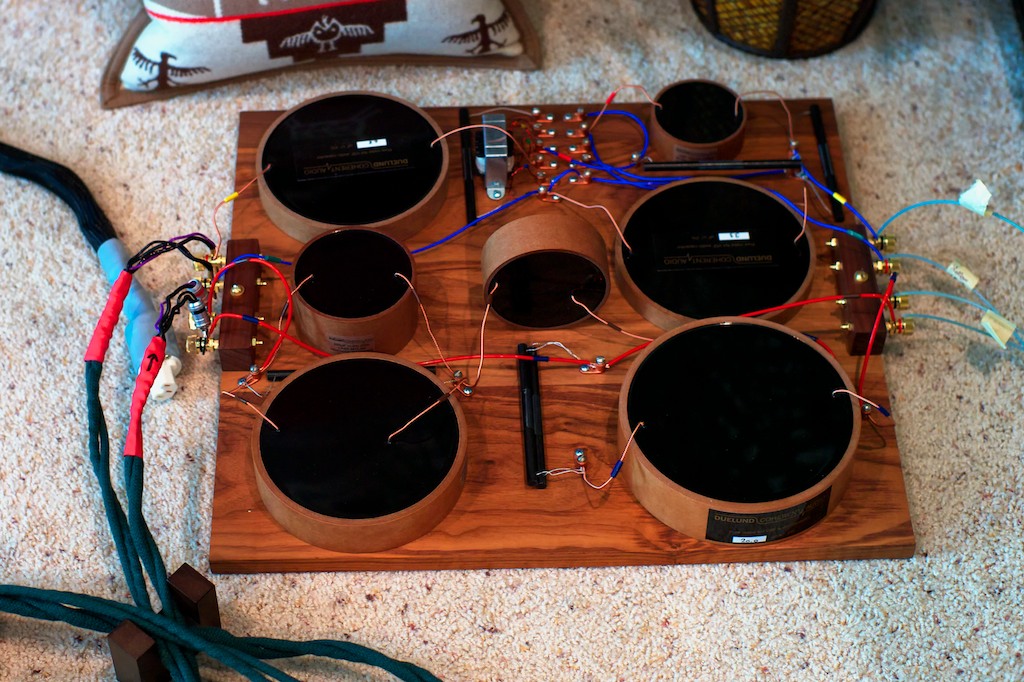
In the meantime I took the binding post blocks Dave made, and installed them on the walnut top plates along with the Duelund components. (below)
Duelund components are installed on the top plates below. They're all wired up nicely with the Neotech wire (silver on the high-frequency section, copper on the low-frequency section).
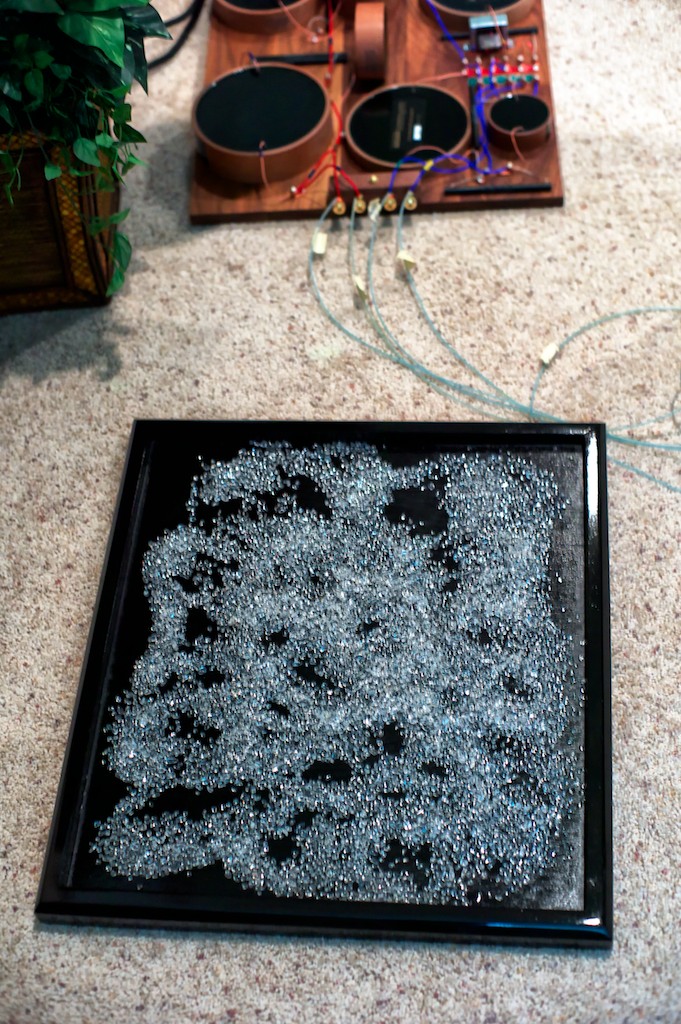
After getting home from the office with Dave's frames I added in some quartz into each frame.
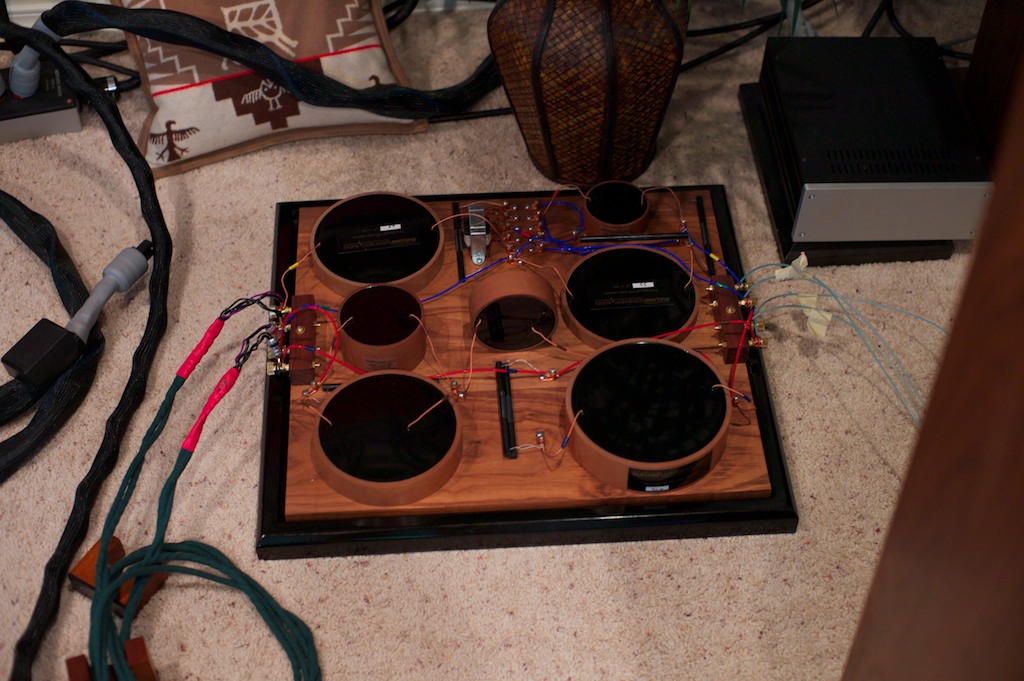
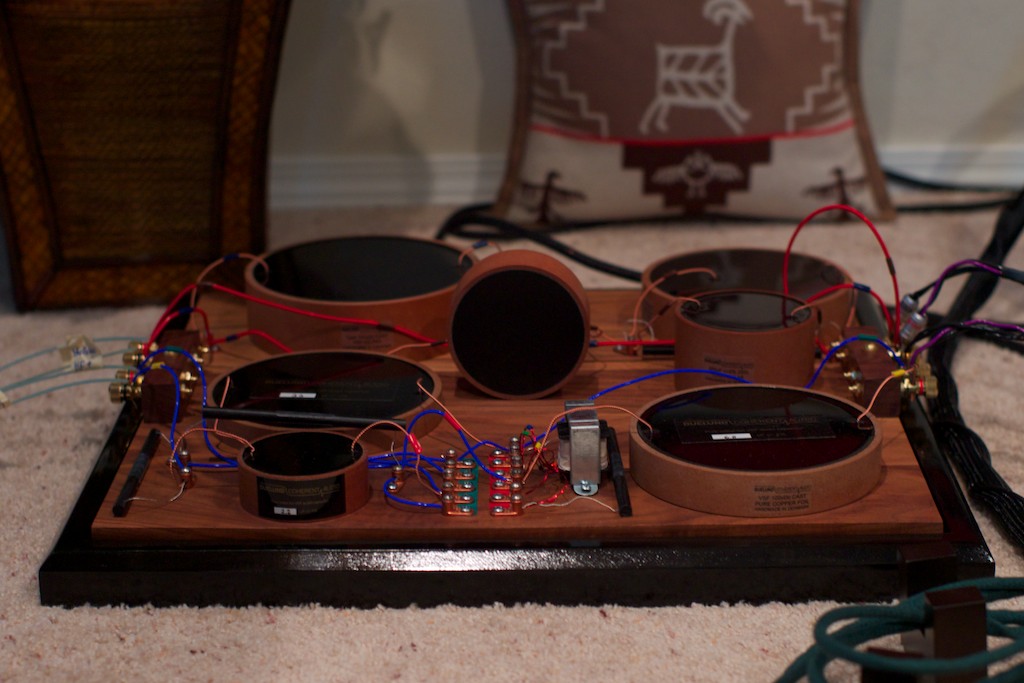
I think the isolation platforms turned out really well, with the walnut top and ink-stained maple sides really complementing the appearance of the Duelund components.
Another view.
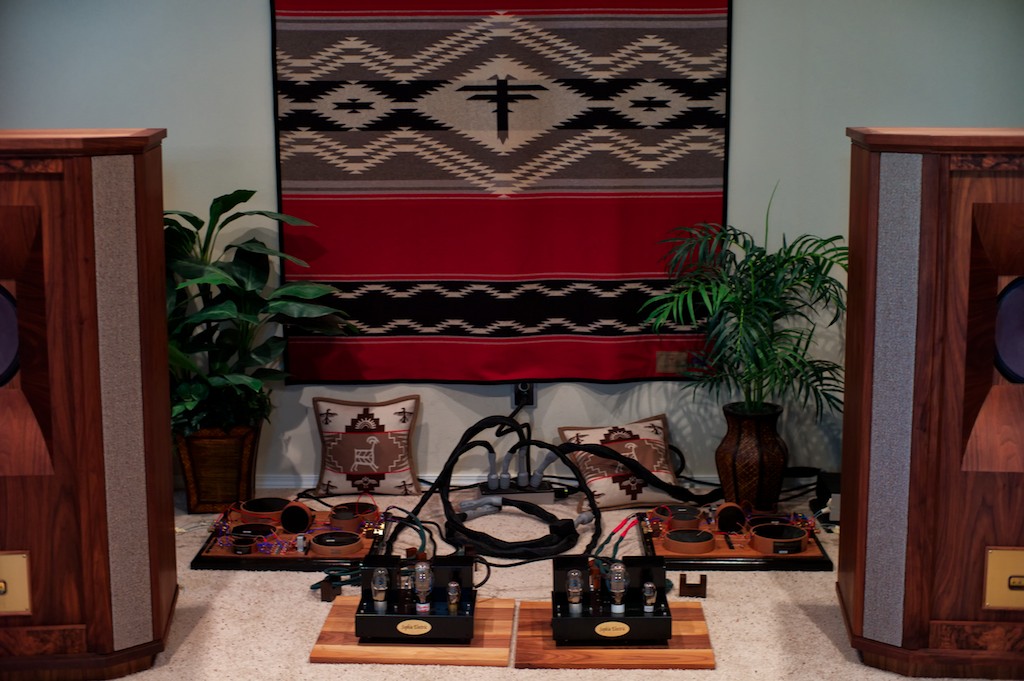
System view.
Many thanks to Dave for the terrific work he did on the isolation bases!
Next I'll be installing Mark Cole's Panatela internal wiring harness into the Westminster Royal SEs. Mark's working on them right now so figure about a week or so.
Ok, that's it for now. Much more to come!
Thanks for stopping by!


