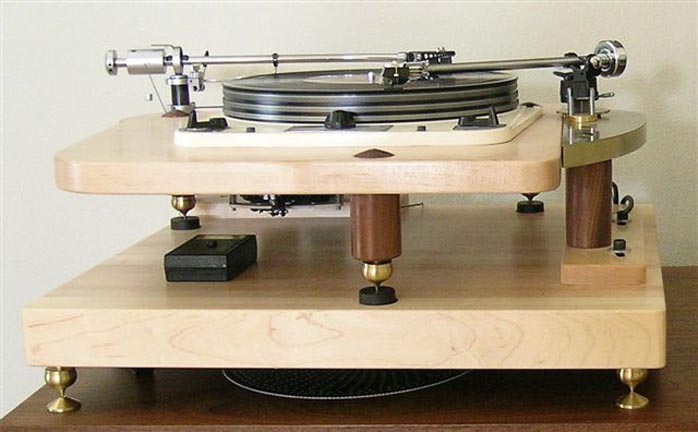
I get a lot of e-mail inquiries about the do-it-yourself (DIY) White Lightening Moonshine cables article I wrote for Six Moons way back in September of 2007, which has been second only to the interest generated by the Garrard Project articles (1, 2, 3) I started writing even further back in September of 2004.
I think the reason for those articles enduring popularity is that for a relatively small investment, and a little bit of your own effort, you can own & enjoy some cables or a classic turntable, respectively, that performs as good as anything currently offered in Hi-Fi 'dom.
I couldn't have been more delighted than when I saw that Art Dudley started doing a version of the Garrard Project (1, 2) for Stereophile's readers (still in progress). The main relevance of Art's Garrard 301 articles to this post is that Art is doing a better version of the Garrard Project than I did back then for Six Moons (I really like Art's choice of arm, cartridge, and plinth), and more importantly, he's introducing the delicious Garrard 301 to a much wider Hi-Fi audience through Stereophile. That's cool.
In like fashion of Art's Garrard 301 articles to the original Garrard Project, I want to provide you an update to the White Lightening Moonshine article that yields an ultra-performance set of DIY interconnects - as good as anything commercially available - for an investment of peanuts and a few moments of your time. I've been wanting to get this update posted for you for about 6 months now, and especially when I found out in the last few days that the Woods patio cord in no longer available, but sometimes there just isn't enough time in a Day! By the way, these interconnects smoked my buddy Stephaen's pair of Cardas Golden Cross interconnects that he brought over for comparison. Did I mention that Cardas Golden Cross may be my all time favorite commercial interconnects from a musicality perspective? Interested? Enter the Dark Matter interconnects (so named for the black wire used).
Cardas 4x33 AWG Shielded Tonearm Wire
The first thing you'll need to do is go buy some Cardas 4x33 AWG shielded tonearm wire to serve as the dark beating musical heart of your new Dark Matter ICs. The Cardas tonearm wire consists of four bundled copper Litz wire conductors in a Teflon wrapped and wire-shielded bundle. A quick search of the internet shows that you can pick it up for between $9-$12 per foot. You'll need two equal lengths of tonearm wire for each interconnect leg, or four equal lengths for a right and left channel pair of interconnects. So, if you want to make a pair of 1-foot interconnects, you'll need 4-feet of tonearm wire to make your pair of interconnects. I bought mine from Parts Connexion. Scale up as needed for the length of ICs needed, and give yourself a little extra length so you have some working room should you botch up a termination until you get the hang of it. Technically, there are 4 conductors in each bundle, so if you were really, really, careful, you could make a full stereo pair of interconnects from just one length of wire, but soldering those tiny wires is a pain! Not to mention that when you do it the way I'm showing you below it sounds better.
Switchcraft SWC-3502A RCA Connectors
I've tried a boatload of fancy RCA connectors over the years, and I keep coming back to the simple, inexpensive, and dependable Switchcraft SWC-3502A RCAs when I want to make a pair of interconnects for my own use. The SWC-3502A RCA connectors are made by that fine old USA company Switchcraft. How good are they? It's what Ken Shindo considers to be the best-sounding RCA regardless of cost and he uses them exclusively on his superb Shindo Silver interconnects. To make the whole thing even sweeter, you can buy them online from CMH Electronics for the ridiculously low price of $2.25 per RCA. To order them, click here and search on SWC-3502A. The SWC-3502A will pop and you can add the quantity you need to your cart. You'll need 4 SWC-3502A RCAs for each pair of Dark Matter interconnects you want to make, which will set you back $9 USD. Not bad for a little Switchcraft witchcraft in your new interconnects eh? That's around $50 in materials for a world class pair of 1-foot interconnects (or $150 per meter) - ones that would sell for $1K to $2K per meter given their level of performance - not bad eh?
Putting It All Together
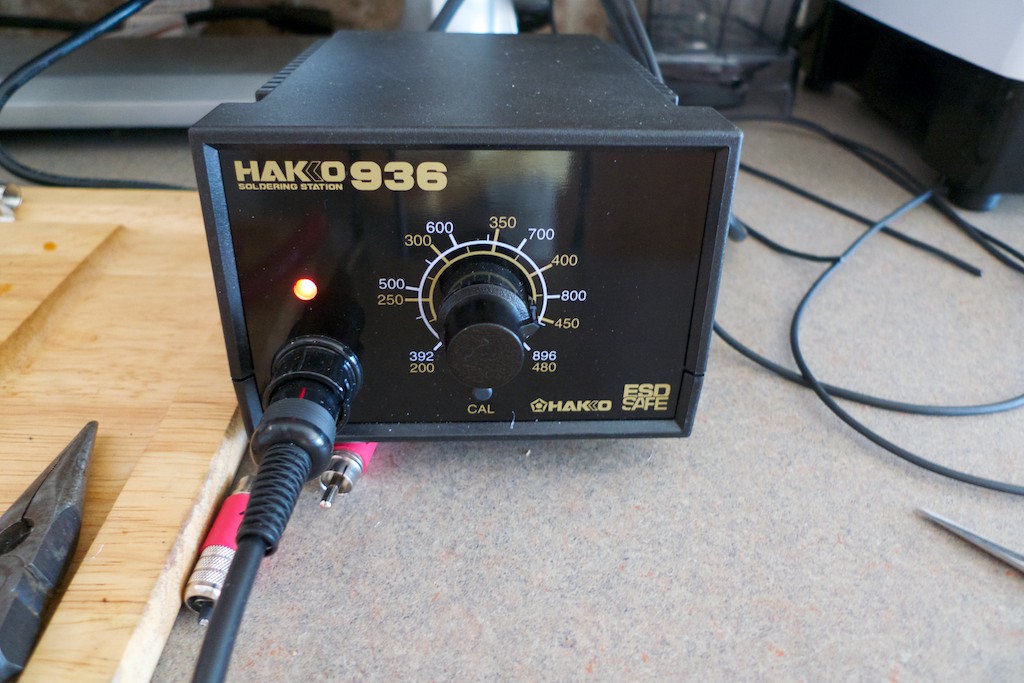
I'm assuming that if you're into doing a little DIY Hi-Fi fun & games you've already got a soldering station and some silver solder in your Hi-Fi kit, but if not, you could do a lot worse than the Hakko 936 soldering station like I bought a couple of years ago, which you can pick up online for around $70-$80 USD - a bargain. I don't have a favorite silver solder, and you won't need much, so buy accordingly (also available at Parts Connexion).
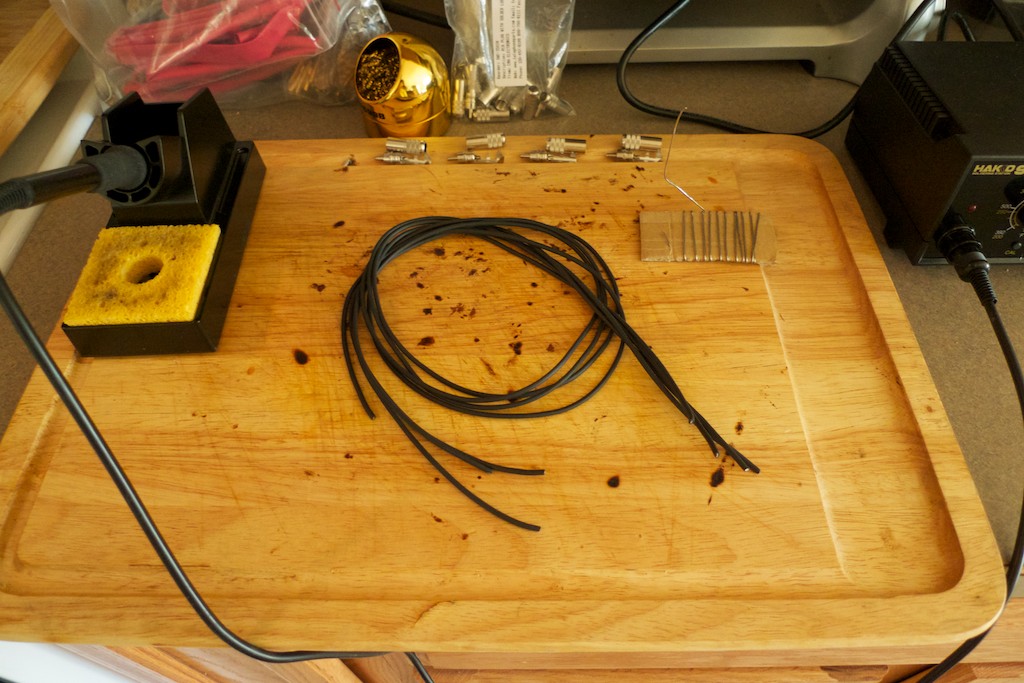
To get started, lay out all your soldering kit and get your soldering station warming up. For silver solder you'll want to set your temperature to 800 degrees.
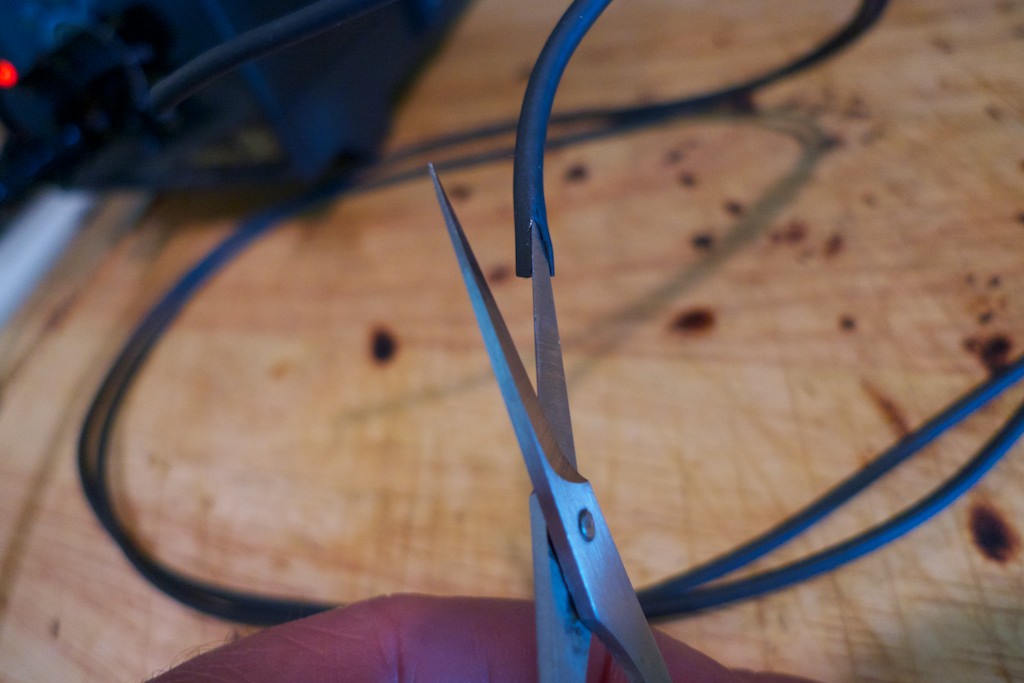
Next cut 4 equal lengths of the Cardas tonearm wire. Take one length of the tonearm wire and trim back about 1/2-inch the black casing, exposing the shielding and Teflon-wrapped conductors inside. I used a little pair of scissors like you'd find in the ladies' section of a grocery store. Just slip the tip of the scissors inside the casing, slit it, then trim it off.
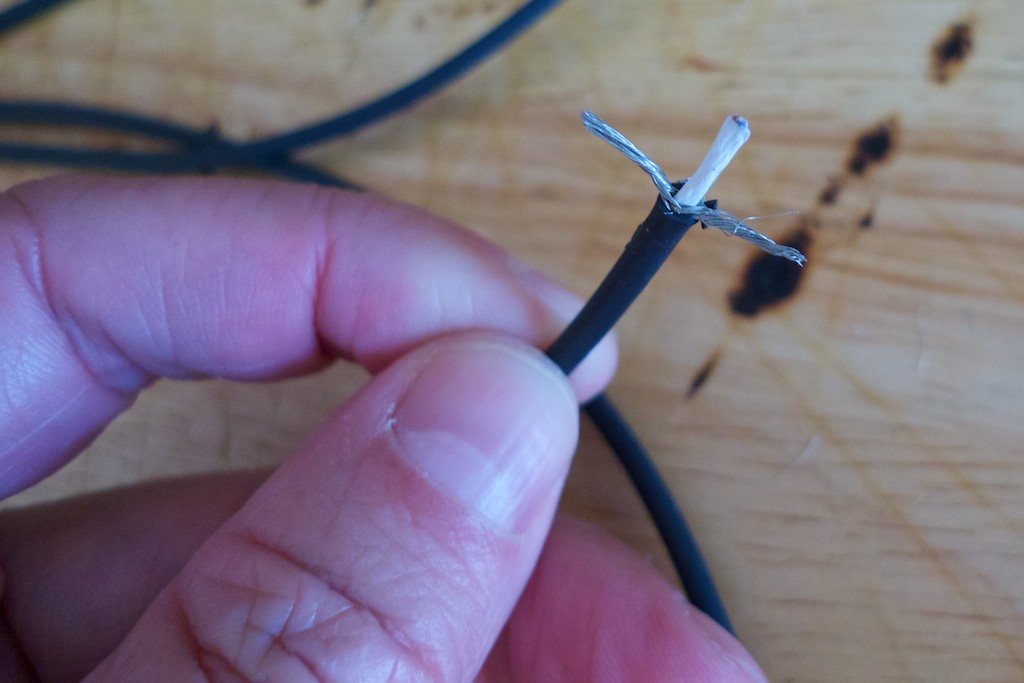
I like to separate the wire shield and twist it into two little pig tails in preparation for trimming it off.
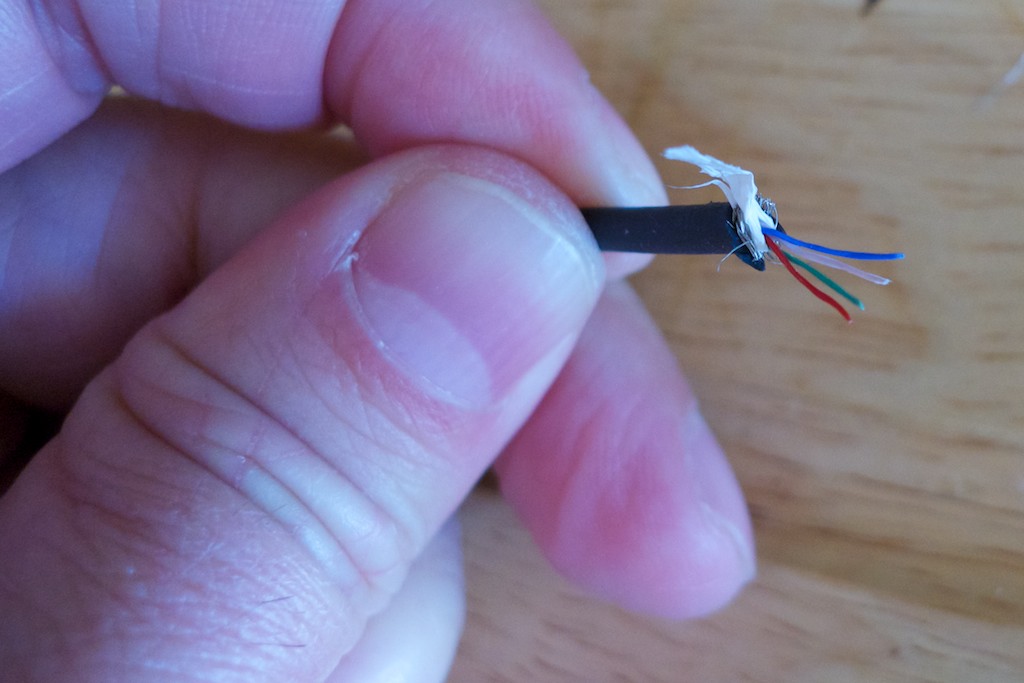
Next trim off the wire shielding. Being very careful not to damage the enamel covered wire conductors (one each, red, green, blue, and white) inside the thin Teflon wrap underneath it. Then trim off the Teflon wrap. I find it best to grab hold of the Teflon wrap and stretch it out a bit, then carefully trim it off, being extra careful not to cut off the fine conductors inside.
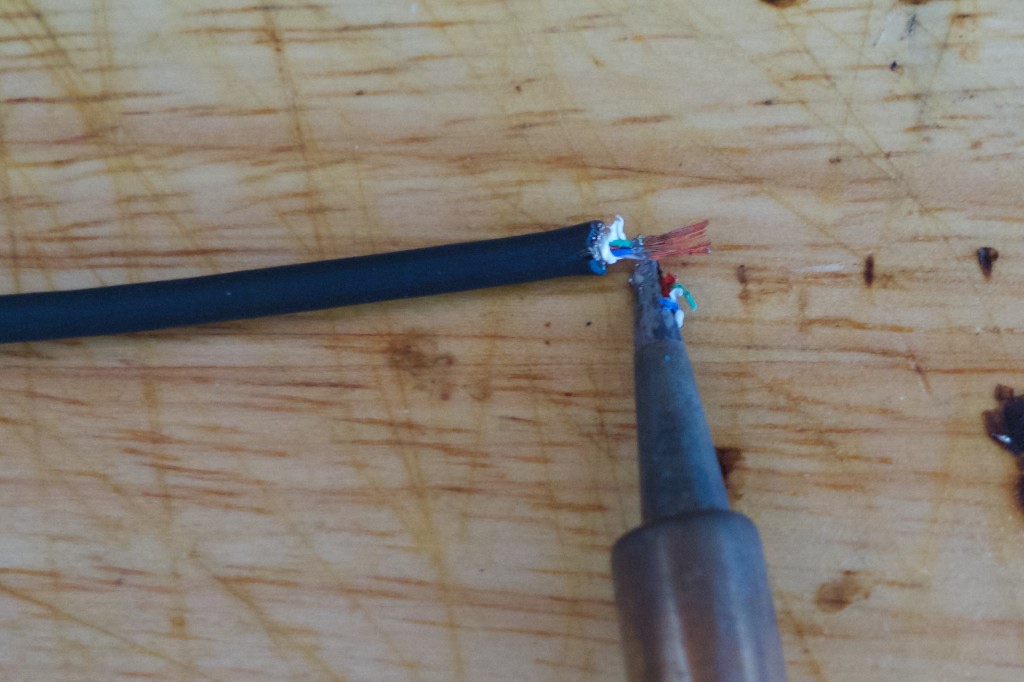
Now take the tonearm cable with exposed conductors and lay it down on your soldering surface (I use an old breadboard dedicated to that purpose), and take your hot soldering iron and carefully scrape the enamel off the conductors to reveal the fine copper wire inside. Be sure to clean the burned enamel of your soldering-iron tip.
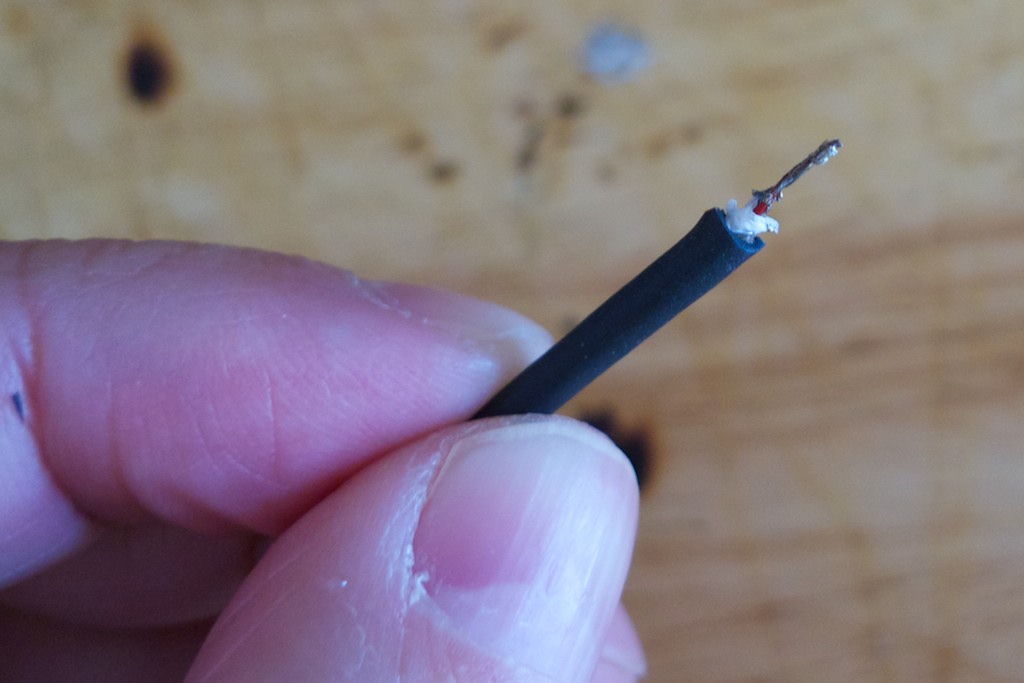
Now twirl the conductors together and 'tin' the end with a little silver solder.
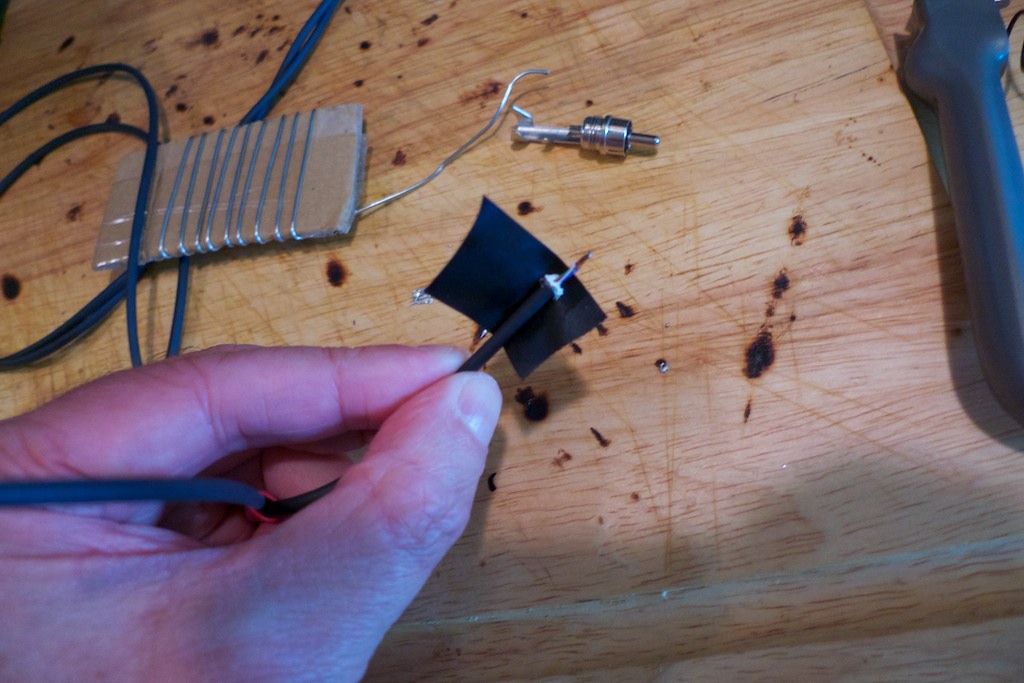
I think it is a good idea to take a small piece of black electrical tape and wrap it around the wire to cover up any stray wires in the shield that may be sticking out. If one of those stray wires from the shield happens to touch the other channel in the RCA body you'll likely get a short, which will be an unpleasant discovery after all that work in putting your interconnects together, because then you'll have to tear them apart and start over.
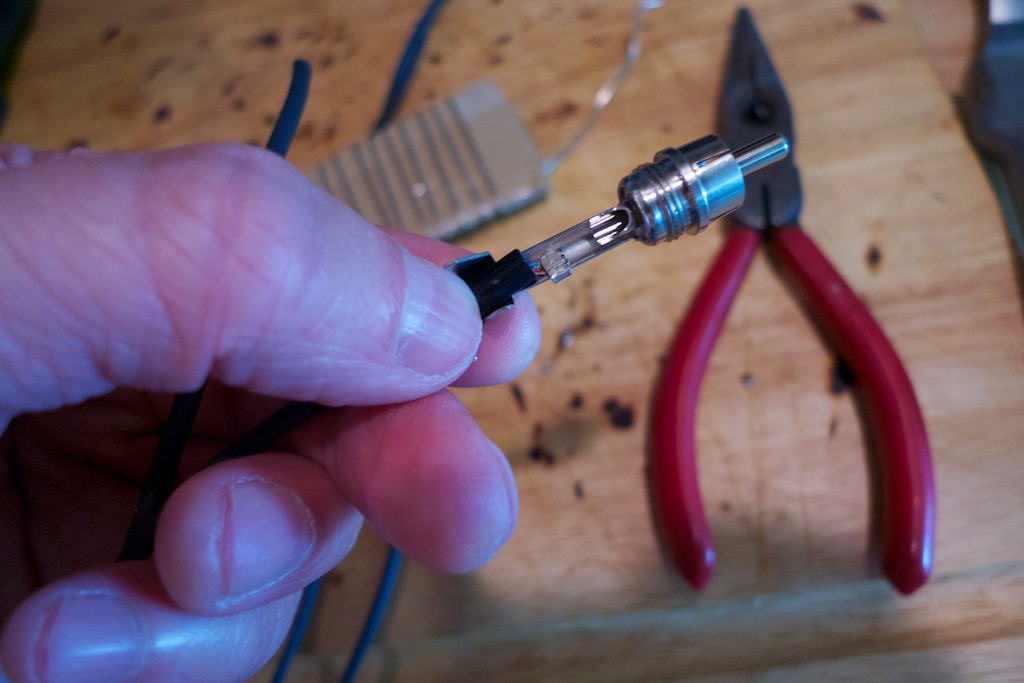
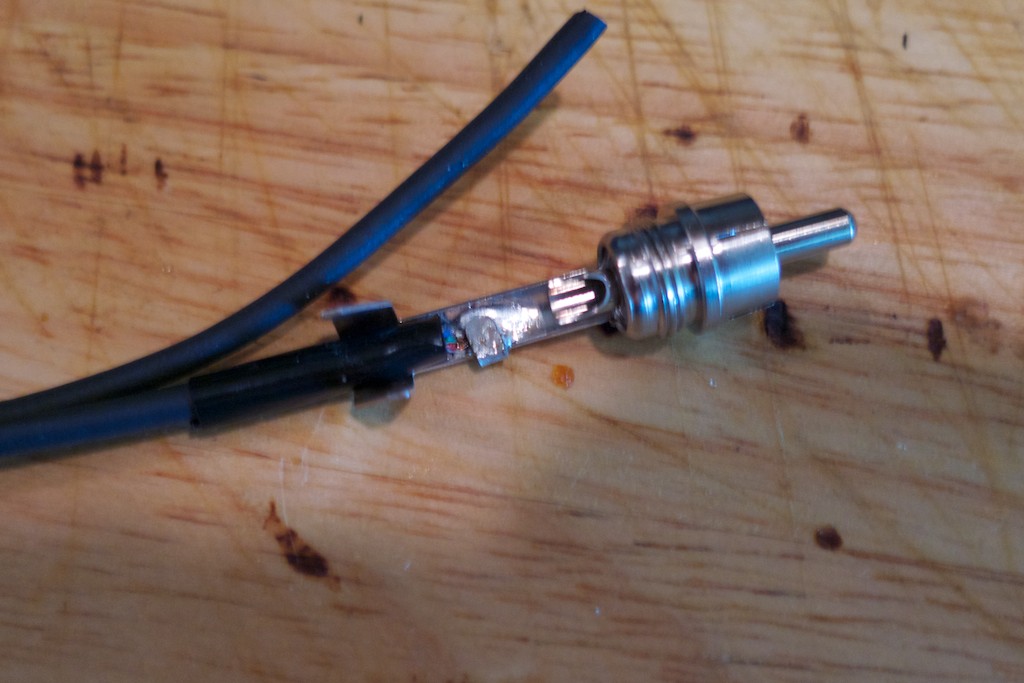
Now slip the tinned end of the tonearm wire onto the RCA return and crimp down the metal tab to hold it in place.
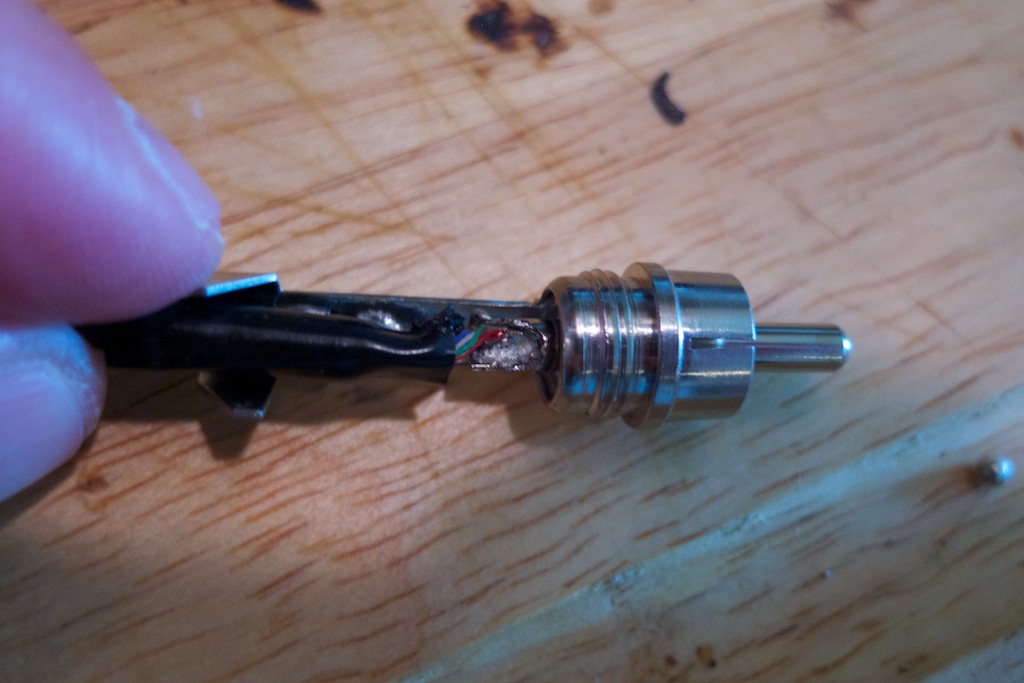
Now solder the tinned & crimped return wire in place.
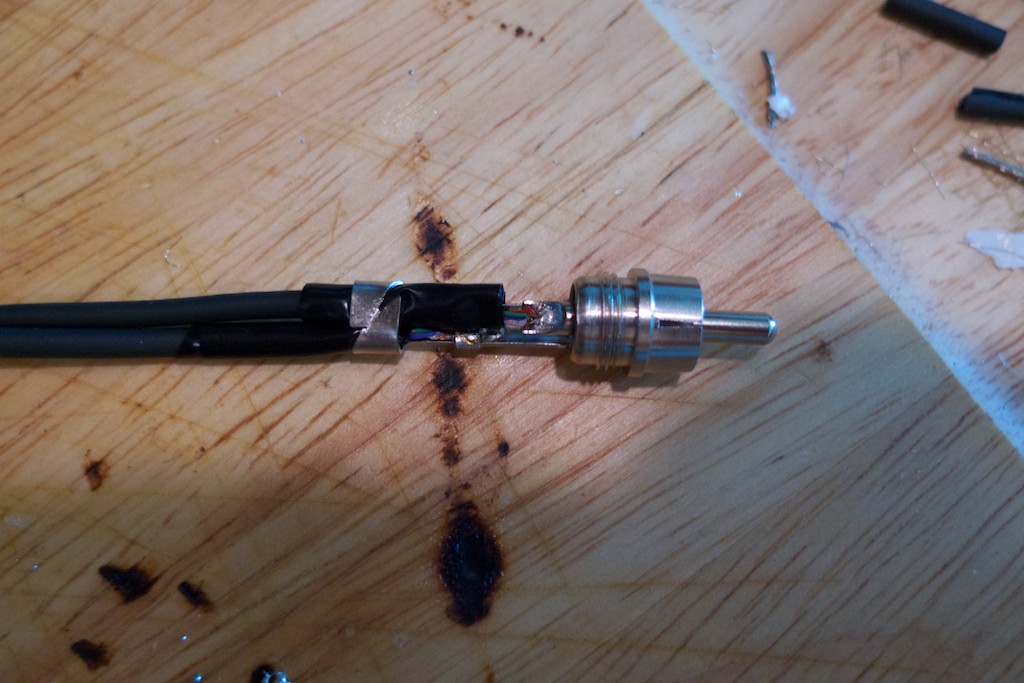
Next prepare another length of tonearm wire - as above - by stripping off about a 1/2-inch of the casing, shielding, Teflon wrap, enamel, tape it, and twist the conductors together and tin them. This length of wire will server as the signal leg of your interconnect. Now solder it into the RCA pin.
Now crimp down the 'tail' tabs to hold everything in place securely.
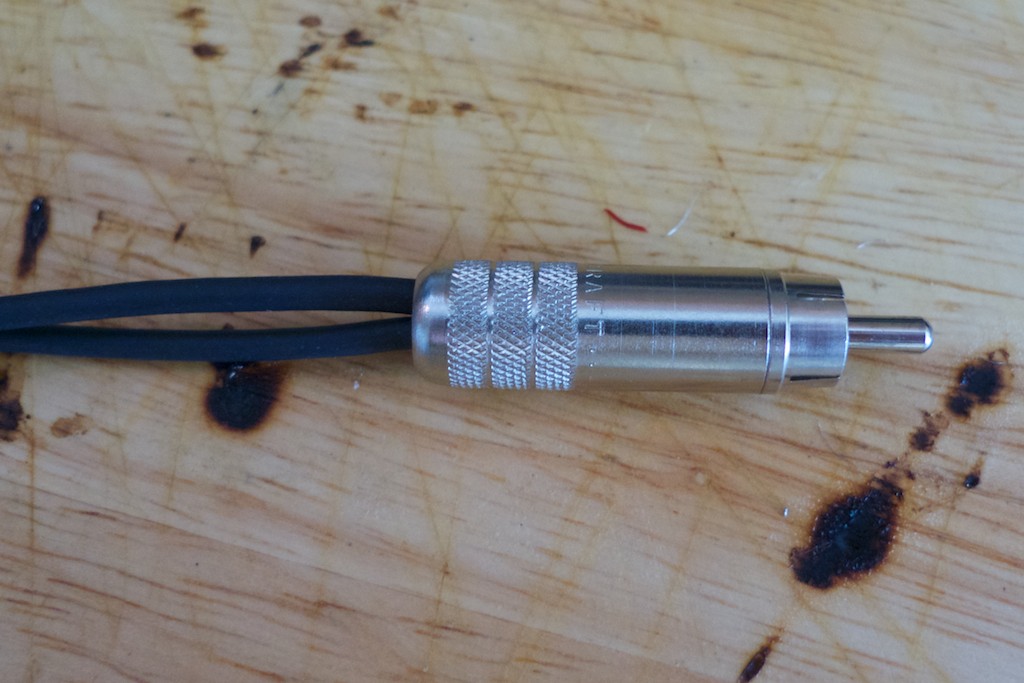
Now slide the RCA barrel over the wires and screw it in place. Ta-da! You are now one quarter of the way to a pair of interconnects!
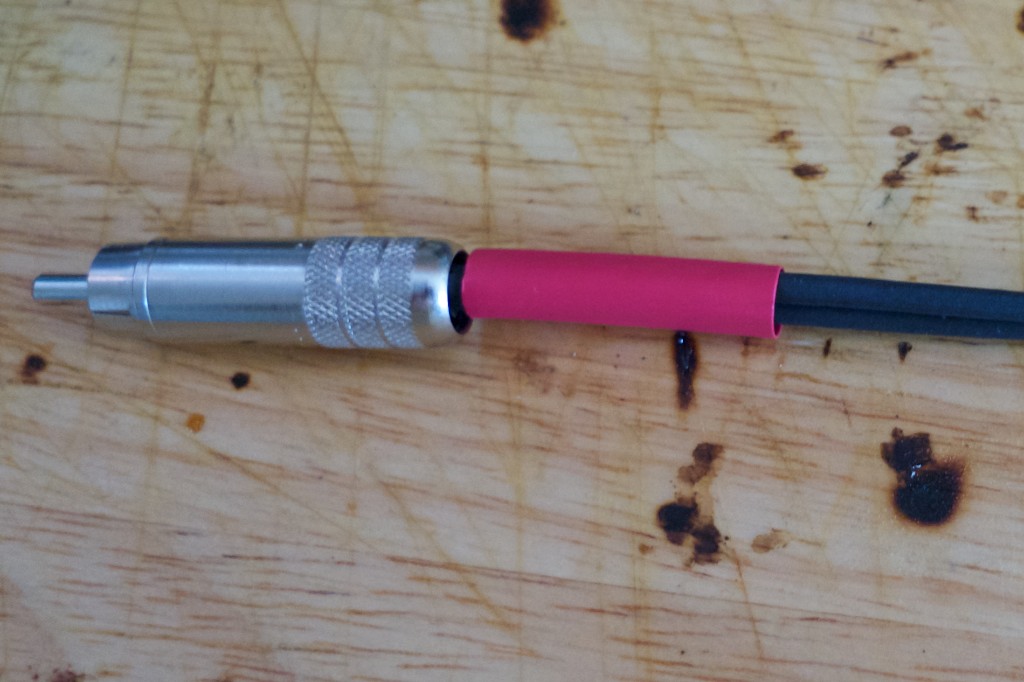
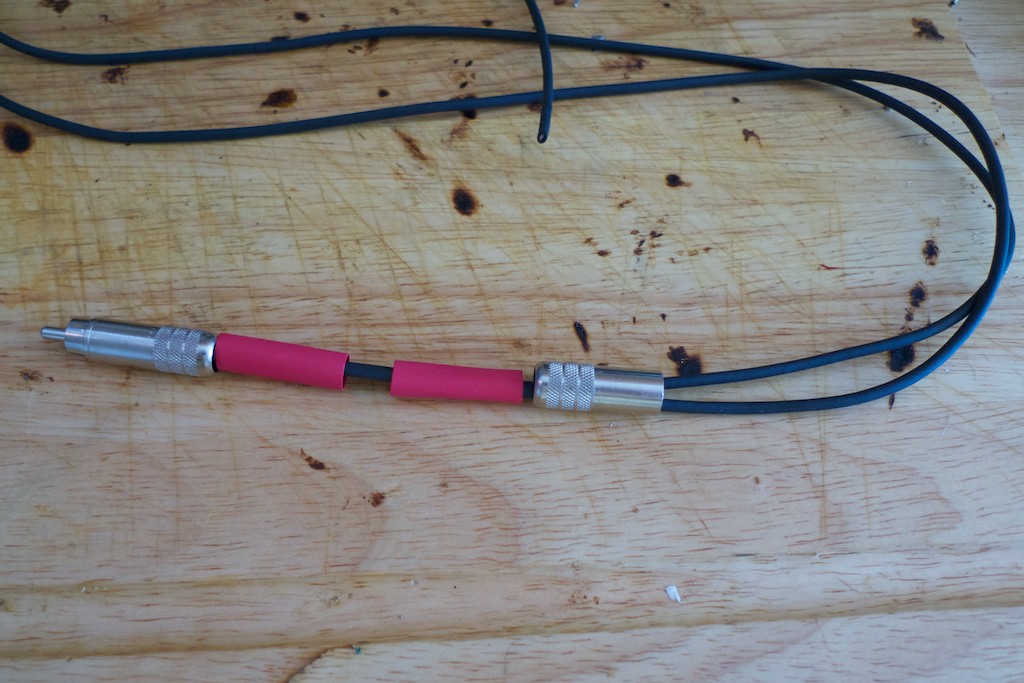
If you want to be really cool you can slide a little red shrink-fit tubing onto the tonearm wires to identify the right channel, or you could be ultra-pragmatic and just put a "+" with a Sharpie permanent ink marker on the barrel ends of each RCA instead.
So you don't get distracted and forget, slide the barrel for the RCA on the other end over the tonearm wires before you prep the tonearm wire ends. Now just repeat the procedure above for the other end. Be sure you connect the correct tonearm wire pin to pin, and return to return - mark them with a little piece of tape if you need to so you don't mix them up, or you'll be in for a nasty surprise when you go to hook things up.
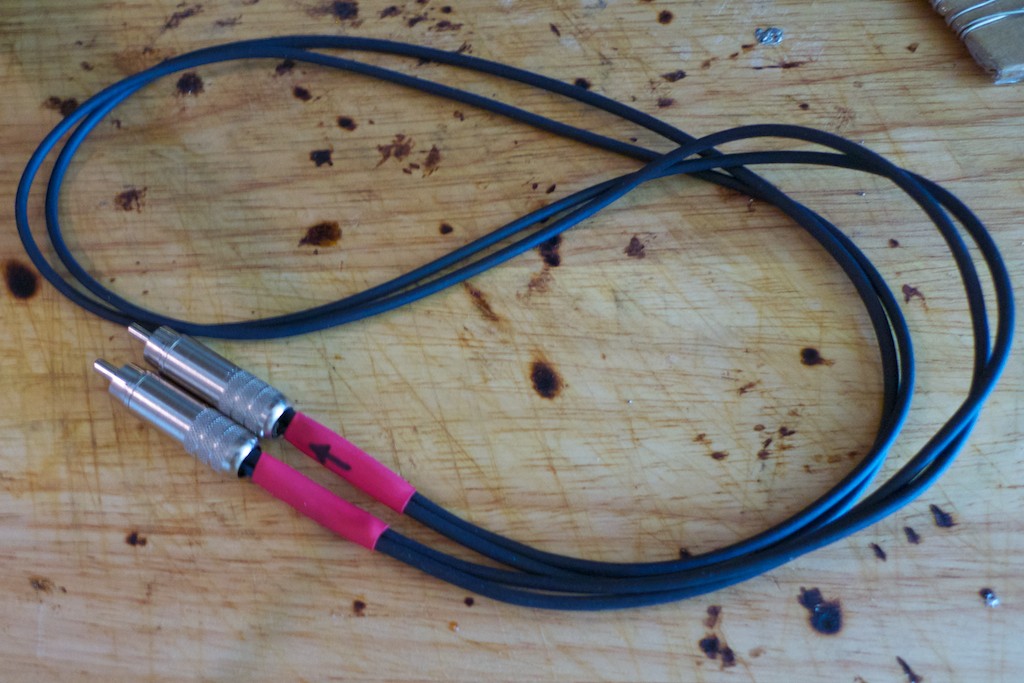
Ta da! You have now completed the right channel Dark Matter interconnect! Now repeat the procedure for the left channel interconnect and you're done.
So now you are the proud constructor of your very own set of world-class interconnects, so give yourself a pat on the back for your efforts. When you plug & unplug your interconnects always be sure to grip the RCA body and not the wire conductors to do it, as tonearm wire is very fragile and too hard of a pull on the wire could destroy them. If you have a cable burn in device - recommended for all cables, DIY or commercial - now's the time to condition your new cables. Then plug them into your audio gear and be prepared to be impressed with the fruit of your labors! Enjoy!

