


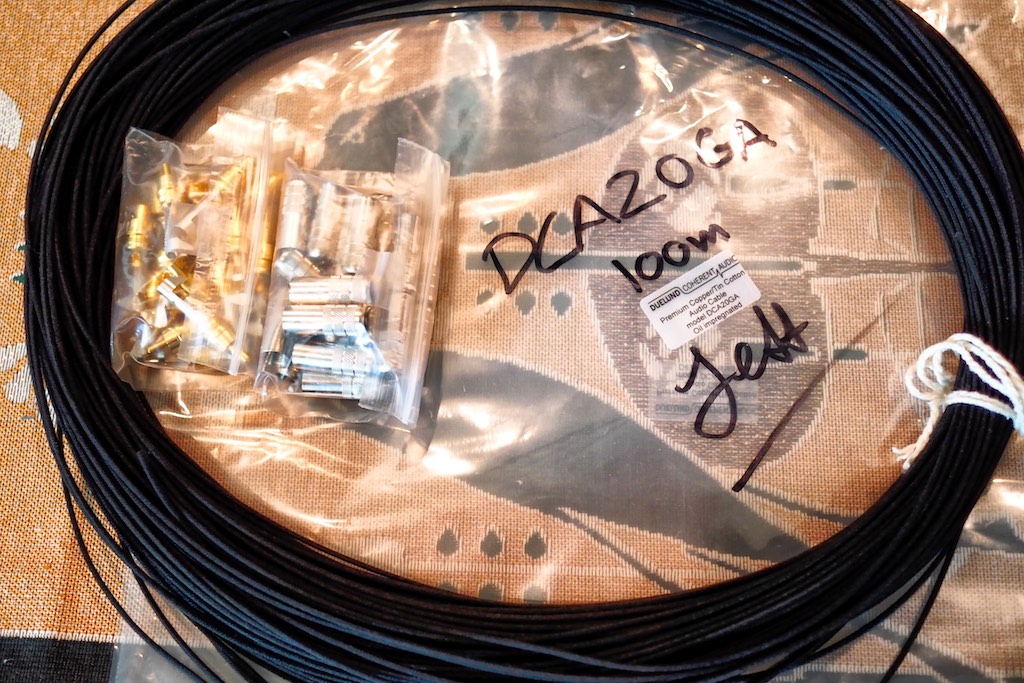
I've been wanting to try the Duelund DCA20GA tinned-copper tone-wire as a shielded interconnect between my Intact Audio SUT and vintage McIntosh MX110Z tuner-preamplifier for a while now.
DCA20GA tinned-copper tone-wire and Switchcraft 3502AAU RCA's.
As most of you know, response to the Duelund DCA20GA as interconnects has been extremely positive, and I really like the ones I made up a lot (below).
In fact the DCA20GA interconnects I made haven't left my primary music system since I installed them between my vintage McIntosh MX110Z tuner-preamplifier and my vintage McIntosh MC30 monaural amplifiers.
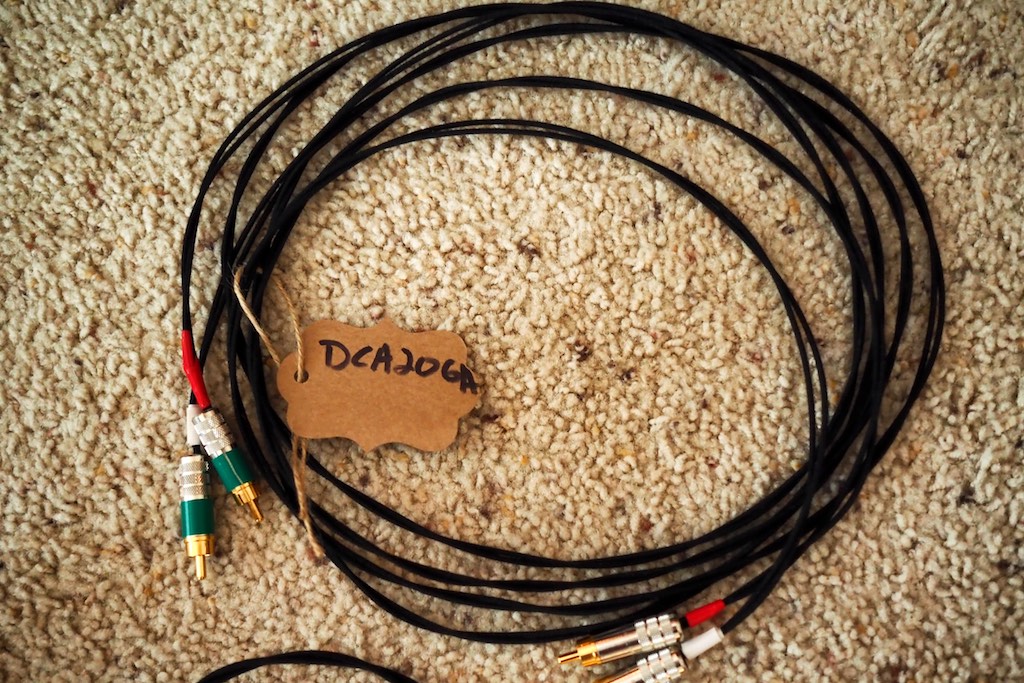
Duelund DCA20GA tinned-copper tone-wire interconnects.
In case you haven't been following the developing Duelund DCA20GA tinned-copper tone-wire story, let me rewind a little bit and give you a quick recap about it.

Duelund DCA16GA tinned-copper tone-wire.
The DCA20GA story:
After Frederik developed the now incredibly popular Duelund DCA16GA tinned-copper tone-wire (above), with its Golden Age inspired oil-soaked & baked cotton dielectric, he decided he wanted to make another version that was optimized for interconnect use.
Frederik settled on a 20-gauge tinned-copper wire, which incidentally has the same count & diameter of twenty-six strands of 0.15mm diameter tinned-copper conductors that the Belden 8402 uses, but instead of using the Belden 8402's industrial strength shielding, heaving casing, filler, and synthetic dielectric, Frederik wrapped his DCA20GA tinned-copper conductors in the lithe & natural oil-soaked & baked cotton dielectric that he used in the DCA16GA.
By doing so Frederik has created an exceptional signal wire whose musical & sonic prowess is really turning heads, and the praise is rolling in.
What's makes it even better is that the Duelund DCA20GA tinned-copper tone-wire is inexpensive, and you can buy it from Parts ConneXion for the very fair price of $6.75 USD per meter.
I asked Chris at Parts ConneXion if he could recommend to me a parts list for making up some shielded Duelund DCA20GA interconnects, and here’s Chris’ recommendation for making up a pair of 1-meter DCA20GA interconnects:
4 meters of Duelund DCA20GA ($6.75 USD/meter)
7 feet of TCBRAID-70765 1/4″ Tinned Copper Braided Sleeving ($1.25 USD/per foot)
6.5 feet of X COTTUBE-72532 OD:11mm, Non-dye Natural Color Cotton Tubing, 100% Cotton ($1.30 USD/per foot)
2 pairs of DUELUND-81404 Duelund RCA Plug, Direct GOLD-Plated ($55.95 USD/pair), or for a budget approach use 2 pairs of Switchcraft 3502AAU RCA’s ($3.99 USD/each).

Kester solder and Switchcraft 3502AAU RCA's.
The Switchcraft 3502AAU RCA's are a DIY favorite of mine, being both inexpensive, great sounding, and compatible with narrow vintage input spacing, but they are not built to the same level of quality as the Duelund RCA's.
0.25 feet of HSHRINK-64093 3/8″ Black – Polyolefin 2:1 Shrink Ratio, Flexible Heat Shrink Tubing ($0.75 USD/per foot)
0.25 feet of HSHRINK-77264 3/8″ Red – Polyolefin 2:1 Shrink Ratio, Flexible Heat Shrink Tubing ($2.56 USD/per foot)
It takes Parts ConneXion approximately 2 hours of labor to put together a pair of shielded interconnects, and if you don’t feel comfortable making up your own, Chris will make up custom pairs for you if you contact him.
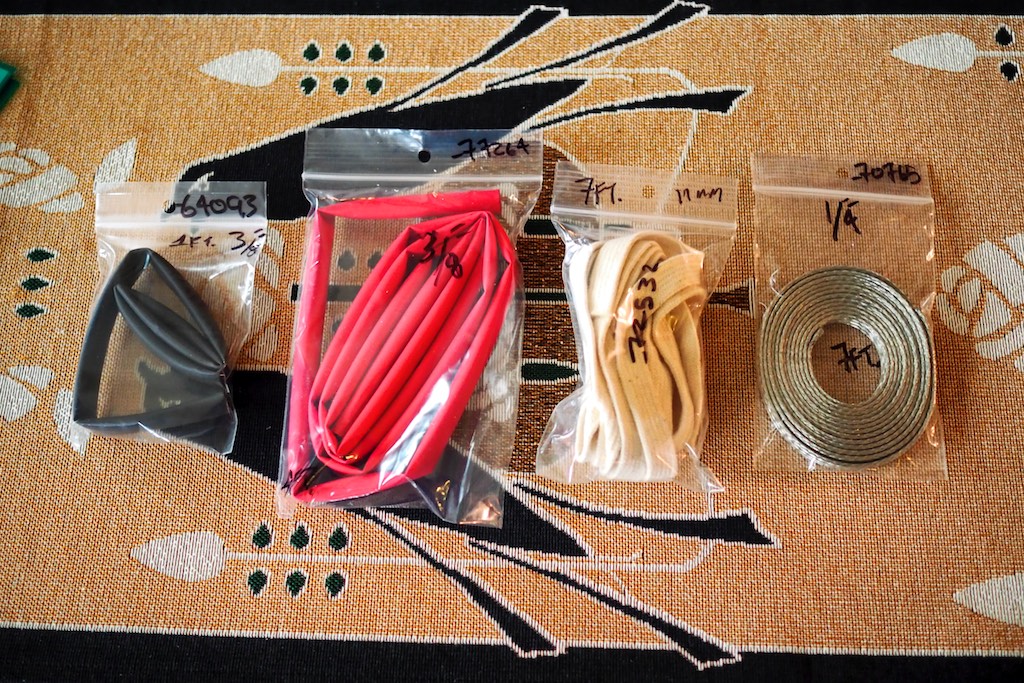
DCA20GA shielded interconnect supplies from Parts ConneXion.
I already have plenty of DCA20GA tinned-copper tone-wire and Switchcraft 3502AAU RCA's, so last week I ordered the rest of the supplies I needed from Parts ConneXion so I could build a pair of shielded DCA20GA interconnects.
They arrived yesterday.
¸¸.•*¨*•♫♪¸¸.•*¨*•♫♪¸¸.•*¨*•♫♪
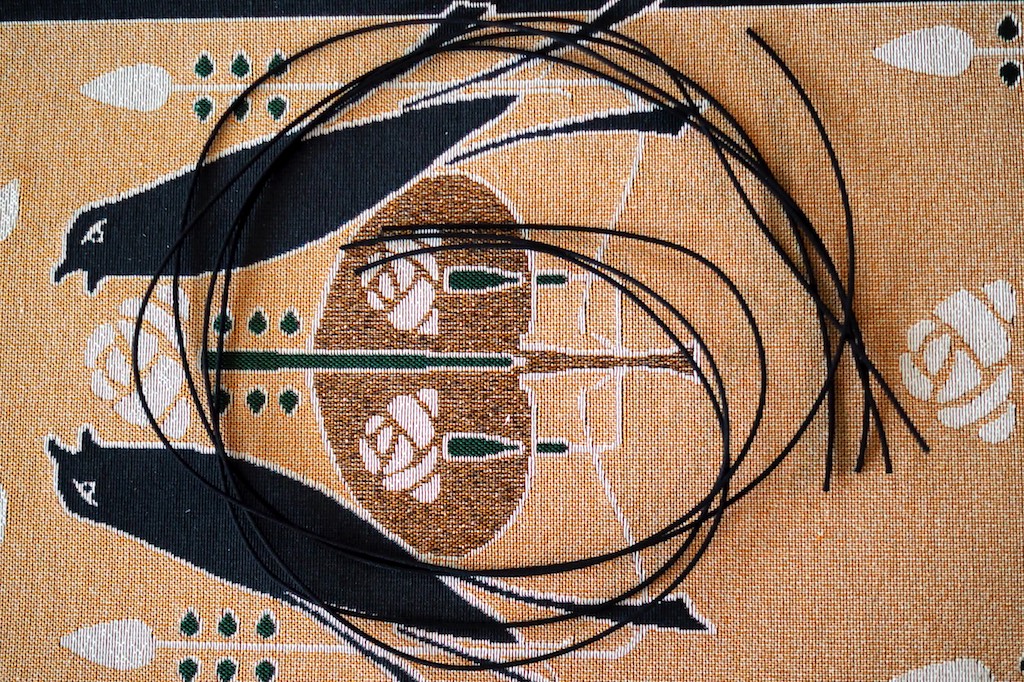
Step 1. Cut four 1-meter lengths of DCA20GA for a pair of interconnects.
I began my shielded DCA20GA interconnect adventure by cutting four 1-meter lengths of Duelund DCA20GA tinned-copper tone-wire (above).
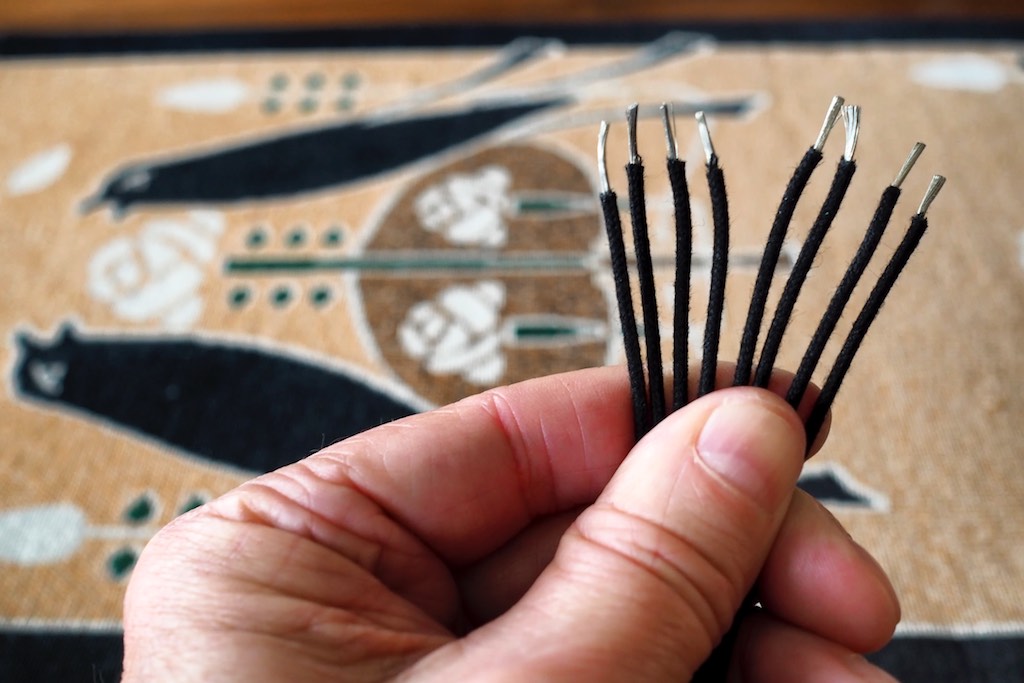
Step 2. Strip the DCA20GA wire ends for soldering them to the Switchcraft 3502AAU RCA's.
The next step is to strip the wire ends for soldering them to the Switchcraft 3502AAU RCA's (above).

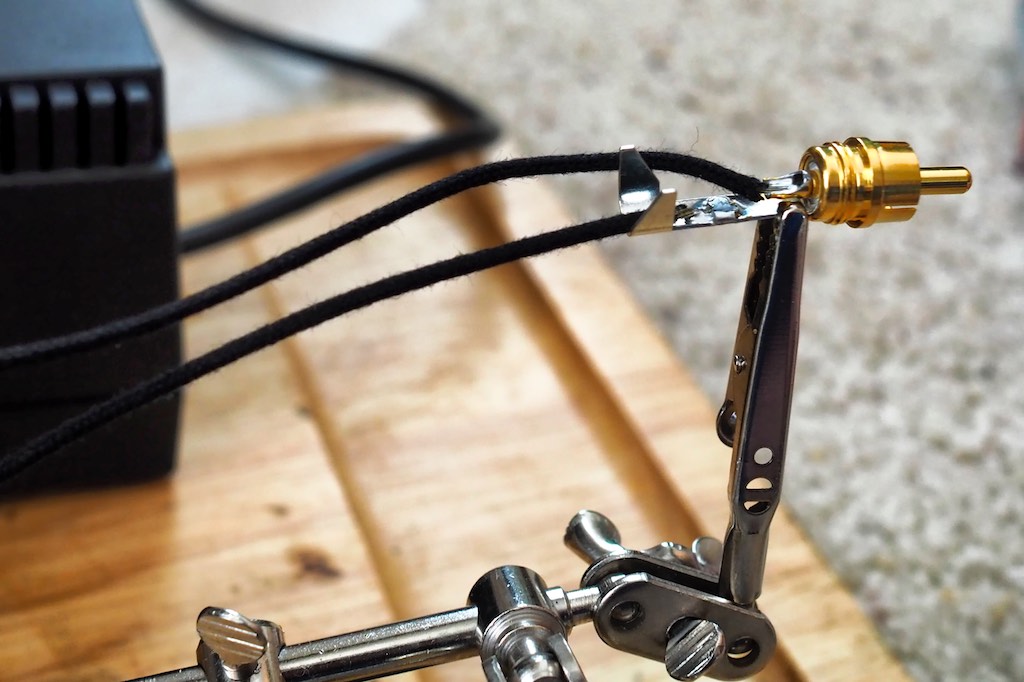
Step 3. Solder the DCA20GA wires to the Switchcraft's pin and ground.
Now, taking two lengths of the Duelund DCA20GA wire, solder (Kester) one length to the pin of the Switchcraft 3502AAU RCA, and the other length to the ground (above).
I like to crimp down the little ground tab onto the wire to secure it in place, then solder it to solder it in place.

Step 4. Attach a bit of red microphone tape to the other end of the wire to identify the DCA20GA soldered to the pin, for reference in the next steps.
Next, attach a bit of tape to the DCA20GA soldered to the pin for reference, so you don't get the two lengths of DCA20GA confused as you continue through the next steps. I like to use the Peavey color-code microphone tape that you can get on Amazon.
Step 5. I wrapped a little Peavey microphone tape around the ends of the DCA20GA wires to make it easier to thread through the shielding.
I wrapped the ends of the two Duelund DCA20GA wires with a bit of white microphone tape to keep it together while threading it through the tinned-copper shielding.
Then I cut a length of the shielding ..
Step 6. Thread the DCA20GA through the shielding.
... and threaded the two DCA20GA wires through it.
You have to squish the shielding together end-to-end like a Chinese finger trap puzzle to open it up, and then you can ease the DCA20GA wires through the the shielding inch-worm like, as you continue to open up the shielding along its length.

Step 7. crimp down the clamp terminal tab ends on the shielding and wire ...
Next slide the shielding under the clamp terminal, then clamp the tabs down onto the shielding & wire (above).

Step 8. Secure the shielding to the clamp terminal with a dab of solder.
I then added a dab of solder to the interface of the clamp terminal and shielding interface to secure it.
Step 9. Putting on the cotton tubing.
In the next step, first tape down the shielding on the unterminated end to keep the frayed ends together so you can thread it through the cotton tubing, then thread it through until you get to the Switchcraft 3502AAU's plug housing, then tape it down with microphone tape to hold it in place and keep it from fraying in subsequent steps.
As with the shielding, the 'inch-worm' approach to moving the interconnect through the cotton tubing works pretty well. It's a tight fit, so be patient as you work it through!
Then thread the Switchcraft 3502AAU's handle onto the interconnect. I like to mark the source end handle with a little green microphone tape to identify it.
Step 10. Add the heat shrink tubing.
Next I cut two pieces of the red heat shrink tubing in 2-inch lengths for each end to identify my new interconnect as being for the right channel.
The red heat shrink tubing is just large enough to slide over the Switchcraft 3502AAU's plug housing, and once I had it in place where I wanted it, I got out a hair dryer and heated it up until it shrank down over the end of the plug housing and cotton tubing.
Step 11. Put the RCA handle in place.
Next I worked the handle over the heat shrink tubing and threaded it into place on the Switchcraft 3502AAU's plug housing. It's a tight fit so you have to do a little twisting & pushing to get it over the heat shrink tubing so you can thread it into place.
One end of the right channel interconnect is now done!

Step 12. Thread the handle over the cotton tubing, then trim the cotton tubing to the correct length.
Next I threaded on the second handle, and be sure to get the direction right for threading on to the second Switchcraft 3502AAU's plug housing that you'll be soldering on!
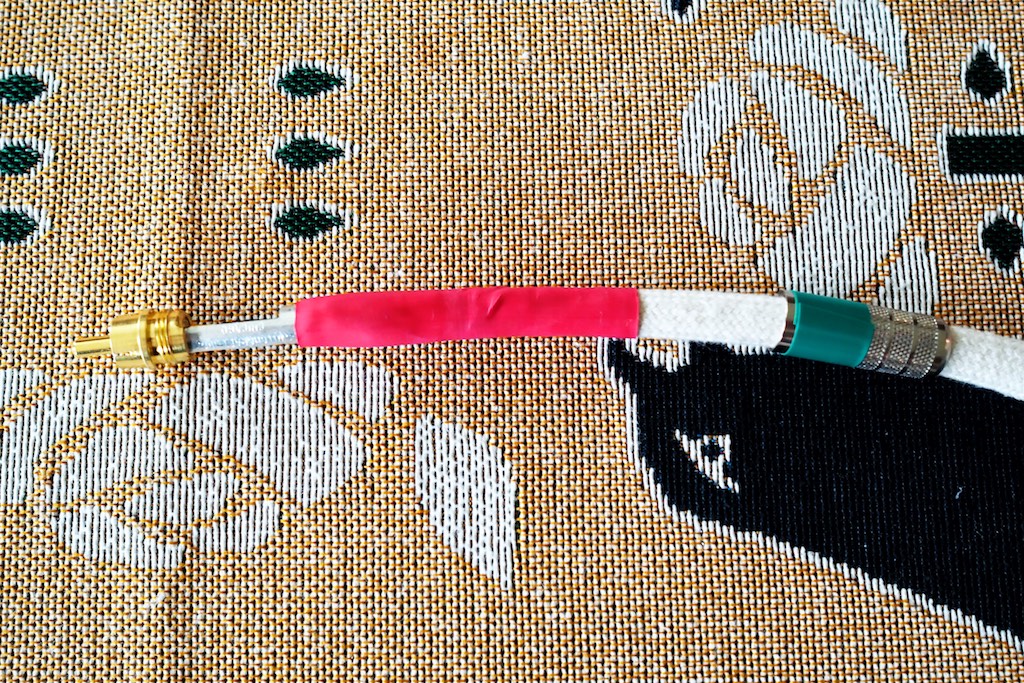
Next I trimmed off the excess cotton tubing (above), then slipped the red heat shrink tubing on (below). I the heat shrink tubing in a different order than the first end, just to see if it made it easier to get on, but it didn't.

Step 13. Note the red tape on the DCA20GA wire that will be soldered to the pin.
Now it's time to solder on the second plug housing!
Note the red tape on the DCA20GA wire that will be soldered to the pin of the Switchcraft 3502AAU's plug housing (above).
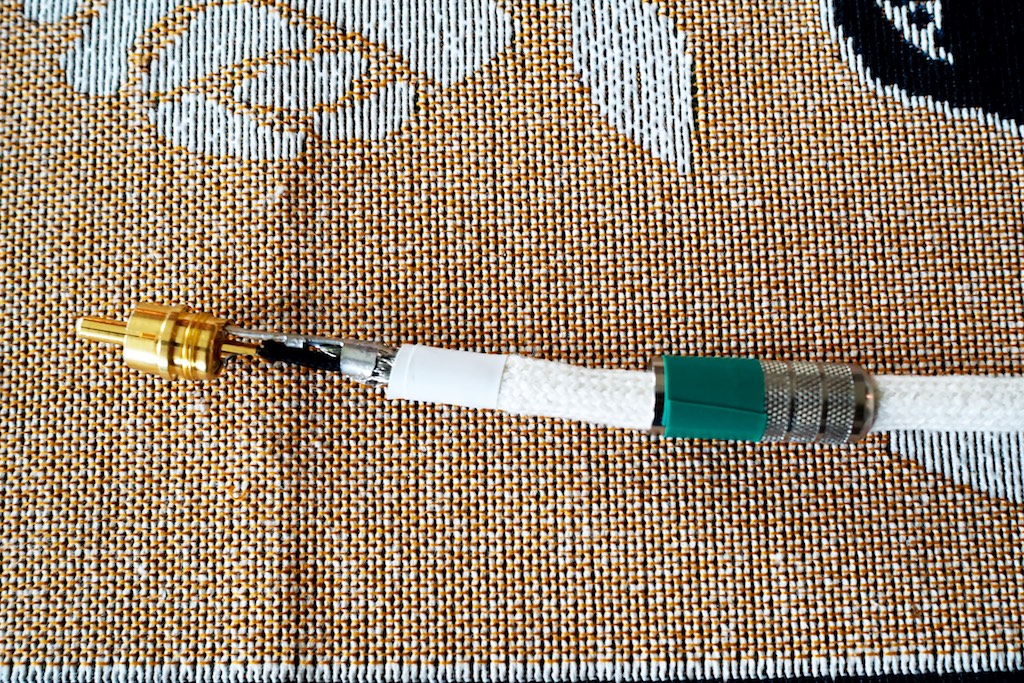
Step 14. Solder on the second Switchcraft 3502AAU plug housing.
After pulling back the shielding and the cotton tubing, I soldered the DCA20GA wire marked with the red microphone tape to the pin. Then with the second DCA20GA wire I secured it in place by crimping the ground tab down on it, and then soldered it in place.

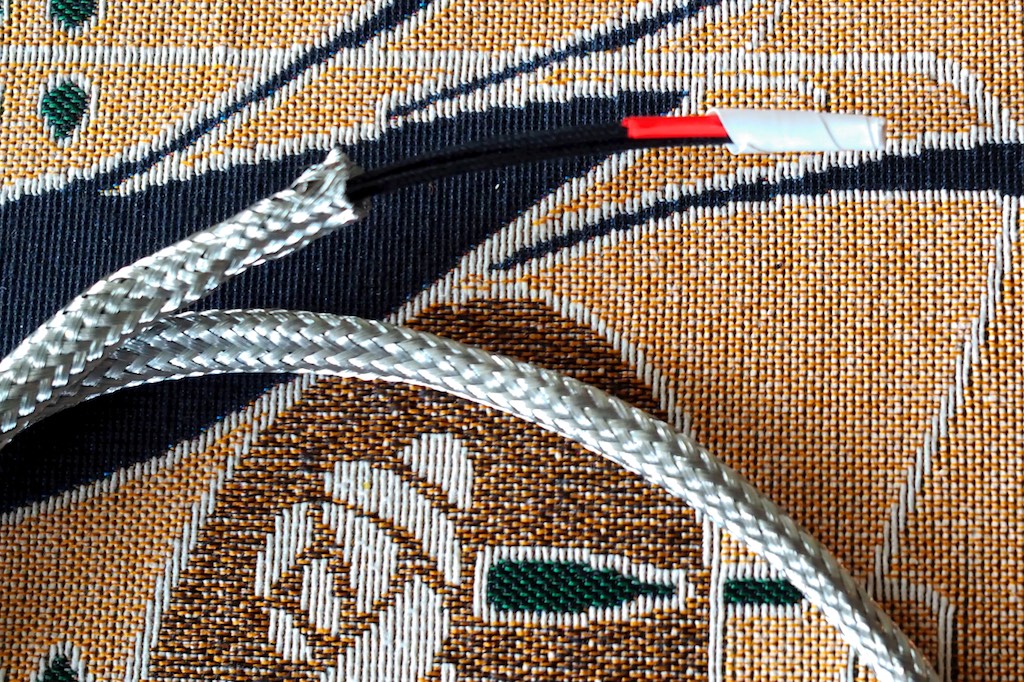
Step 15. Prepping the termination to make sure the shielding doesn't ground against the plug housing.
I wanted to build my pair of shielded interconnects with the shielding connected only at the source end, in order preserve the superb sonic & musical character of the Duelund DCA20GA tinned-copper tone-wire as much as possible.
I first pulled back the cotton tubing, then pulled back the shielding so it cleared the back of the plug housing, and then taped the shielding down with microphone tape so that it couldn't come in contact with the plug housing, to prevent it from grounding to it (above).

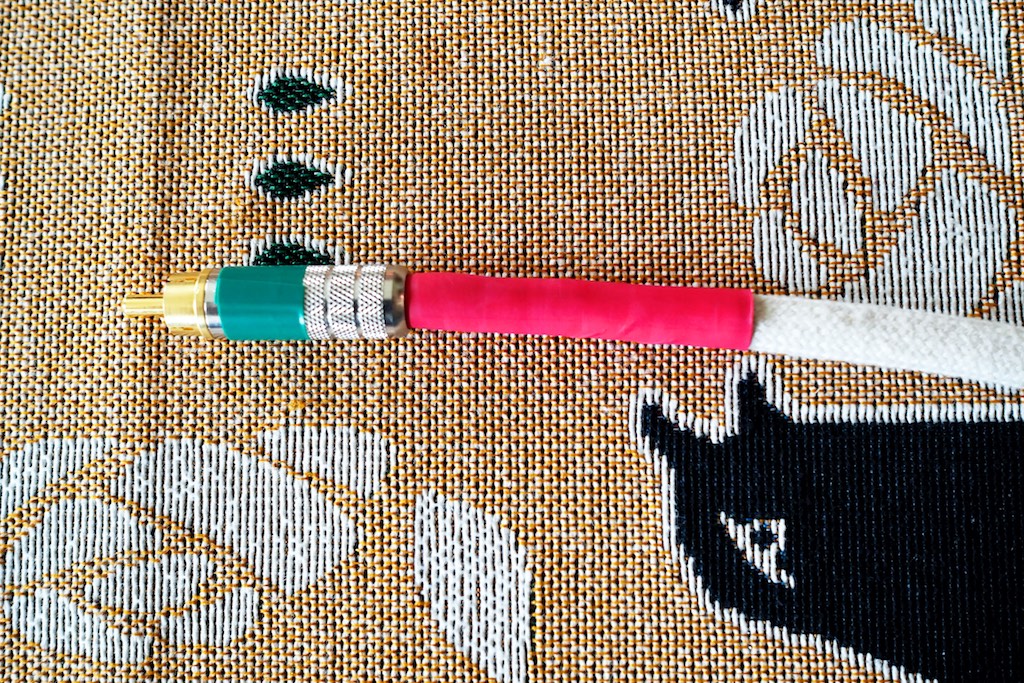
Step 16. Putting the cotton tubing and heat shrink tubing in place.
I then pulled the cotton tubing up, positioned the heat shrink tubing in the correct place, and then shrunk it in place with a hair dryer (above).
Then I threaded the handle onto the plug housing, touched up the heat shrink tubing a little with a hair dryer, and the right channel shielded Duelund DCA20GA interconnect is done!
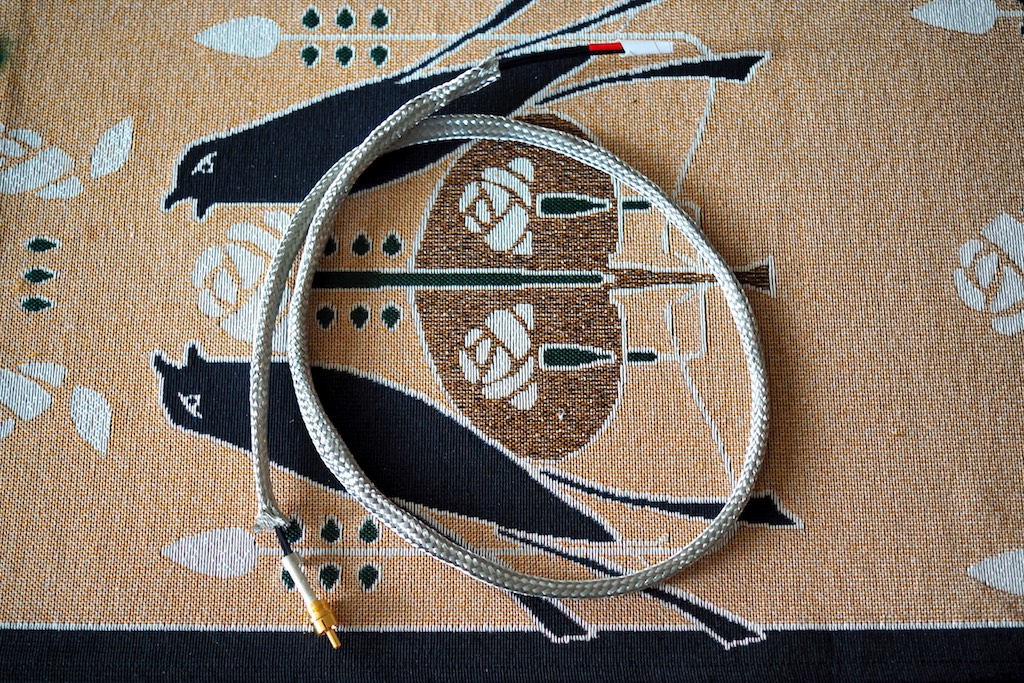
Step 17. A complete right channel shielded Duelund DCA20GA interconnect!
Now I'm going to take a break, and then I'll build up the left channel shielded Duelund DCA20GA interconnect in the same way, with the exception of black heat shrink tubing to identify it as the left channel.
¸¸.•*¨*•♫♪¸¸.•*¨*•♫♪¸¸.•*¨*•♫♪

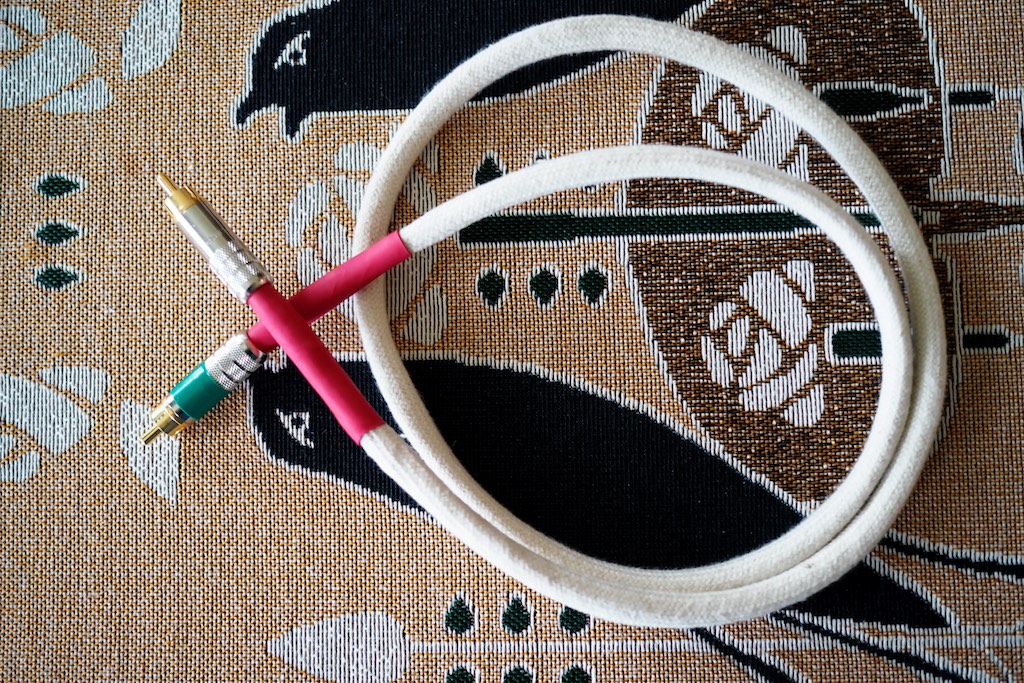
A completed pair of shielded Duelund DCA20GA interconnects!
I just finished up my pair of shielded Duelund DCA20GA tinned-copper tone-wire interconnects. Whew, shielded interconnects are fairly labor intensive to build.
Now it's time to plug them in and hear how they work!
¸¸.•*¨*•♫♪¸¸.•*¨*•♫♪¸¸.•*¨*•♫♪
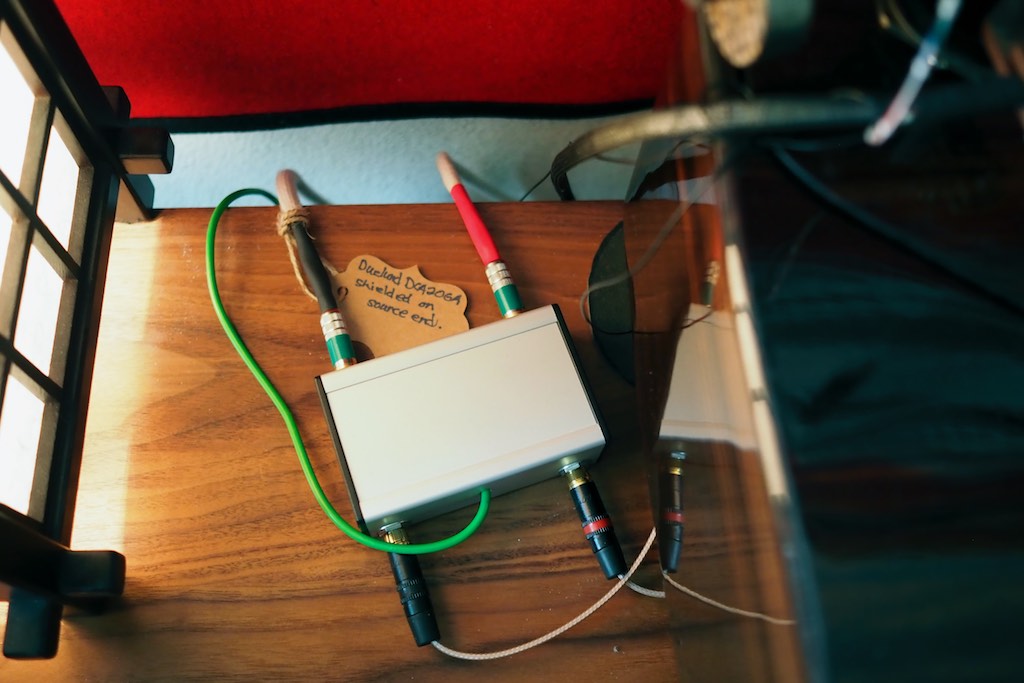
Shielded DCA20GA interconnects.
I installed my new shielded Duelund DCA20GA tinned-copper tone-wire interconnects between my Auditorium 23 step-up transformer and my vintage McIntosh MX110Z tuner preamplifier for it's maiden voyage.

The Sumile MC phono cartridge.
Got to go, I'll post more preliminary impressions shortly!
As always, thanks for stopping by, and may the tone be with you!


