


As I mentioned in my earlier listening impressions for selecting the optimal mix of the vintage-inspired Duelund DCA tinned-copper tone cables for the Duelund-Altec Project (HERE), I was particularly fascinated by Bill's intriguing comment on The Duelund-Altec Project: DCA16GA vs DCA20GA for the Altec 804A 16-Ohm compression drivers? post HERE.
Bill shared his experiences with the new 600V DCA20GA tinned-copper cable used as interconnects, et al, and in particular Bill's reference to how the new 600V DCA20GA's provided superior presentation of the harmonic content, even when compared to the original DCA20GA, which already excelled in that regard.
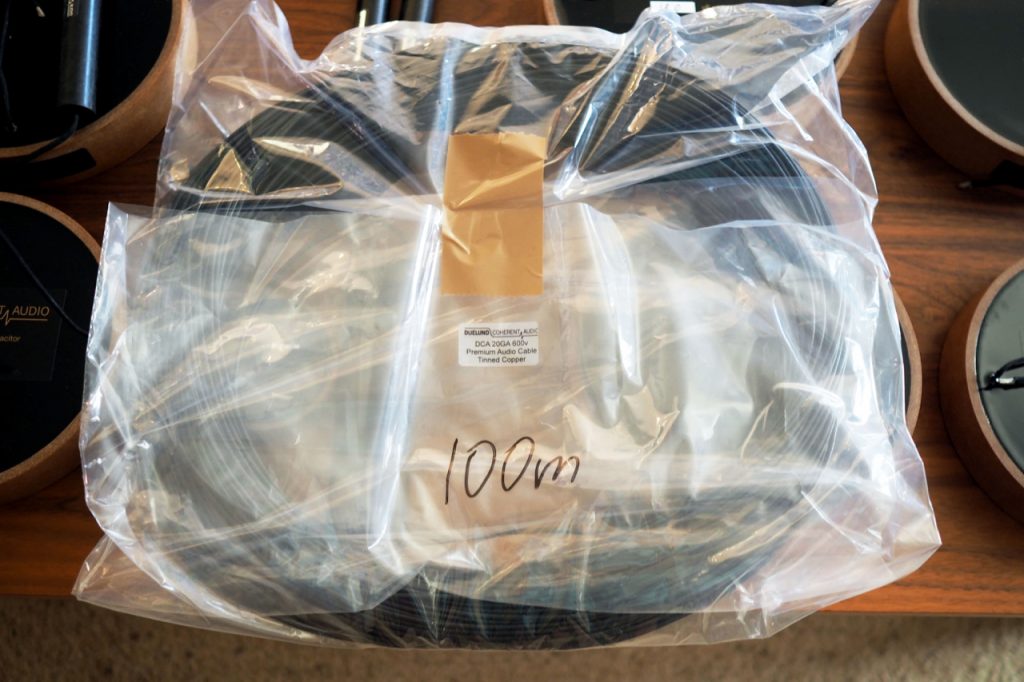
The new Duelund 600V DCA20GA for use in wiring components internally.
I'm feeling a little sheepish that it has taken me so long to get around to trying the new Duelund 600V DCA20GA tinned-copper tone cable after reading Bill's assessment of it, so I thought I'd better get busy!
I thought I'd initially do two things with the new Duelund 600V DCA20GA, the first being building a set of RCA interconnects (this post), and secondly, to try the new Duelund 600V DCA20GA tinned-copper cable in the all-important connection of the Duelund CAST tinned-copper crossovers to the Altec 804A 16-Ohm compression drivers of the "Stokowski" Altec loudspeakers, which plays such an important role in the high-frequency presentation (in a future post).
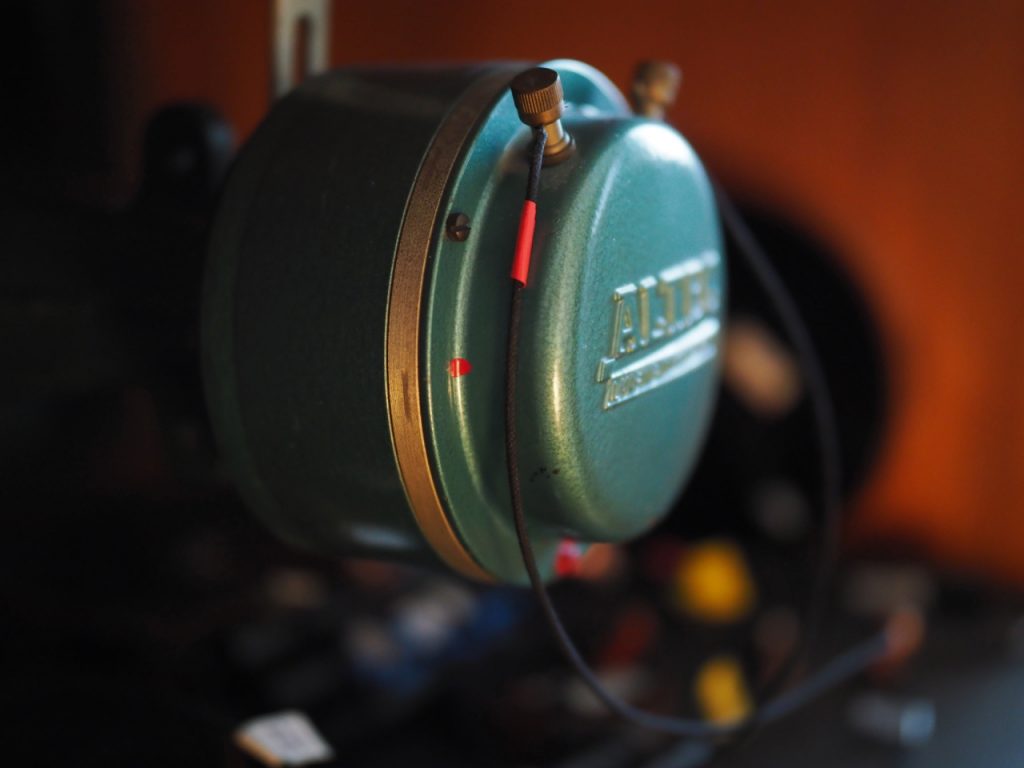
DCA20GA connecting the Altec 804A 16-Ohm compression drivers to the Duelund CAST Sn-Cu crossovers.
For those of you new to the Duelund DCA tinned-copper cable line, let me give you a quick introduction.
The Duelund DCA Line of Tinned-Copper Cables are Vintage Inspired
As I wrote about in my Positive Feedback article, An Adventure in the Art of Tone with the Duelund Coherent Audio DCA Series of Tinned-Copper Cables, Part 1 (HERE), I explained about how in the old days manufacturers used tinned-copper cables & wire in audio electronics, and electric guitars and their amplifiers, because electroplating copper conductors with tin prevented corrosion and improved their stripability, which made for an altogether more durable & reliable cable for use in industry.
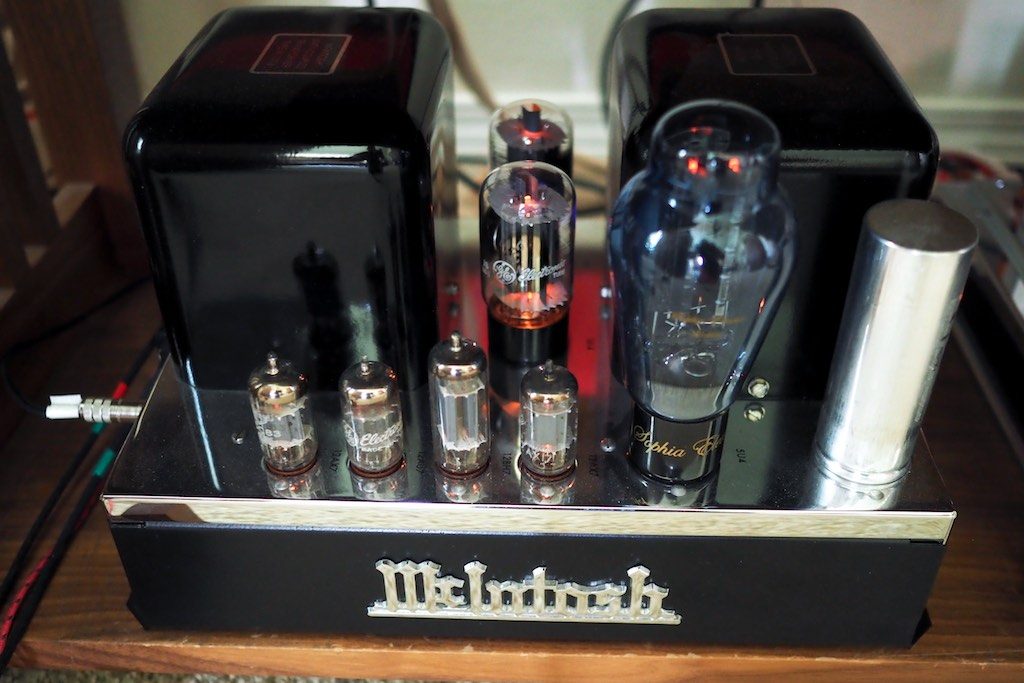
Vintage audio equipment like my McIntosh MC30 monaural amplifiers (above) and Altec N-500-D crossovers (below), for example, were wired internally with tinned-copper cables, as well as many others.
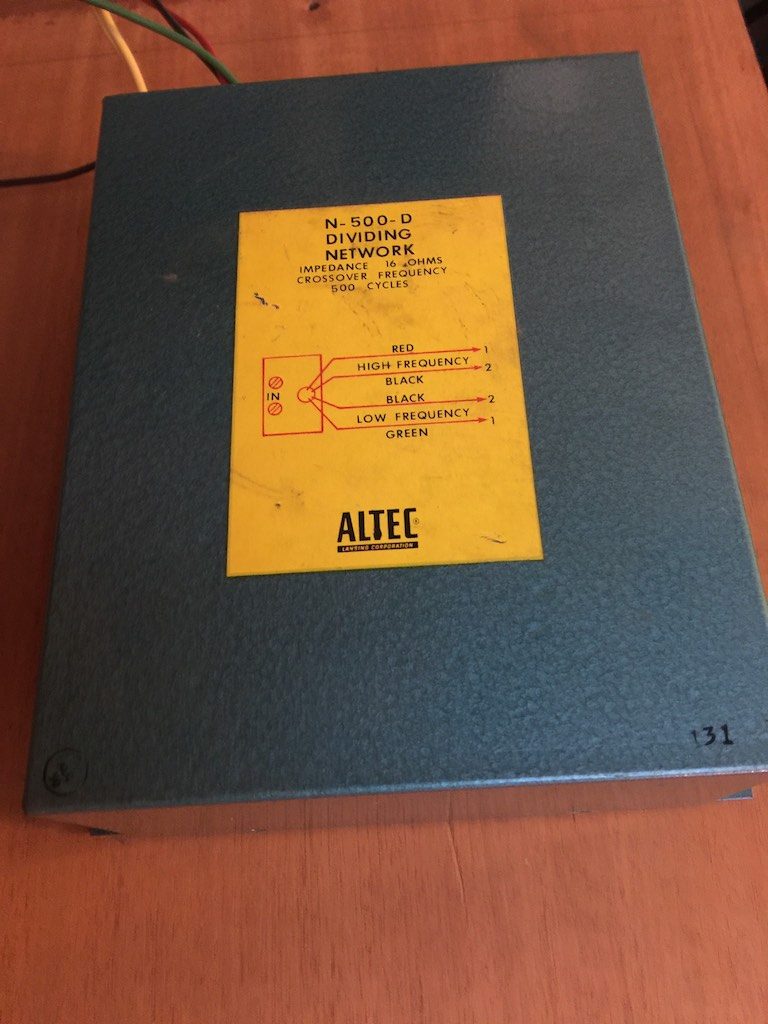
Altec N-500-D crossover.
Corrosion was an issue back in the 1950s because the common insulators of the day released sulfur peroxide as they decayed over time, which would then react with the copper conductors to form copper sulfide, which degraded the cables' performance and durability, and eventually necessitated replacing them.
However, with tinned-copper wire, the sulfur peroxide released from the insulators couldn't degrade the copper by forming copper sulfide, thus protecting the performance characteristics and the durability of the cables, and giving them a much longer service life.
Another factor was that for the shielded cables of the 1950s, the composition of the shielding made it difficult to strip away from bare copper conductors, so tinned-copper conductors were used, as they were easier to field-strip in preparation for use, making life easier for cable installation into industrial applications or commercial products.
So, the origin of tinned-copper cables was related to the purely practical reasons of preventing corrosion and easing stripability, making the wire more durable, reliable, and easy to handle in industrial and commercial applications.
New cable insulators with improved stripability were developed, and they didn't produce sulphur peroxide as they degraded over time like the old ones so that oxidation of the copper was no longer an issue, manufacturers began to use copper cables because they were cheaper than the more expensive tinned-copper cables.
Tinned-copper cables & wires faded from the electric guitar and audio scenes because it costed a lot more money to use them in production products, so in an effort to keep costs down and make more money, tinned-copper got phased out over time as new insulators were developed that didn't corrode bare copper conductors, and new shielding materials were developed that made stripability over bare copper conductors a relative breeze.
Those new approaches for insulators & shielding meant that the tinned-copper conductors that were so much more expensive to manufacture faded from the scene, and the forces at penny-pinching companies buried them in the sands of time, largely erasing them from people's memories, until the electric guitar musicians figured out where the tone had gone.
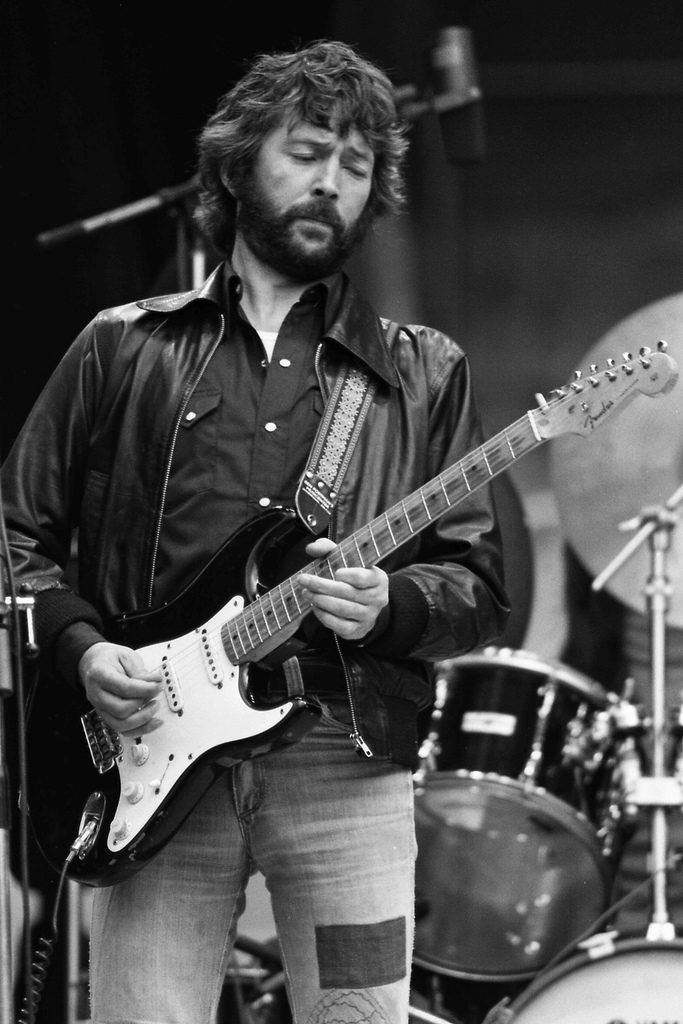
Public domain photo of Eric Clapton playing Blackie in 1978.
As you would expect, electric guitar musicians were the first to notice the differences in the tonal qualities and musicality between the vintage vs. contemporary wire, resistors, and capacitors, and as far as quite a few electric guitar musicians were concerned, those differences in tone & musicality were not for the better.
After the electric guitar musician community figured out why the tone & musicality of the vintage gear was superior to the modern gear, a cottage industry arose offering re-wiring kits with tinned-copper pushback wire, exotic vintage capacitors like Black Beauties or Bumblebees, vintage-style pots, vintage-style pickups, and other vintage-style components that helped to restore the lost tone & musicality to contemporary electric guitars and their amplifiers.
This interest in 'vintage tone' was not lost upon the electric guitar industry, which responded by producing special edition guitars that more closely aligned in tone & musicality to their vintage ancestors.
In a parallel audio universe, Mr. Shirokazu Yazaki, who has enjoyed being an audio hobbyist all his life, and a successful professional audio designer in Japan for over 40 years, made a discovery in his vintage home audio system that when using vintage Western Electric WE16GA cable as speaker cables, and the old studio standard Belden 8402 microphone cables as interconnects, that his hifi had a much more 'real sound' tonally and musically.
It became obvious that the tinned-copper conductors those cables used gave them that desirable vintage tone, just as the musicians had heard from them, and as soon as word began to get out as I began to write about this discovery, the vintage Western Electric WE16GA speaker cables and Belden 8402 microphone cables became all the rage in the "underground" audio community.
Tinned-copper cables quickly became very popular with thousands of audio enthusiasts around the world because of what they did for the music in a home hi-fi system, that is, making it sound much more like 'real' live music in terms of tone, dynamics, presence, timbre, beat, rhythm, tempo, and most importantly, they evoked a strong emotional response to the artists' music.
As a bonus, these tinned-copper cables were also very satisfying in the way they portrayed the non-musical artifacts of the recording process, like imaging, the soundstage, the soundspace, resolution, and transparency, of a recording, which gave the music a reach out and touch it sort of realism that was very vivid, and viscerally enthralling.
The revelation of the desirable qualities of tinned-copper performance was not lost on Duelund Coherent Audio's Frederik Carøe, who then designed and manufactured a new line of vintage-inspired tinned-copper cables that used the same number and gauge of tinned-copper conductors as the vintage cables, but with a superior sounding insulator made of an oil-soaked and baked cotton, which quickly became a hit in the underground audio scene.
This modern adaptation of tinned-copper cables by Duelund Coherent Audio's Frederik Carøe is a perfect example of Yazaki-san's concept of 温故知新, which comes from Confucius' teachings in ancient China, and which Yazaki-san translates as:
“Even when you learn a new discipline, do not forget the old knowledge, and when you revisit the old ways, please do not lose the spirit of progress that allows you to rediscover the true goodness of the old ways.”
The oil-soaked and baked cotton insulator was perfect for signal-level applications like speaker cables, interconnects, or headshell leads, it was not suitable for the high-voltage applications that many customers wanted.
Frederik responded by designing a new line of tinned-copper cables with a CAST-like insulator that provided a 600V rating for use in applications like power cables (the 600V DCA12GA) or as internal hookup wire (the 600V DCA20GA) where a high voltage rating is required.
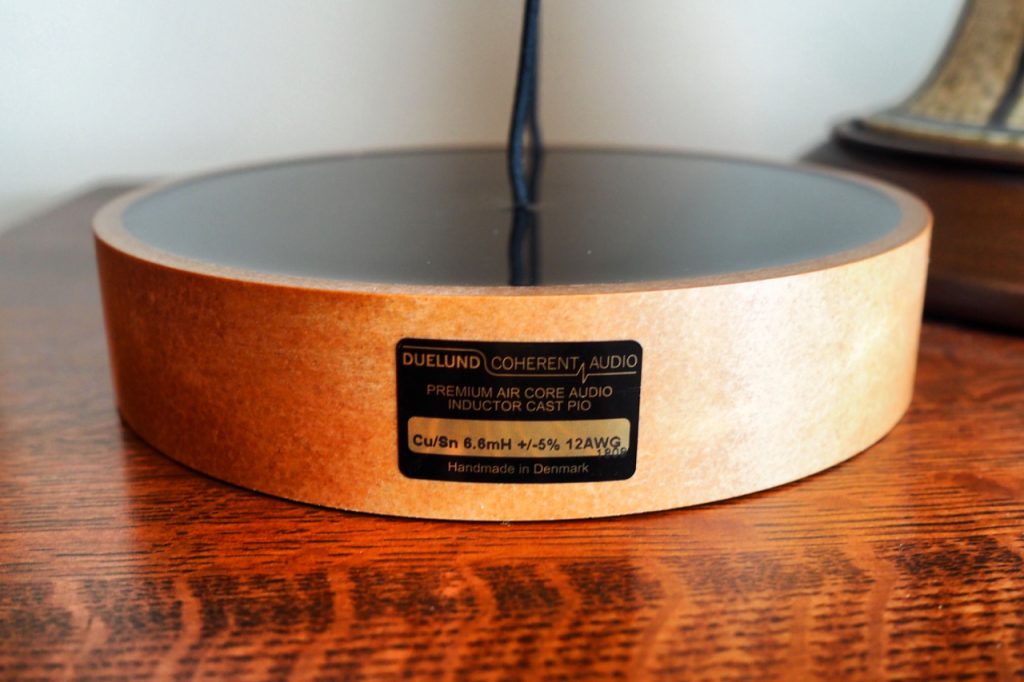
Duelund CAST Sn-Cu Air Core Inductor.
The 600V CAST-like insulator is similar to the CAST damping material as used in the premium Duelund line of CAST capacitors, inductors, and resistors (photo above).
The 600V DCA20GA tinned-copper cable uses the same stranded tinned-copper tone wire conductors as the regular DCA20GA tinned-copper cable, which is constructed using 26 strands of 0.15mm diameter tinned-copper wire, the only difference being the CAST-like insulator that gives it a 600V rating rather than oil soaked & baked cotton insulator of the original DCA20GA.
DIY 600V Duelund DCA20GA Tinned-Copper RCA Interconnects
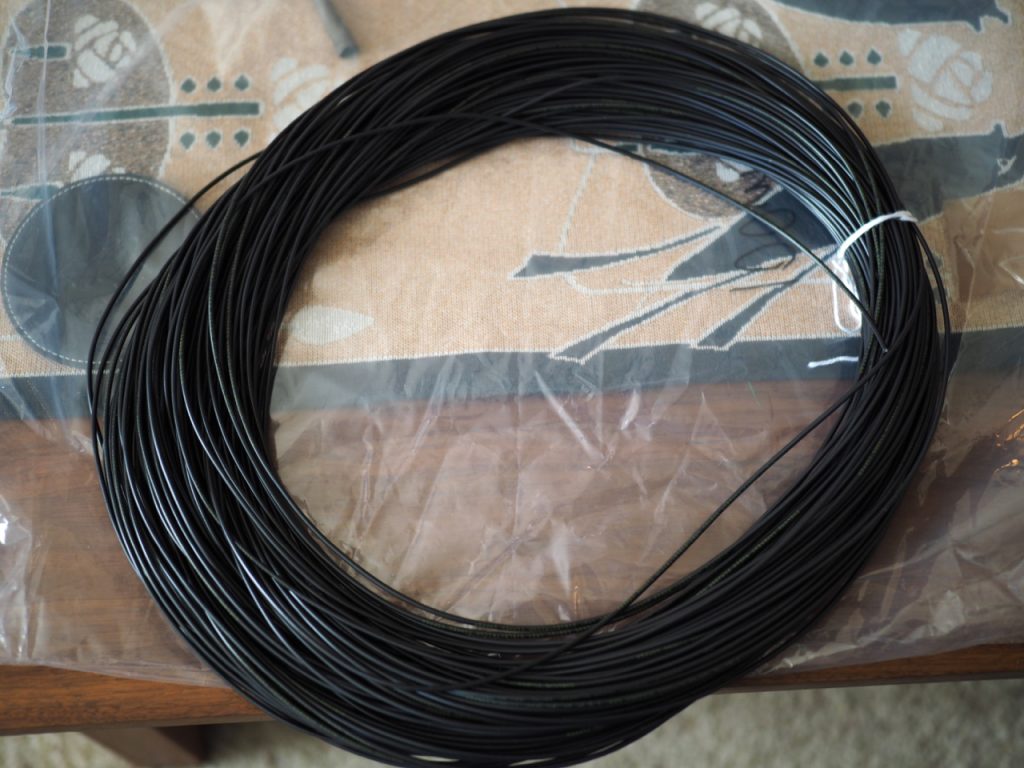 600V Duelund DCA20GA tinned-copper tone cable.
Ok, now lets make some RCA interconnects with the new 600V Duelund DCA20GA tinned-copper cables and give them a listen.
The first thing I did was get out my stash of the new Duelund 600V DCA20GA and cut off four 1.5 meter lengths to use for the conductors.
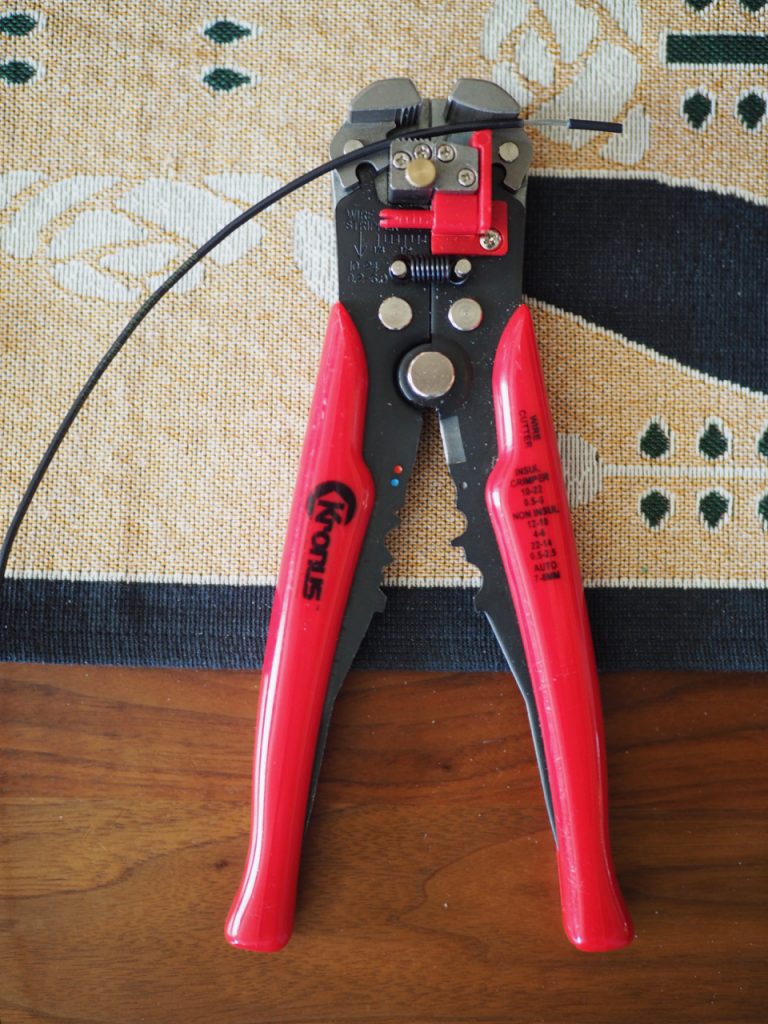
The 600V DCA12GA is a bit of a bear to strip the ends off of, as the CAST-like insulator hangs on for dear life, but the 600V DCA20GA is as easy to strip as can be with my trusty Kronus insulation stripper.
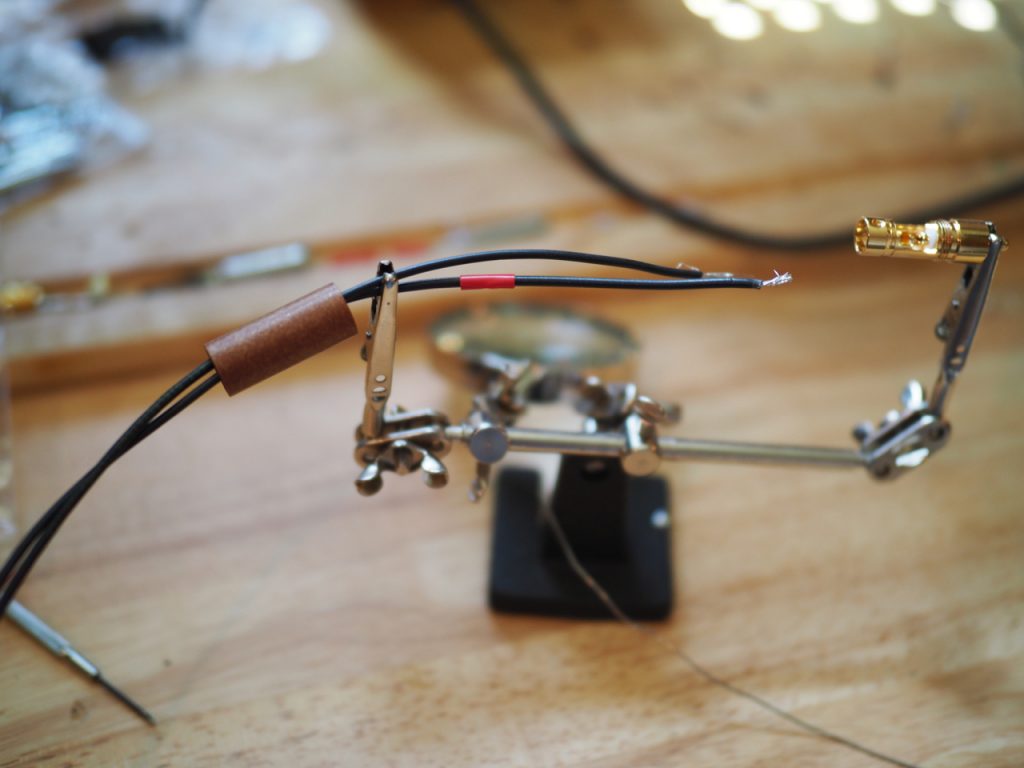
I stripped the ends off of the four 600V DCA20GA cables, and for the two cables I used for the "hot" connection to the RCA pin, I labeled them with some red Peavey microphone tape at each end so I wouldn't accidentally mix them up with the "return" conductors that attach to the RCA's handle, while constructing the interconnects.
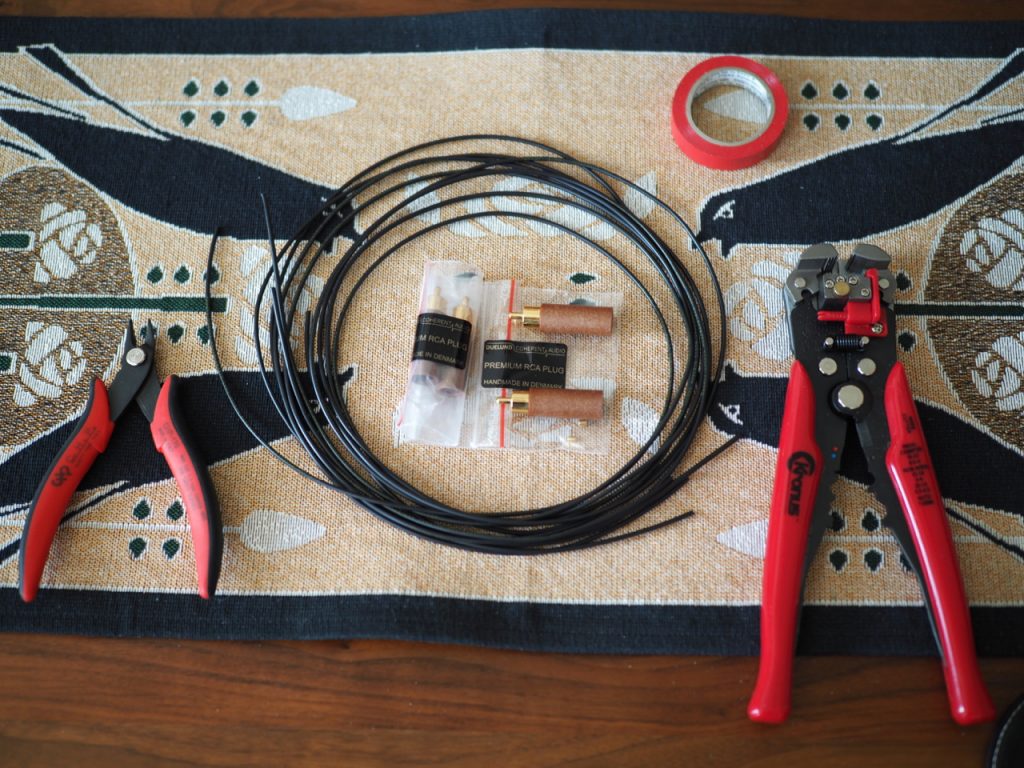
I really prefer the gold-plated Duelund RCA connectors to the other RCA's I've been using, so that's what I used for this DIY 600V DCA20GA RCA interconnect project.
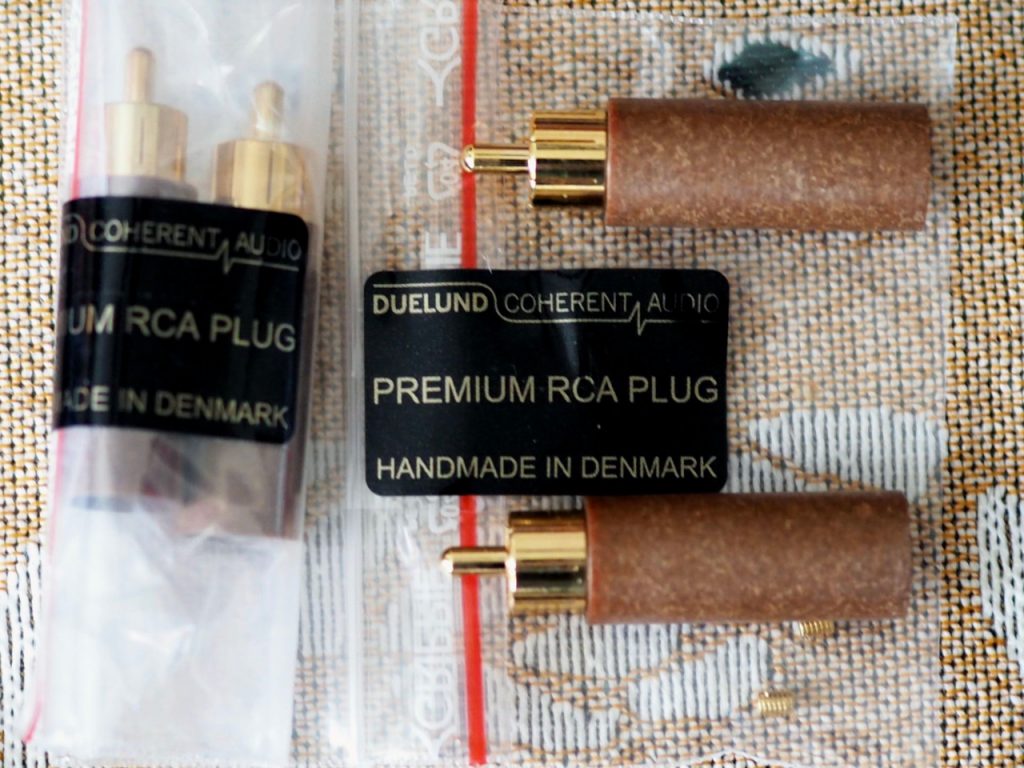
Duelund Gold RCA's
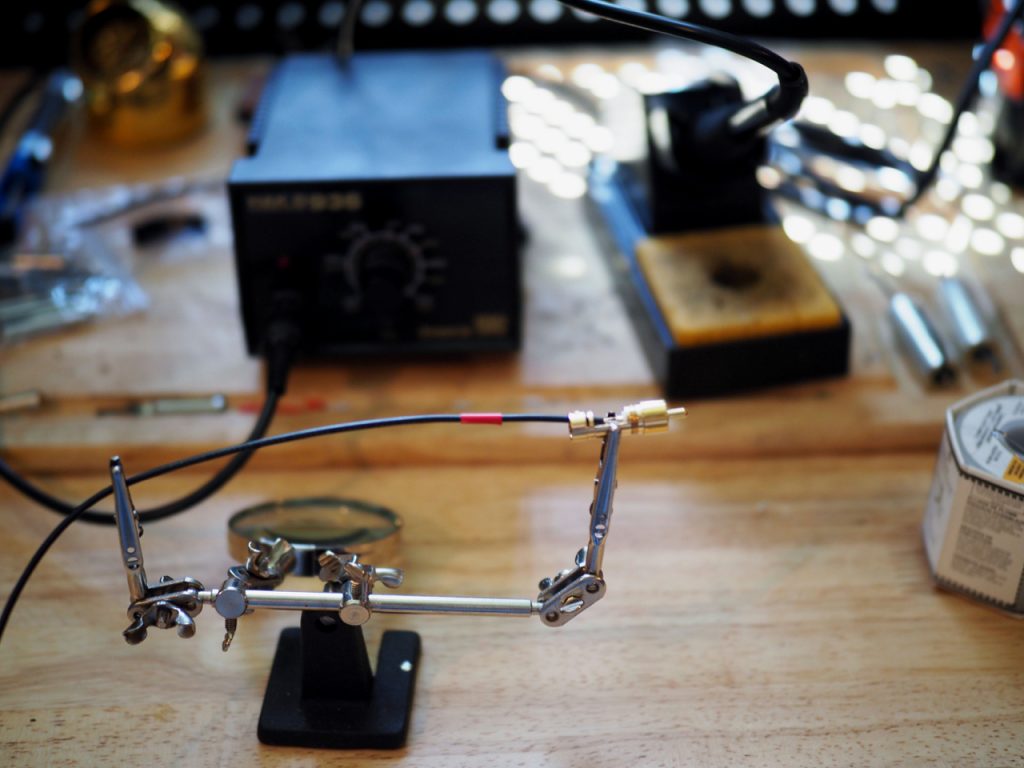
Now lets solder up some RCA interconnects!
I like the Kester 60/40 solder (60% tin, 40% lead) and recommend it to you, as well as the Hakko 936 ESD Soldering Station that has been providing me years of trouble free service.
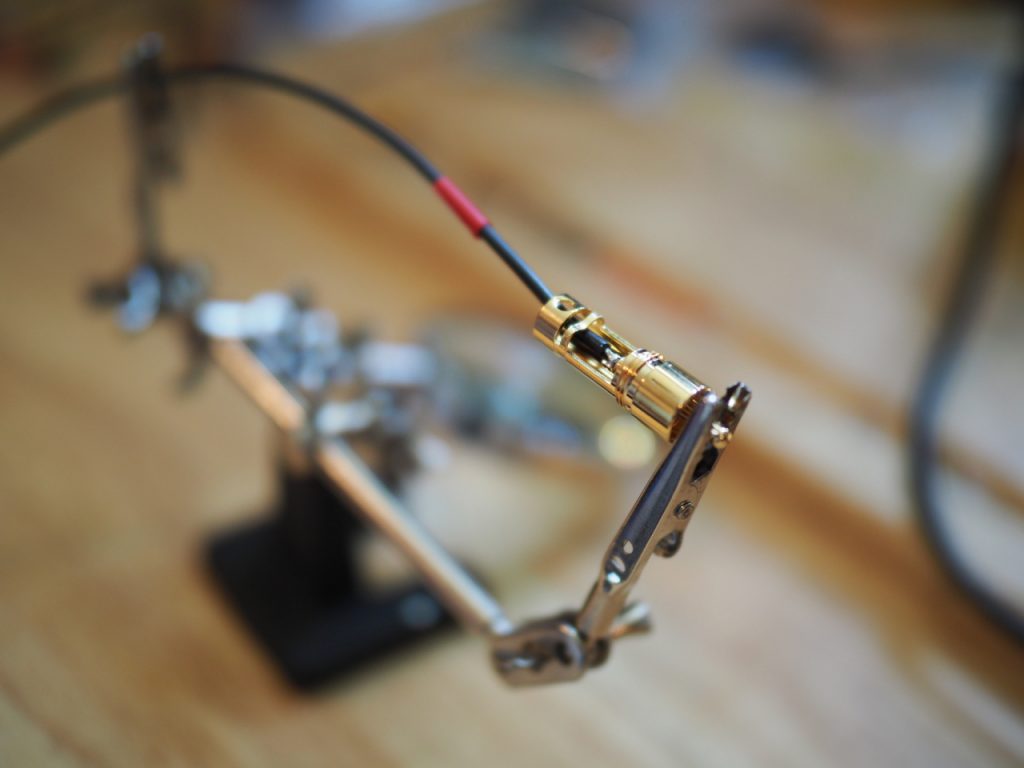
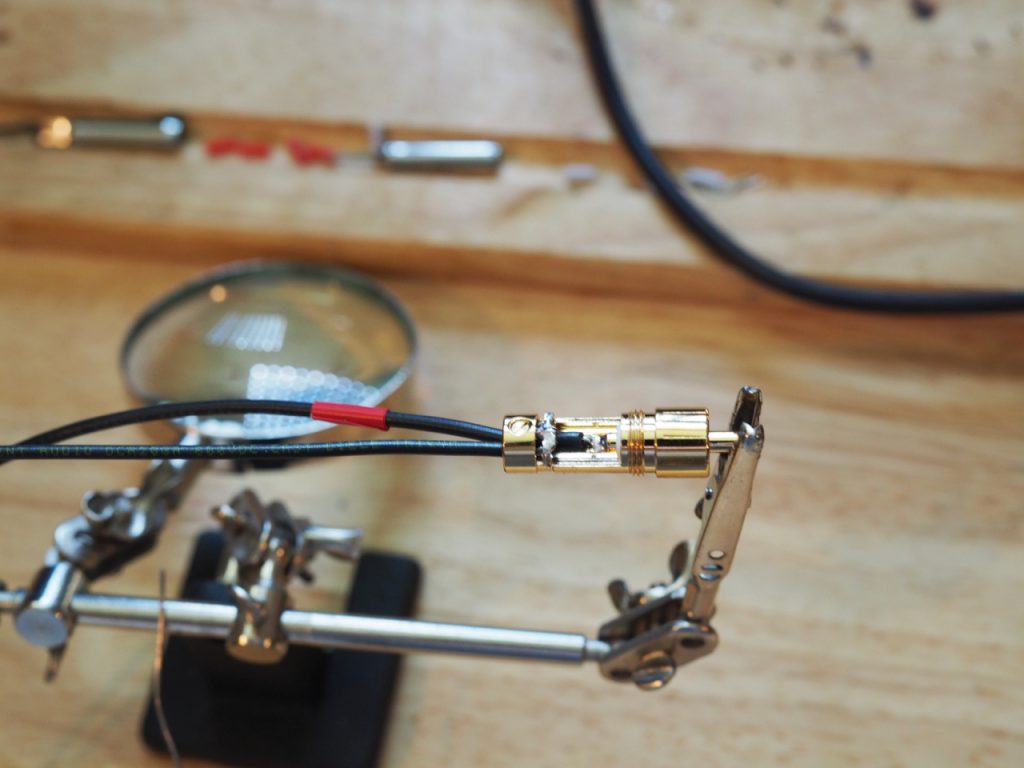
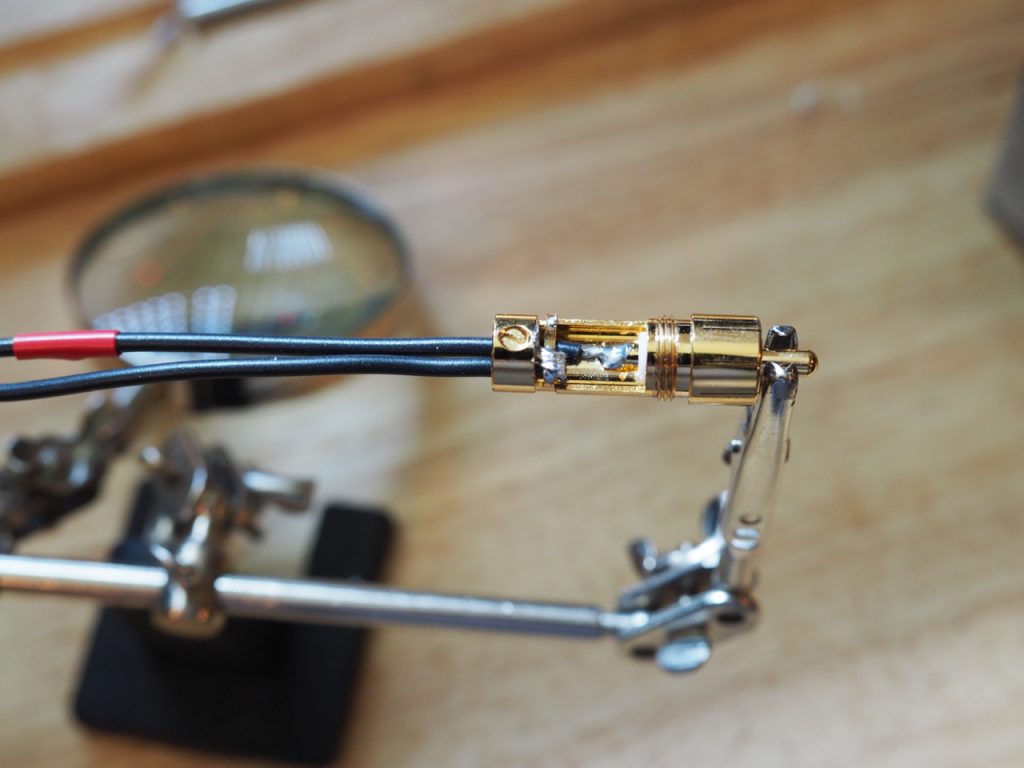
The first step is to solder the "hot" 600V DCA20GA conductor to the pin of the Duelund RCA. If you tin the end of the stripped 600V DCA20GA cable it makes it easy to insert into the pin without stray conductor wires going all over the place.
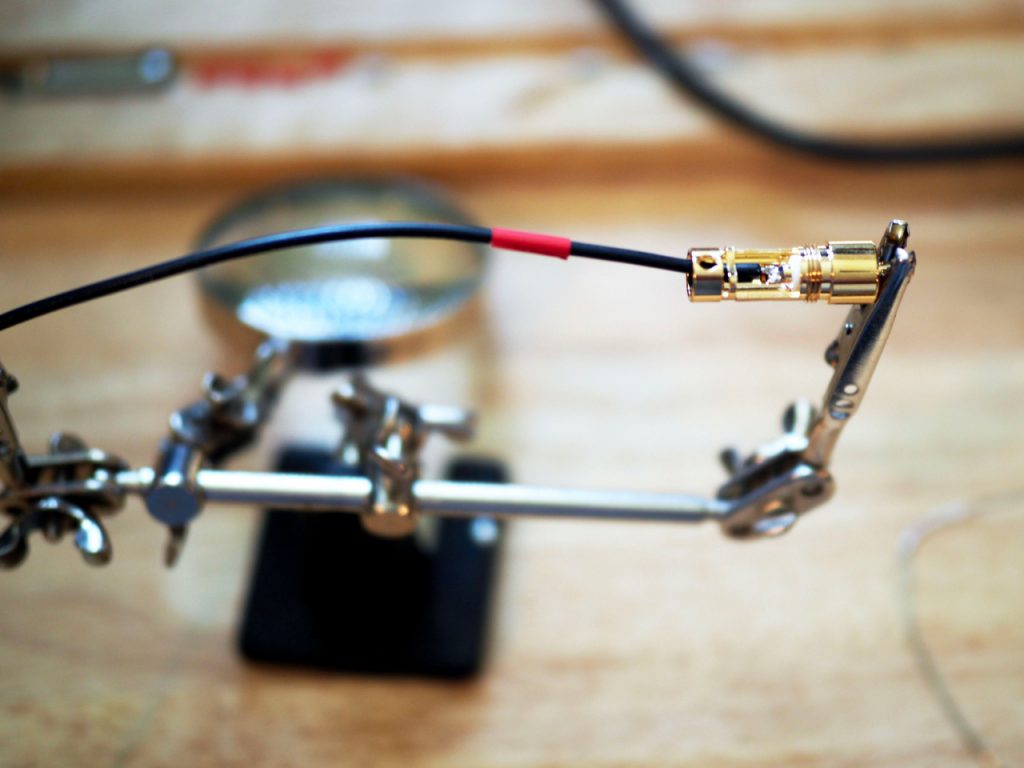
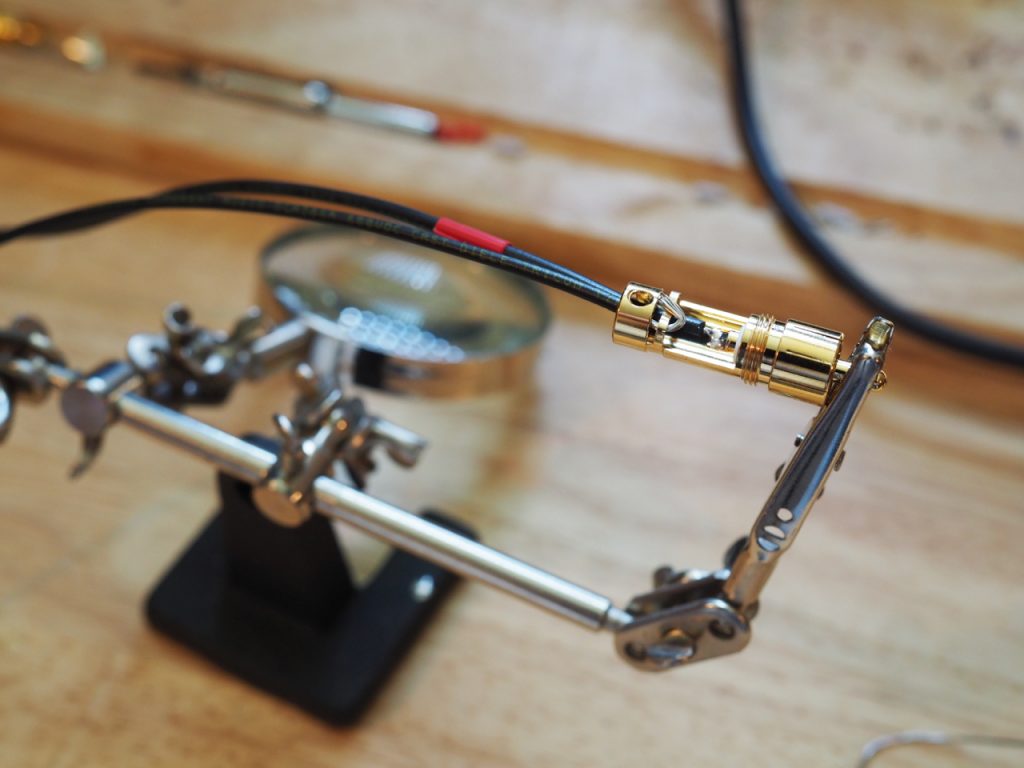
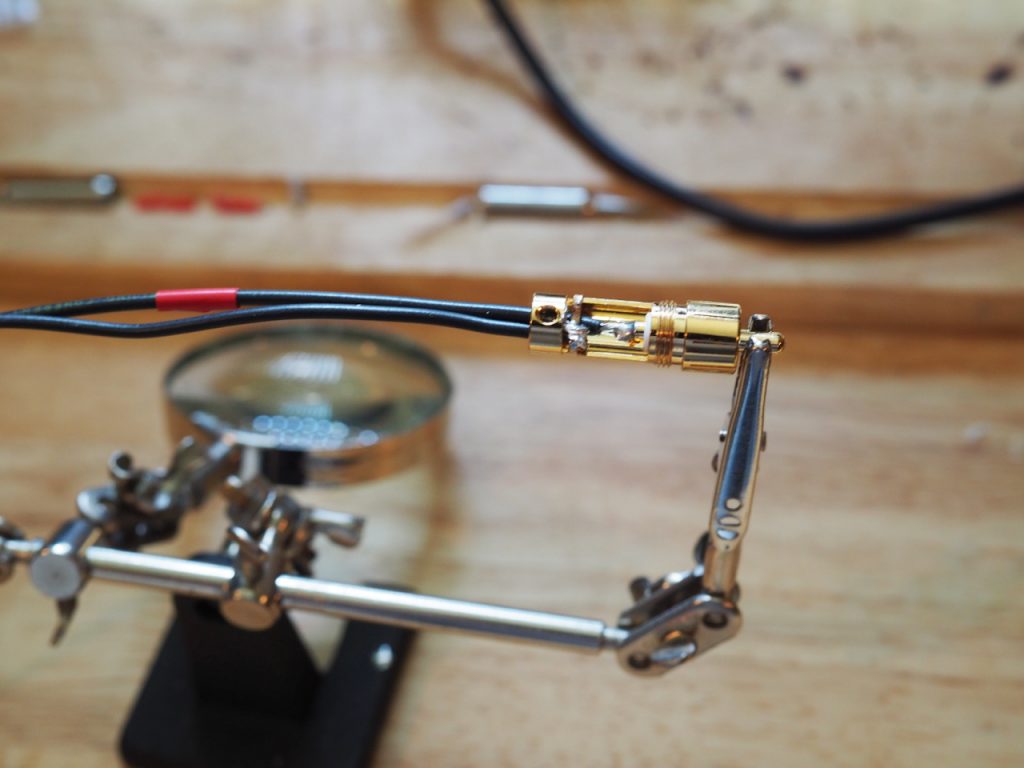
Next its time to solder the return 600V DCA20GA cable to the plug housing.
On the plug housing you can see the little bar that spans across the back of the plug. As you can see in the photo above, I press it down a bit with a pair of needle-nose pliers so I can insert the cable through it for soldering in place. You'll need to make sure its down far enough so that it does interfere with screwing on the handle after you've soldered the 600V DCA20GA return on it.
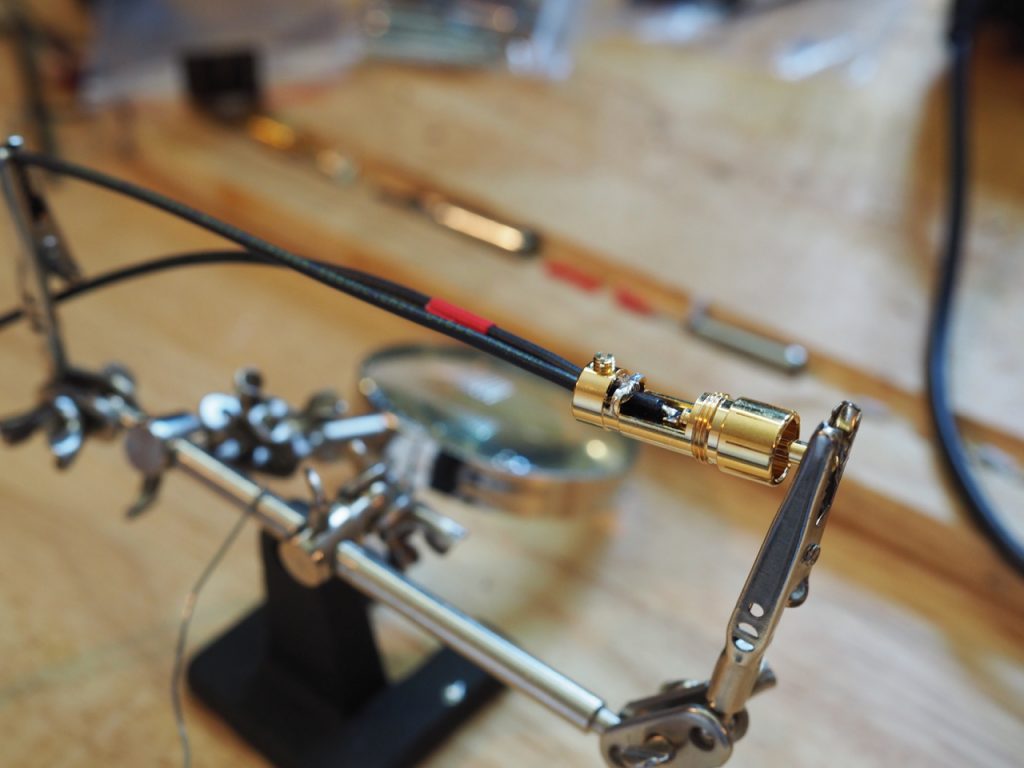
I orient the hot and return cables so that the writing on the cables are both going the same direction, so that I can use that as the orientation of the cable so that it reads left to right as you connect it from the source to the amplifier, for example.
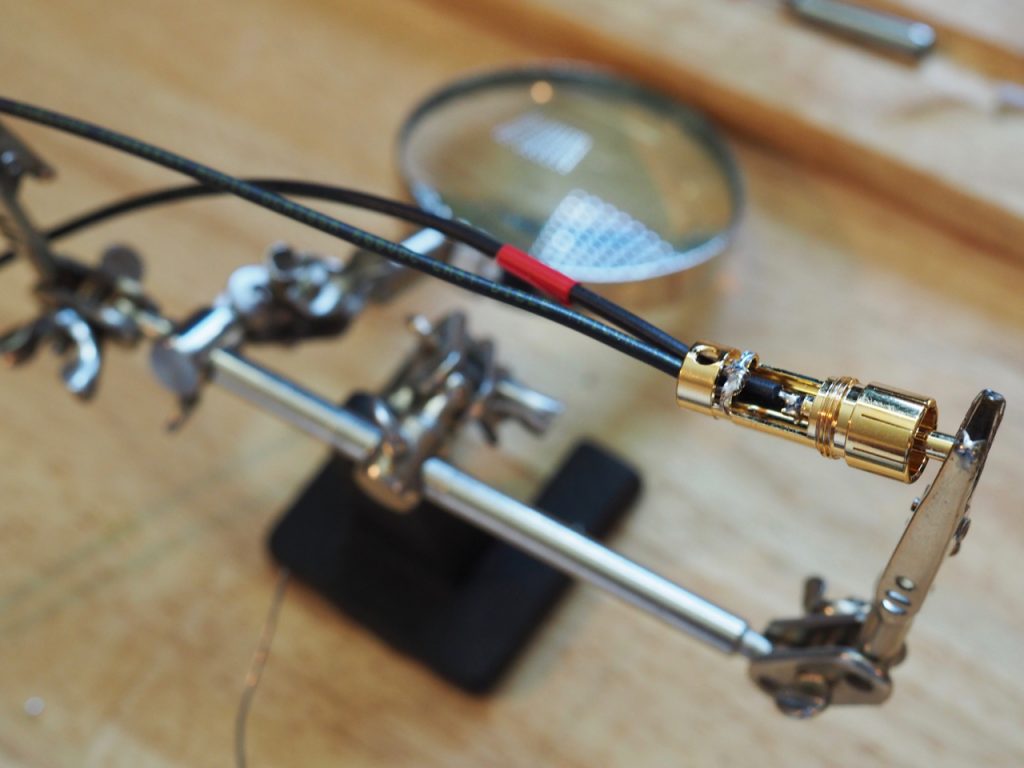
I also like to form the end of the return into a little hook shape (above) so I can hook it around the little bar that spans across the back of the plug to make a secure connection when its soldered into place.
Tinning the end with solder keeps the individual conductors of the 600V DCA20GA cable in place and prevents them from accidentally contacting the hot lead and shorting it.
Then solder it in place (below).
Next insert the set-screw into the plug housing. The set screw is designed to hold the cables in place, but the 600V DCA20GA cables are too small to hold in place with the set-screw unless you wrap their ends in tape first. I didn't wrap the ends with tape this time, but sometimes I do.
Screw the set-screw down far enough so it will allow you to screw on the handle.
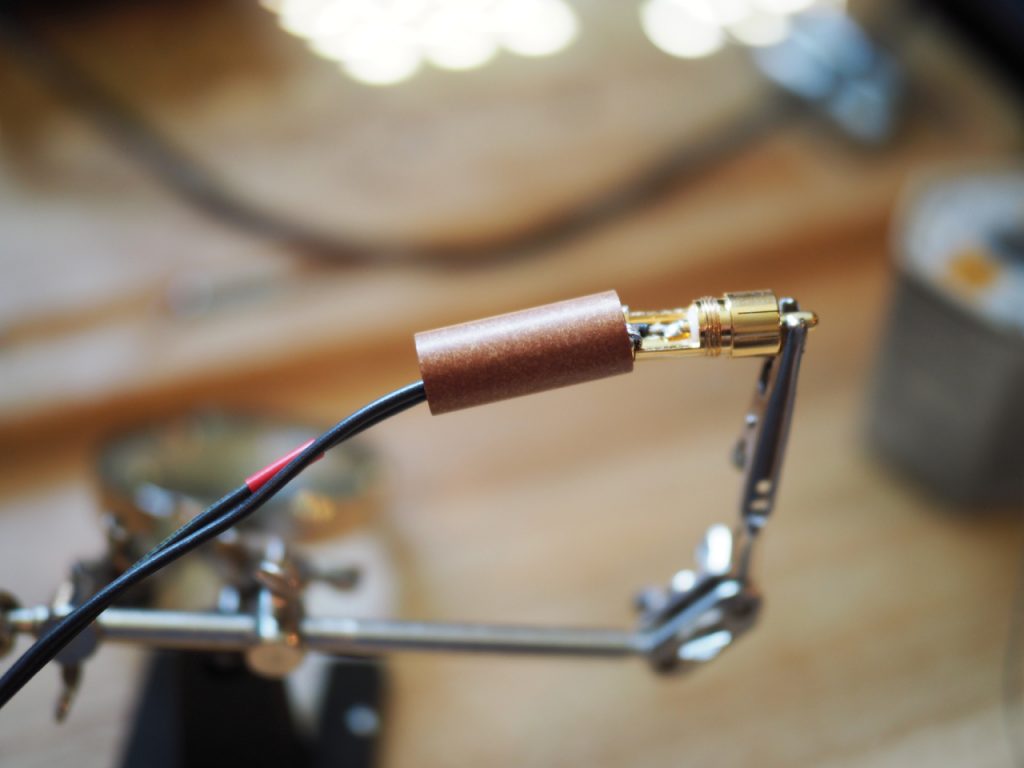
Screw on the handle.
One end is done, now it's time for the other end.
There's a lot of debate about whether the cables should be twisted, and how many twists you should use for a given length, but I don't worry about that. I just twist the cables together enough to keep them together while installing them.
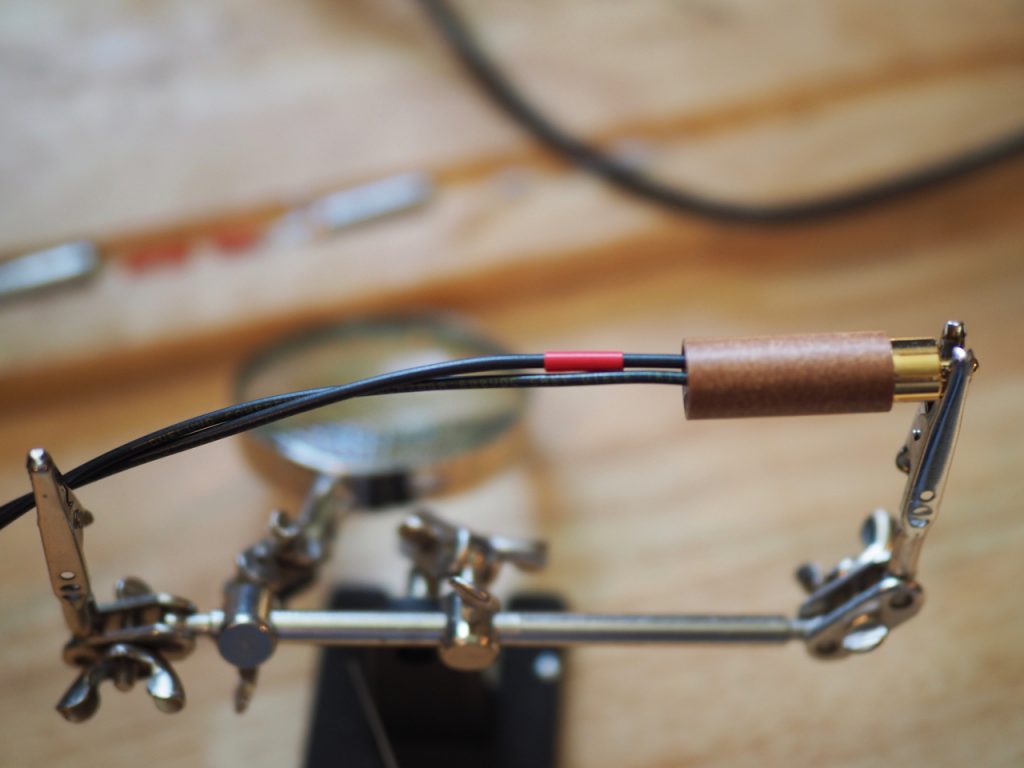
Once the cables are twisted together, before you forget, slide the handle over the cables so it'll be there to screw on the plug housing after you get it soldered in place (below).
Next repeat the procedure for soldering on the hot and return cables to the pin and plug housing.

Solder the hot lead with the red tape to the pin (above).
Solder the return cable to the bar on the plug housing (above).
Put the set-screw in place.
Now screw the handle onto the plug housing (above) and you have one completed interconnect of a pair (below)!
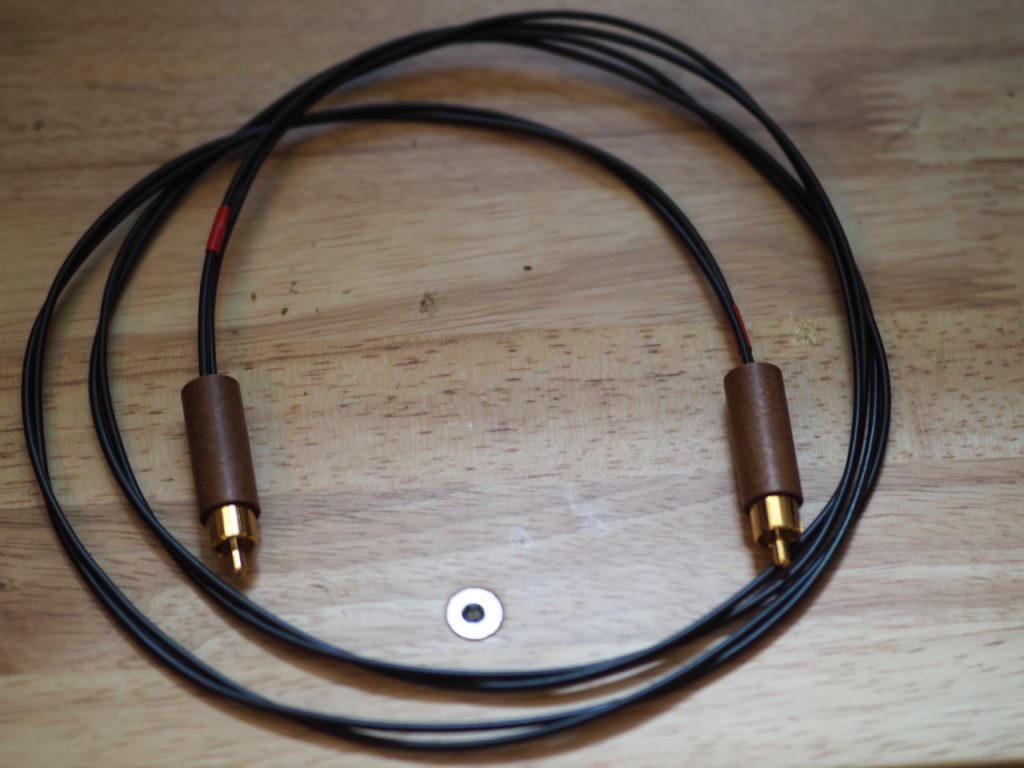
Repeat the above procedure to make the second interconnect of the pair, and you now have a set of the Duelund 600V DCA20GA RCA interconnects to listen to (below)!
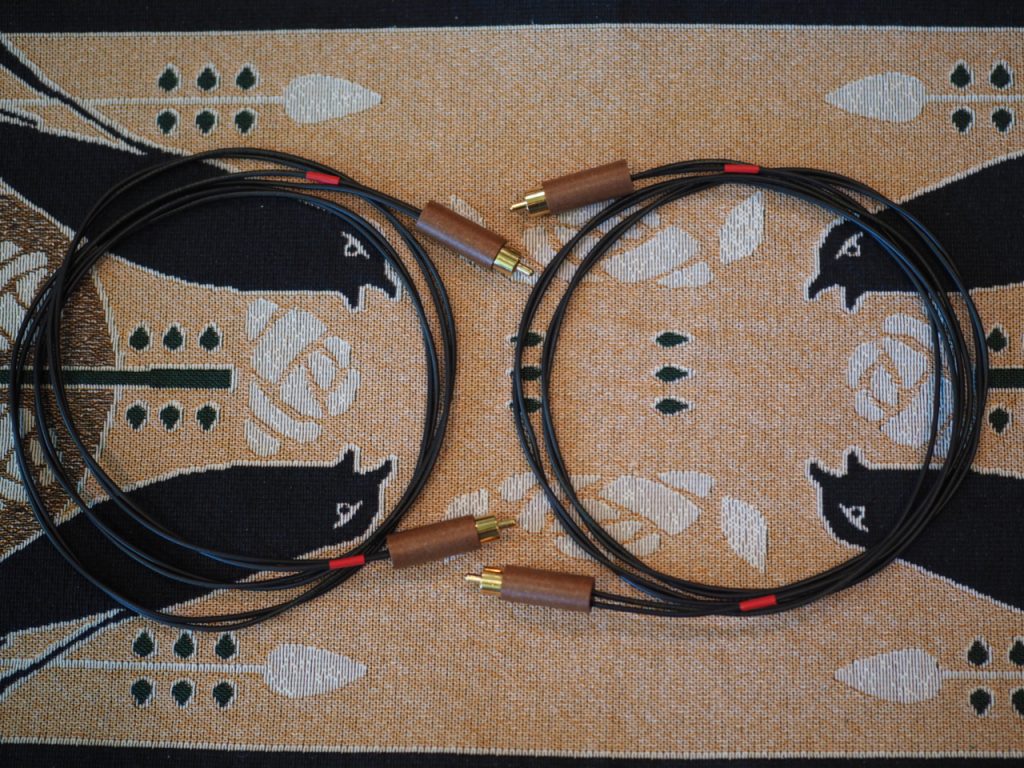
For my initial listening session I didn't do any conditioning of the interconnects on my Cable Cooker, as I thought I'd listen to them au naturel first.
I'll report back on the results of conditioning them on the Cable Cooker in a future post.
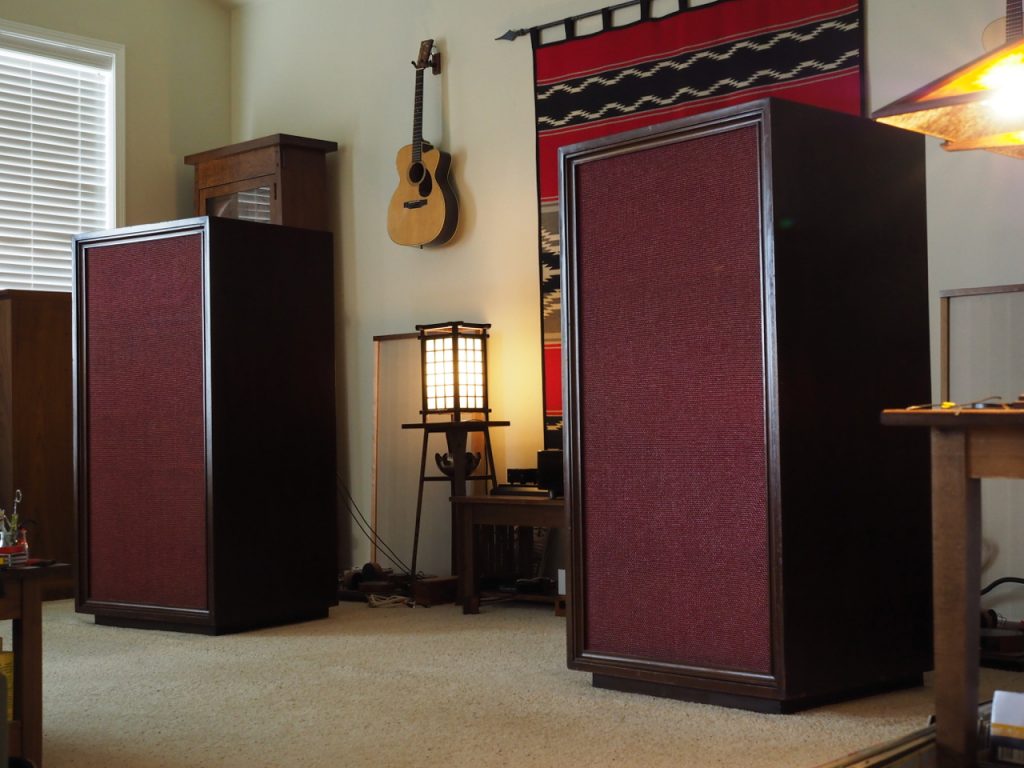
Stokowski Altec's with their Duelund CAST Sn-Cu crossovers.
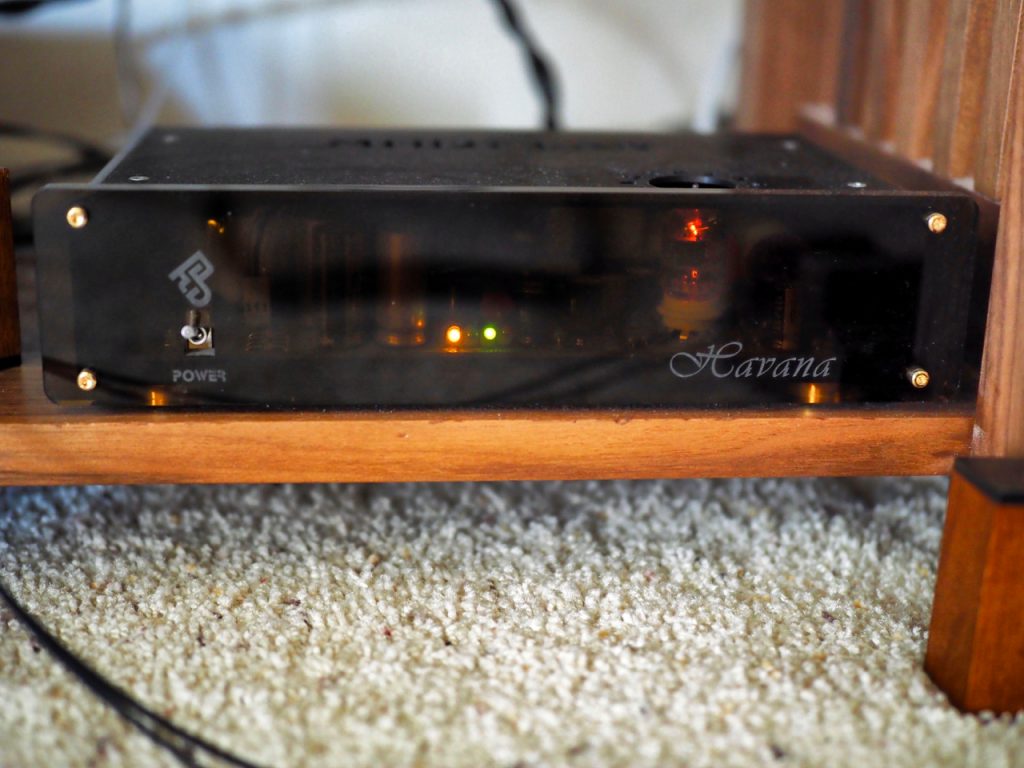
For my first listening session I hooked them up to my Mhdt Laboratory Havana USB DAC that I'm using in the "Stokowski" Altec system, and played the superb Jazz24 stream out of Seattle to get an idea of their performance. In the future I'll be trying them in a number of other system contexts, and I'll report back on the results.

Seattle's Jazz24 stream
I've listened extensively to both the original DCA20GA interconnects and Belden 8402 microphone cable interconnects I made on the Havana, so I have a really good idea of what they sound like.
Both the original Duelund DCA20GA interconnects and Belden 8402 microphone cable interconnects sound really good on the Havana, with the Duelund's sounding more detailed and nuanced, and the Belden's sounding a little more diffuse and less detailed, but with both having that delicious tinned-copper interconnect overall tonal signature.
I swapped out the Belden 8402 microphone cable interconnects I had on the Havana USB DAC and replaced them with the Duelund 600V DCA20GA interconnects.
It was evident that the Duelund 600V DCA20GA interconnects had no run-in time on them yet, as they sounded a little brash and forward in that way tinned-copper cables do until they get adequate run-in time, but still the overall tonality was very nicely balanced, with a strong sense of the spooky live-like presence of instruments and vocals.
Even so, the amount of additional detail that was coming through the Duelund 600V DCA20GA interconnects was remarkable compared to the Belden 8402 interconnects.
The touch of fingers on the strings of an upright bass were easily discernable, the sparkle of tone color on each touch of the piano keys was more evident, the breath on trumpet solos was more evident, and the overall sense of transparency was considerably more than with the Belden's, for example.
I'll report back with more detailed listening impressions after I give the Duelund 600V DCA20GA interconnects some conditioning time on the Cable Cooker.
As always, thanks for stopping by, and may the tone be with you!


