


In the last six decades I haven't broken a single phonograph cartridge, but in the last two weeks I've broken two, and the crazy thing about it is I don't even know how I did it in either case.
The first cartridge fatality was the Audio MusiKraft Denon DL-103 phonograph cartridge Guy Pelletier sent me.
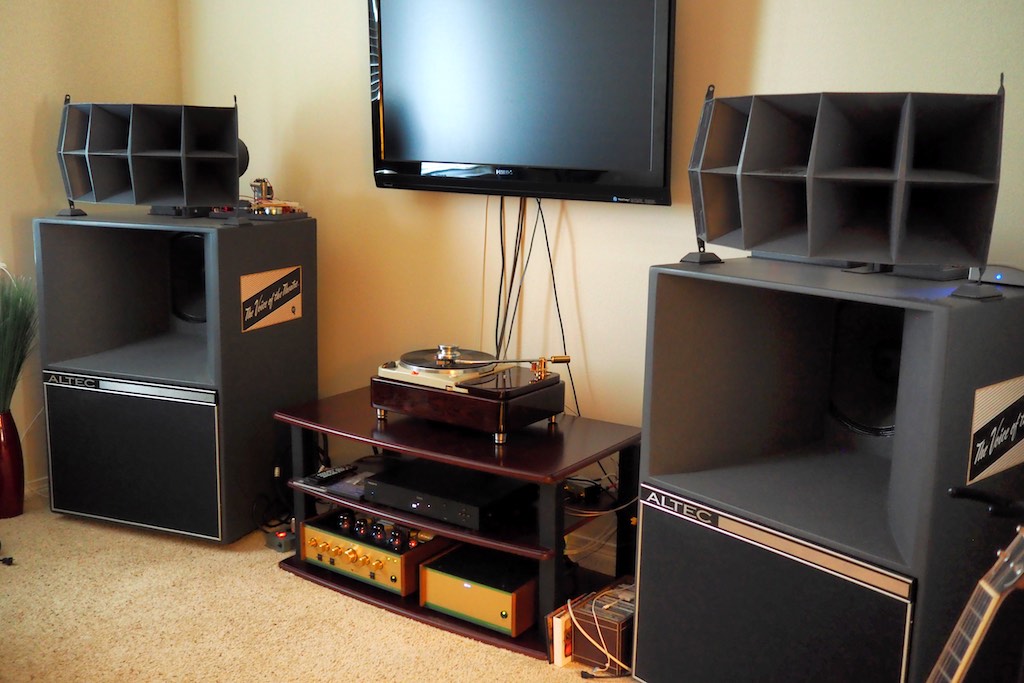
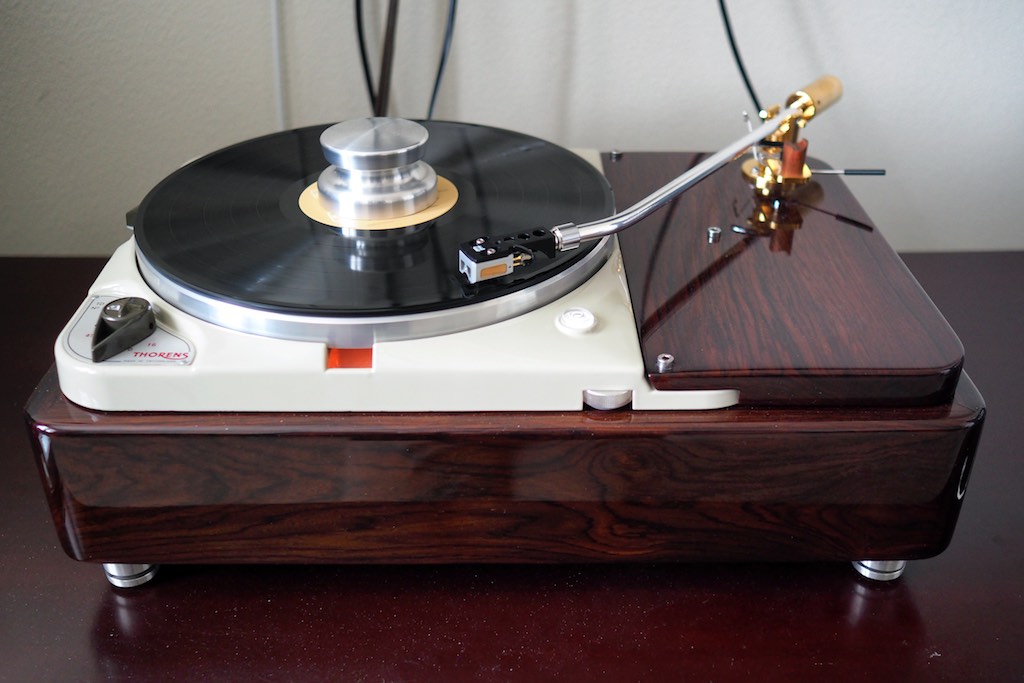
I was sitting there listening to my vintage Thorens TD124 turntable play music over my vintage Altec A5 Voice of the Theatre loudspeakers and the stylus parted company with the cartridge during play, creating a modestly exciting moment. Obviously I'd done something to bring this about, but I have no idea what it was.
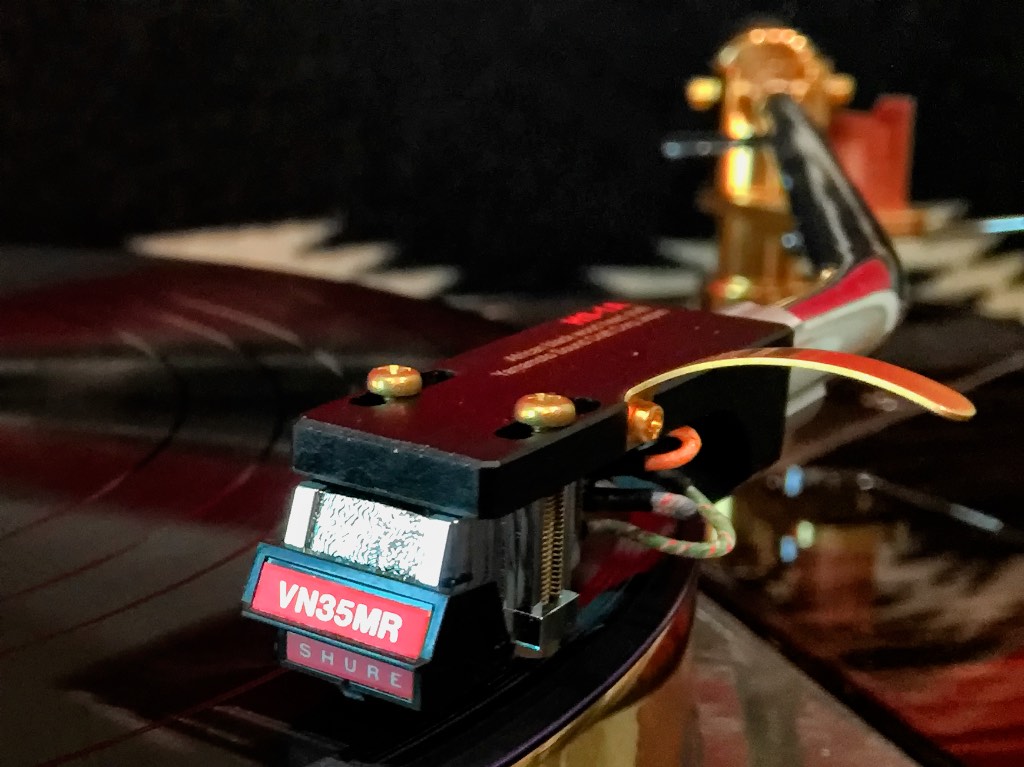
Vintage Shure V15 III with VN35MR stylus.
The second fatality was my vintage Shure V15 III with the hard to come by VN35MR stylus that Yazaki-san had recommended to me.
After the Denon DL-103 fatality happened I went to get my Shure V15 III with VN35MR stylus combo to put on the Thorens TD124, and the stylus was missing!
Man, I was heartbroken! I have no idea what happened! Sigh.
I thought the most sensible thing I could do would be to remove the cartridge shell of my stock Denon DL-103 so I could replace Guy's damaged Denon DL-103 cartridge, and do some more listening with the excellent Audio MusiKraft Denon DL-103 phonograph cartridge.
I decided to document my Denon DL-103 cartridge-ectomy, as I thought it would make for a useful and instructive blog post for those of you who are contemplating removing the stock Denon flexi-flyer plastic cartridge shell so you can replace it with a high-performance shell like the Audio MusiKraft shell.
Guy put together a very helpful video on how to remove the stock Denon DL-103 cartridge shell, and I followed Guy's advice very closely (above).
It turns out I'd misplaced the stylus guard for my Denon DL-103 (it's been one of those weeks), but my buddy Ron loaned me a stylus guard, and a Denon DL-103 with a broken stylus to practice on - thank you Ron! 🙂
First, I got out my bamboo cutting board and placed a white sheet of paper on it for increased visibility, per Guy's recommendation.
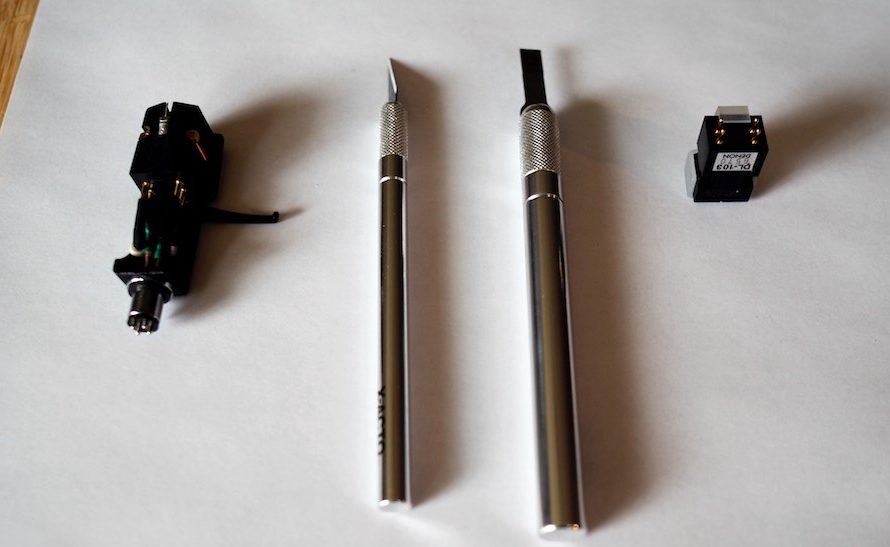
I picked out two x-acto knives for my cartridge-ectomy, one with a slanted blade, and one with a straight blade.
I picked the straight blade to start my cutting of the glue joints with, as it seemed a natural for this type of job, and following Guy's video instructions I cut through the four glue points of the cartridge shell, and the cartridge slid easily out.
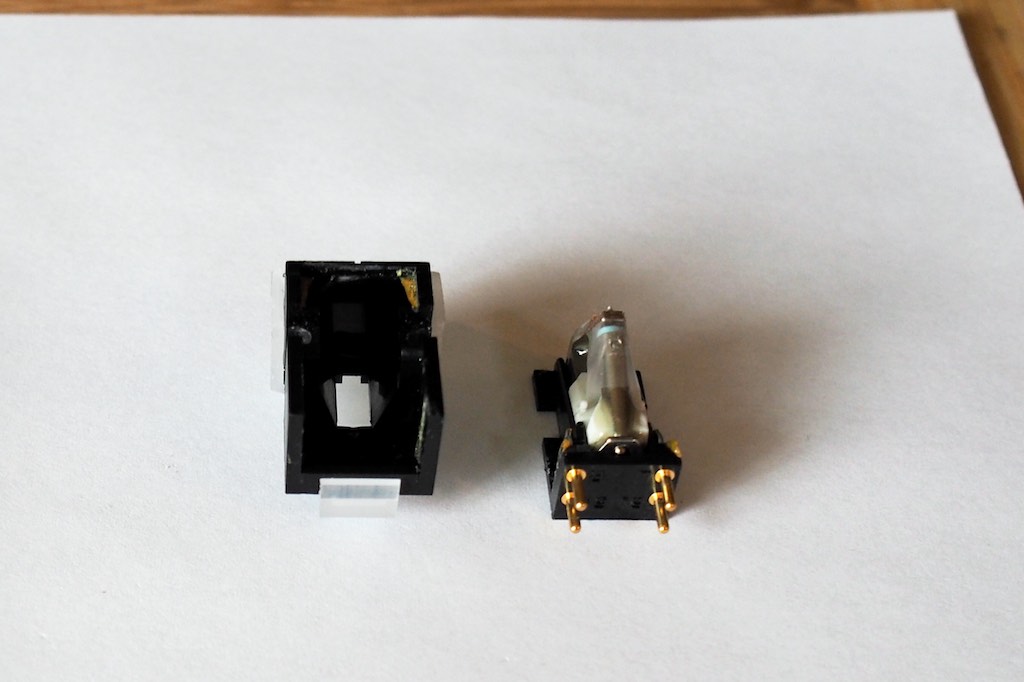
Cartridge shell removed from the Denon DL-103. Super easy!
It took me longer to write about it than to do it, it was super easy!
With my practice run out of the way on the damaged cartridge, and feeling confident, I got my Denon DL-103 with its intact stylus, put the stylus guard on, and then cut the four glue points as before.
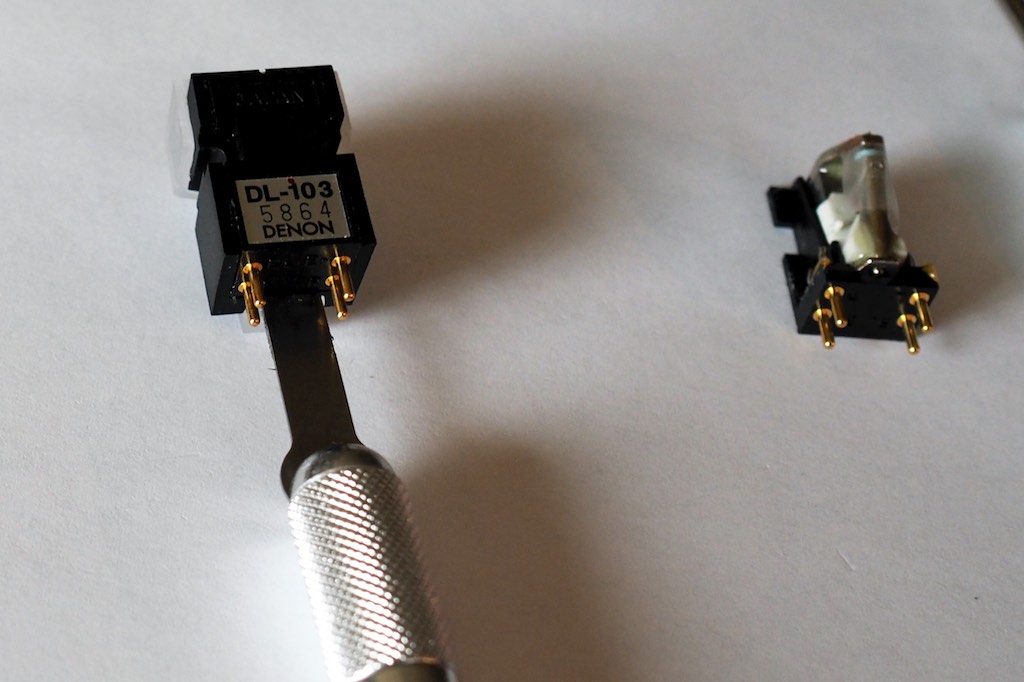
This time the cartridge didn't slide out easily, so I inserted the flat blade of the x-acto knife in and lifted the cartridge chassis up a bit, and then the Denon DL-103 slid right out.
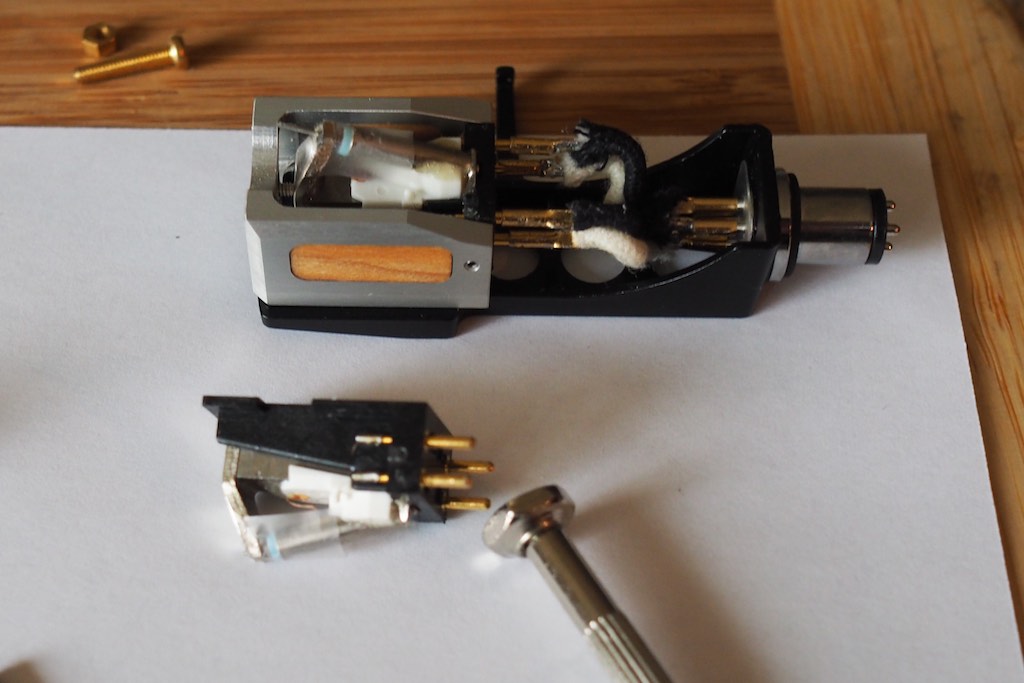
I then used the slant blade x-acto knife to clean of the little bit of glue residue that was there,

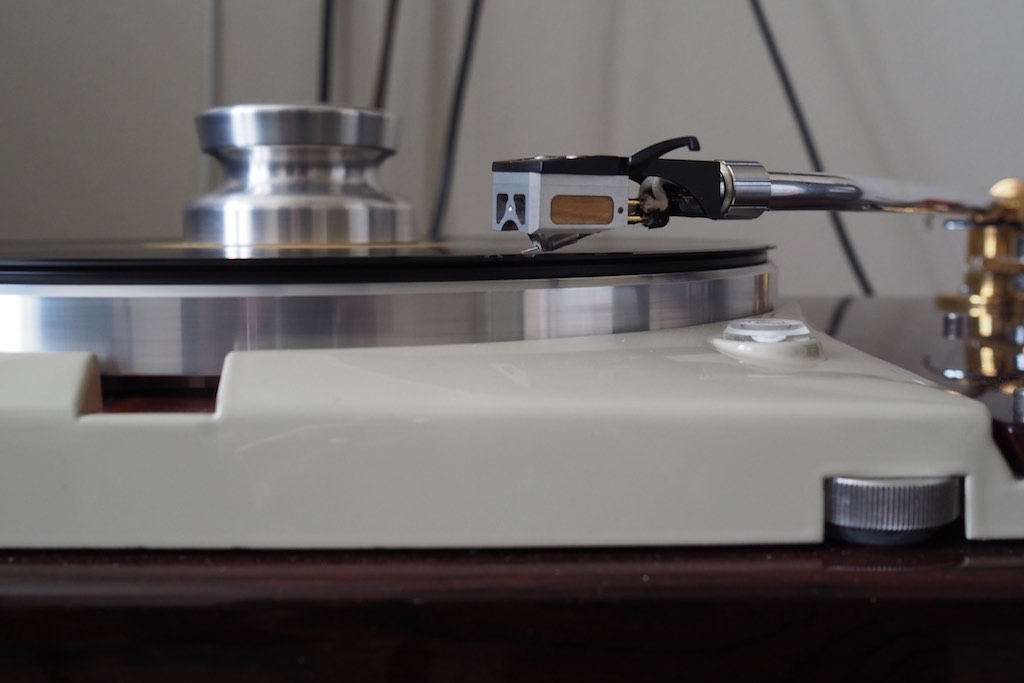
After getting the little bit of glue residue cleaned off the Denon's inner chassis, I reinstalled it into the Audio MusiKraft aluminum shell, and then mounted it on my tonearm, got everything adjusted, and listened to a little music.
It worked perfectly!
If you've got a stock Denon DL-103 and have been gripped with anxiety about doing a cartridge-ectomy so you could install a quality Audio MusiKraft cartridge shell, don't be, as it's really easy to do.
Ok, I'm all done with that and am going to go listen to music for a while with the excellent Audio MusiKraft Denon DL-103 phonograph cartridge.
As always, thanks for stopping by, and may the tone be with you!


