Fellow music lover Charlie Schnyder asked me if I would be willing to write a quick and easy “how-to” post about getting started with a computer hard drive as a digital source. As Charlie mentioned in his e-mail to me, there are a lot of music lovers who would like to take their existing CD collection and install it on a hard drive for ease in music listening, but they just aren’t sure how to go about it.
Like most things in audio, when setting up a hard drive based digital source you can choose equipment that ranges from practical high-performance on one end of the spectrum, to esoteric on the other end. For my own hard drive based system I chose a practical high-performance approach rather than an esoteric one, and I suspect for most music lovers that will be the preferred option.
The best way to make your life easy when setting up a hard drive based digital source is to choose a computer from Apple, as they are purposely designed to make setting up a music library easy from the start by using the free iTunes software that is included with all Apple computers.
An Apple MacBook, MacBook Pro, Mac mini, and iMac are all good choices to start with. I chose an Apple iMac with the maximum amount of memory and the largest drive offered at the time I bought it, as I intended to use it for managing my photographic workflow as well as my music files, which takes up a lot of space on a drive (full resolution music files take up a lot of room - ditto photos - and you probably will not want to have to deal with adding another drive later on, so get a big drive).
This post is based on my System 3, which is my benchmark for an semi-affordable system that really gets the music right. I have this system set up in my smallish 11′ L x 11′ W x 9′ H spare bedroom, which is incidentally nearly the same size as the room that Alan Shaw uses to voice his Harbeth loudspeakers in (I use Harbeth speakers in System 2).
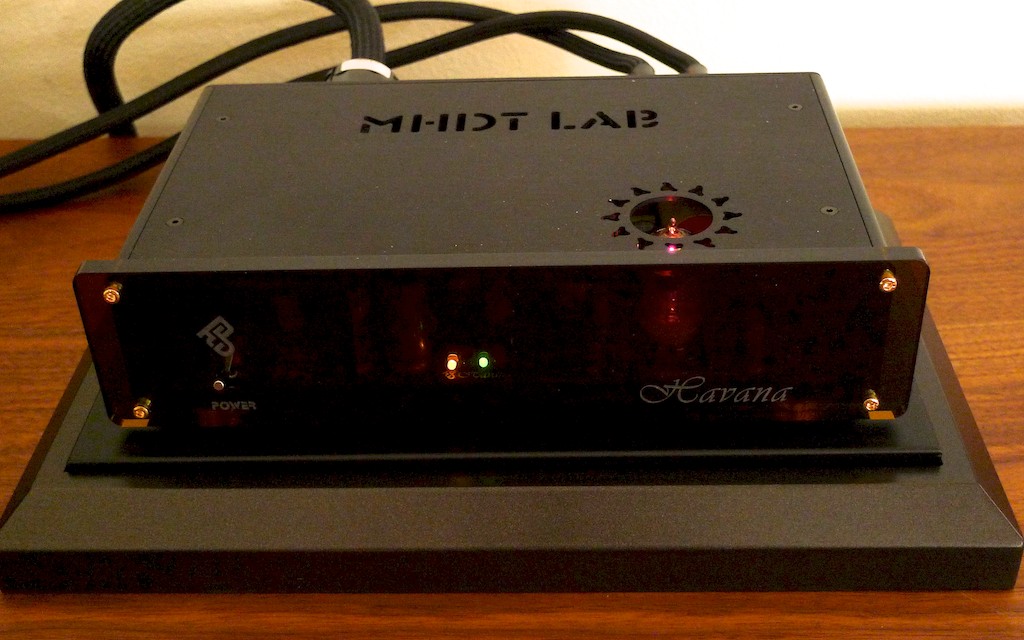
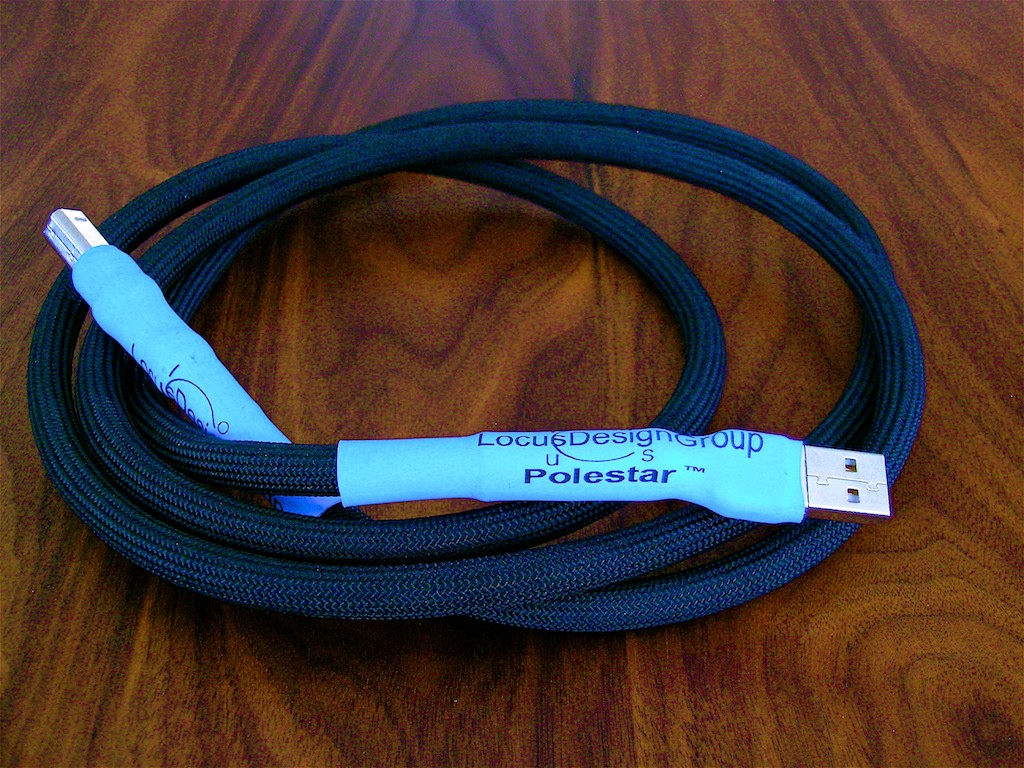
Sweet little System 3 consists of Omega Super 3 loudspeakers sitting upon Skylan Super 3 speaker stands, a Leben CS300X Limited Edition integrated amplifier, White Lightening Moonshine DIY interconnects & speaker cables, and a hard drive based digital front end that is the subject of this post: an Apple iMac, Locus Design Group Polestar USB cable, and a Mhdt Labs Havana USB DAC.
Ok, let’s get started on setting up a hard drive based system so you can get a little listening in. The first step assumes that you’ve purchased your Apple computer, and have followed Apple’s instructions on getting it up and running. So now that your Apple computer is up and running, you’re going to need a USB Digital-to-Analog Converter (DAC) to plug into the back of it to provide a compatible music output signal for your preamplifier or integrated amplifier.
Buying a USB DAC for your computer is an important decision point, and you will want to choose a USB DAC based on your particular listening needs. If you plan only listen to music files that you have transferred to your hard drive from 2 channel audio CDs (16-bits sampled at 44.1 KHz), I recommend the Mhdt Labs Havana USB DAC because it is easy to use, sounds great, it’s completely reliable, and relatively inexpensive.
For those of you who want to listen to high-resolution music files too (those above 16 bits & 44.1 KHz), I recommend you look at the Wavelength Audio line of USB DACs made by Gordon Rankin. Gordon makes excellent USB DACs, and he gives a nice overview about choosing the best USB DAC for your high-resolution needs here.
Now that you’ve got both an Apple computer and a USB DAC it is time to connect the two. You’ll need a USB cable to connect the two, and the choice of a USB cable is very important if you want to get anywhere near the performance your USB DAC is capable of. My favorite USB cable is the Locus Design Group Polestar. The big end of the USB cable plugs into one of your computer's USB ports, and the small end plugs into the USB DAC. That’s all there is to it. Then just run a set of interconnects from the back of the USB DAC to your preamp or integrated amp, just like you would for a CD or DVD player, and you’re almost ready to go.
Now you have your Mac connected to a USB DAC with a quality USB cable, and you’ve connected the USB DAC to your preamp or integrated amp with a set of interconnects. Power up both your Mac and USB DAC and follow the simple and well-written instructions for setting up your Mac on Gordon’s website here.
After completing your Mac’s setup you are now ready to load your CD collection onto the hard drive, but before you do, go to the Apple web site and read and view everything about iTunes, which will serve as the interface to your music library. iTunes organizes your music library, plays it however you want it to, and allows you to sync to the album artwork. It’s a very cool and powerful software program for music lovers.
Now that you’ve studied up on iTunes, launch iTunes, and all you have to do is to be patient and feed your CDs into the Mac’s drive. This can get a bit tedious, as it takes a while to transfer all your CDs, so you’ll probably want to grab a cup of your favorite beverage and a good book while you feed disks to your Mac.
One thing I should mention is that when you have invested the considerable amount of time required to load all your CDs onto your Mac’s hard drive, you’ll want to make sure it is backed up. I think the best way to go for most people is the Apple Time Capsule, which is an automated and wireless way to back up your Mac – it’s what I use. Get the one with the big hard drive, as you can never have too much space.
After you get some of your CD collection installed on the drive, now it’s time to sit back and enjoy the fruit of your labors and listen to some music – enjoy!

